
Grilled Harissa Chicken Recipe
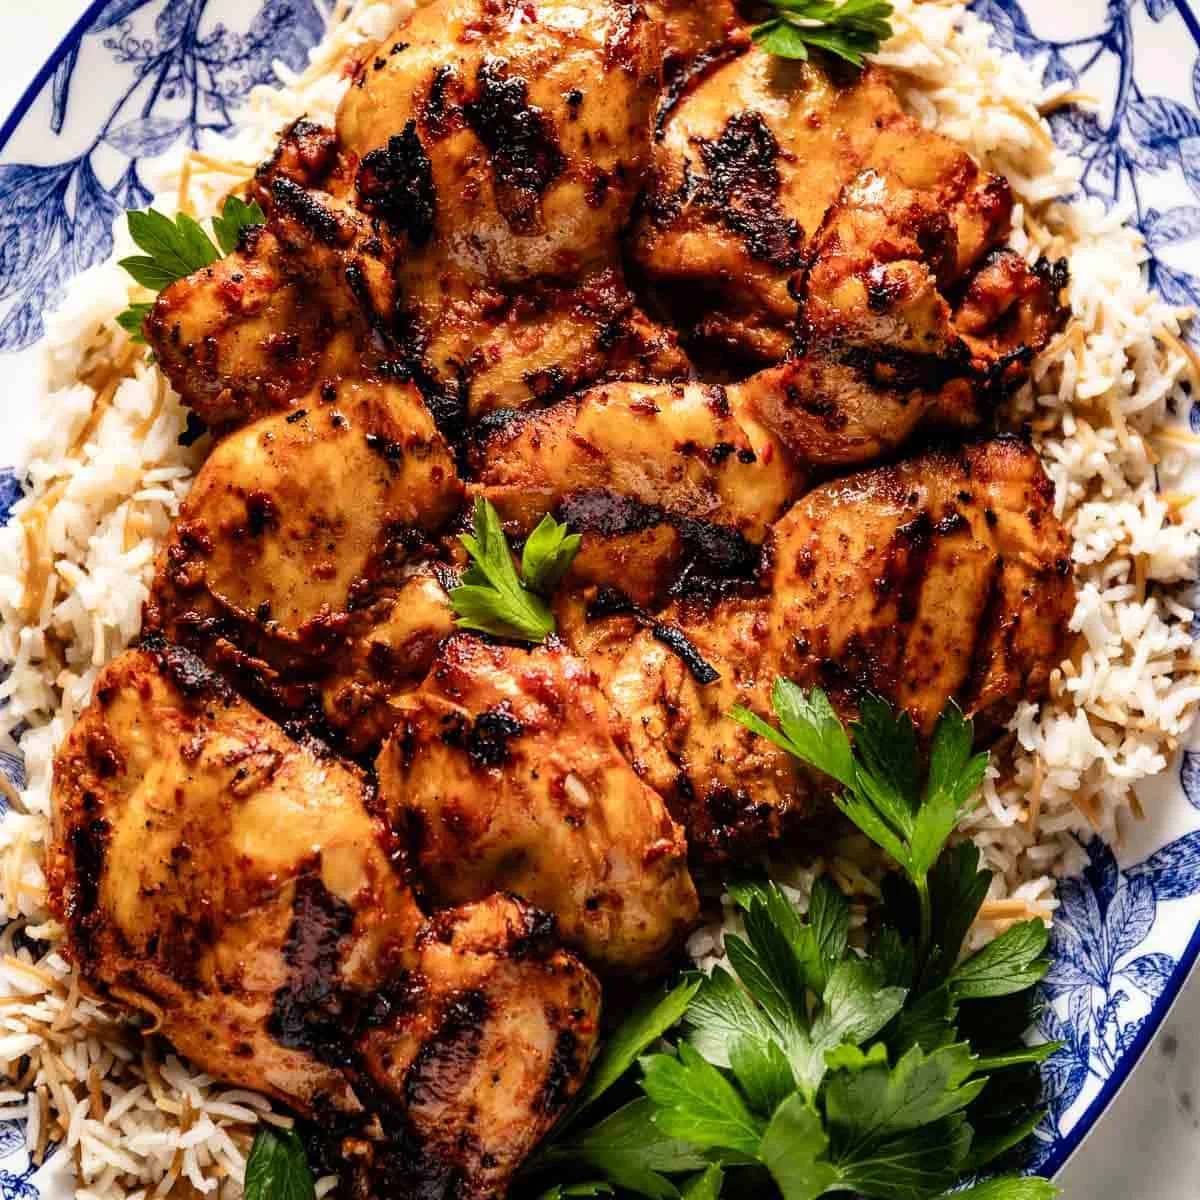
Grilled harissa chicken is a spicy, easy-to-make dish that requires just a few minutes of prep time to get the juiciest, most flavorful results. Serve it with grilled vegetables, rice or a green salad for a filling chicken dinner.
Ingredients
- 2 pounds chicken thighs (boneless and skinless*)
- 1 teaspoon kosher salt
- 1/2 teaspoon ground black pepper
- 5 garlic cloves (pressed or grated)
- 1 small yellow onion (thinly sliced)
- 1 teaspoon paprika (we used Spanish paprika but smoked paprika would also work)
- 2 tablespoons lemon juice (plus 1 lemon quartered for serving)
- 1/2 cup harissa
- 1/4 cup olive oil (more or less for greasing the grill grates)
- 3 tablespoons fresh parsley (as garnish (optional))
Instructions
- 1
Pat dry the chicken on both sides. Season with salt and pepper on both sides. Set aside.
- 2
In a large bowl, combine the garlic, onion, paprika, lemon juice, and harissa. Add the chicken and toss to combine.
- 3
Cover the bowl with stretch film and refrigerate for an hour or overnight if you have the time.
- 4
Remove from the refrigerator 30 minutes before you are ready to grill.
- 5
If cooking on a gas grill: Preheat the grill to 400 degrees F. Once hot, scrape the grates and generously coat them with olive oil.
- 6
If cooking on a charcoal grill: Light the charcoal and let it burn until the coals are covered with white ash for about 20-30 minutes. Spread the coals evenly at the bottom. Right before grilling, grease the grill grates with olive oil.
- 7
Place the chicken thighs, topped with some onions, on the grate without overlapping.
- 8
Cover and grill for 6 minutes on each side (for a total of 12 minutes) or until the internal temperature in the thickest part of the chicken thigh reaches 165 degrees F.
- 9
Remove and place on a clean plate or platter, loosely tenting with foil. Let rest for 10 minutes.
- 10
If preferred, garnish with fresh parsley and lemon wedges on the side.
Cook it from the original
This recipe comes from foolproofliving.com. Their page has the author’s own photos, notes and tips — the best place to cook it from.
Open the recipe on foolproofliving.com