
Spicy Tuna Hand Rolls (Temaki Sushi in 20 Minutes)
Nutrition per Serving
268
Calories
12g
Protein
39g
Carbs
6g
Fat
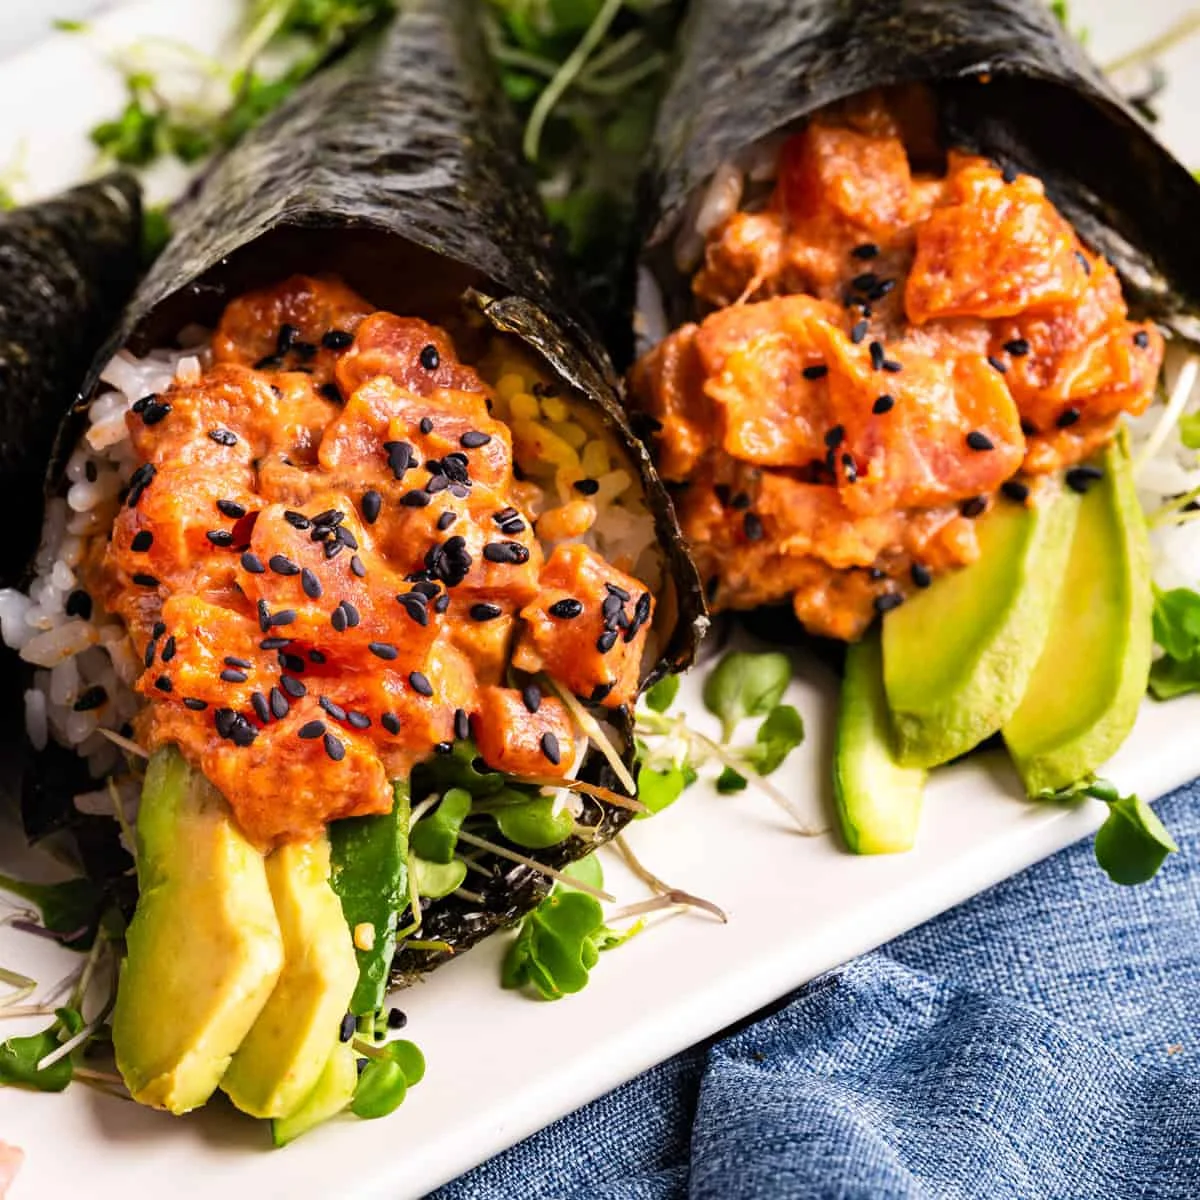
Spicy tuna hand rolls made in 20 minutes with sushi rice, sushi-grade tuna, and spicy mayo. No sushi mat, no rolling skills, and naturally gluten-free.
📝 Ingredients
- 1 1/2 tablespoons rice vinegar
- 1 teaspoon sugar
- 1 teaspoon salt
- 1 1/2 cups sushi rice ((uncooked) Short- or medium grain rice works as well)
- 1/2 pound sushi-grade fresh tuna
- 2 tablespoons mayonnaise (Japanese mayo preferred)
- 1 1/2 tablespoons chili sauce (like Sriracha)
- 1 teaspoon soy sauce (use tamari for gluten free)
- 1/2 teaspoon sesame oil (toasted )
- 3 sheets nori (edible dried seaweed) (cut in half)
- water (to coat your hands)
- cucumber (sliced into matchsticks)
- avocado (sliced thin)
- microgreens
- black sesame seeds
- wasabi
- pink pickled ginger
👨🍳 Instructions
- 1--- Season the rice ---
- 2Combine the rice vinegar, sugar, and salt in a small bowl until the sugar and salt have dissolved. Set aside.
- 3Cook your rice according to the instructions on the package. Once done but still hot, transfer to a large bowl and "cut in" the vinegar mixture, pouring it over the rice while using a wooden spoon or spatula to slice through the rice rather than stirring it. Adjust to taste with more vinegar, salt, or sugar while the rice is still hot. It shouldn't be heavily seasoned, just enough to taste the vinegar, salt, and sugar. Set aside to cool to about body temperature, 98°F (37°C), while you prepare the tuna.
- 4--- Make the spicy tuna ---
- 5Cut the tuna into tiny cubes or pieces and place in a medium bowl. Mix in the mayonnaise, chili sauce, soy sauce, and sesame oil. Adjust to taste: more chili sauce if you like it spicier, more soy if you want it savory, more sesame oil for richness.
- 6--- Assemble ---
- 7Place a half sheet of nori on a flat surface, shiny side down. Wet your hands with water and grab a handful of rice, pressing it flat onto the left half of the nori sheet and leaving the right corner empty.
- 8If using, lay your fillings diagonally across the rice, then spoon some of the tuna on top.
- 9Fold the bottom left corner of the nori up and over the filling, then roll the nori into a cone. Use a few grains of rice or a little water along the edge to seal it together.
- 10Serve immediately, while the nori is still crisp. Enjoy!
About the Chef & Original Recipe
This recipe was published by juliasalbum.com. Visit the original source for step-by-step photos, chef notes and additional details.
Source: juliasalbum.com