
Dulce de Leche (Microwave/Slow Cooker/Pressure Cooker)
Nutrition per Serving
212
Calories
5g
Protein
36g
Carbs
6g
Fat
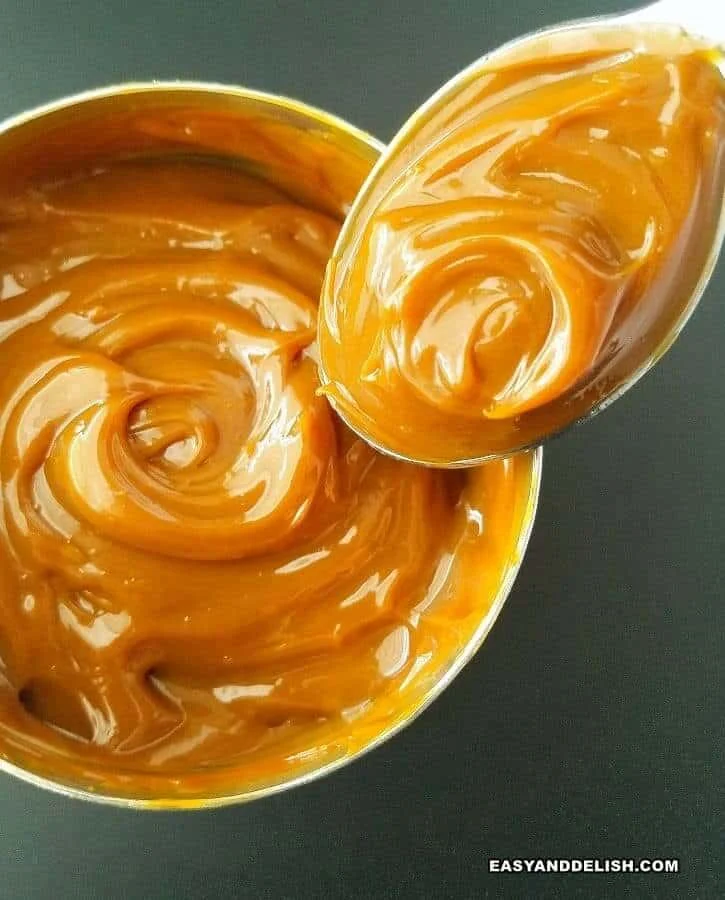
Learn how to make the best ever dulce de leche recipe, with only one ingredient. We tested 3 different cooking methods (microwave, pressure cooker, and slow cooker): find out which one produced the creamiest and tastiest result.
📝 Ingredients
- 14 oz sweetened condensed milk ((one can))
👨🍳 Instructions
- 1Microwave: Recipe tested ina 1200 Watt Microwave: Pour sweetened condensed milk in a deep microwave-safebowl, set cooking power to 50% (or medium), and cook for about 4 minutes. Remove bowl from microwave and stir well. It will be hot!
- 2Reduce cooking power to 30% (or medium-low) and cook for about 12-16 minutes, or until thick.Whisk well until creamy. If too thick, whisk in just enough heavy cream toloosen. Mine was quite thick and a little bit grainy. But it tasted good! Thiswas my husband's favorite one in terms of flavor.
- 3Pressure cooker/Instant Pot: Place rack inthe pressure cooker, and then the can of sweetened condensed milk, laid on itsside on top of the rack. Pour in enough water to cover can by 1-2 inches above.Secure lid, turn on pressure cooker and seal valve. Set to thecanning function or manual high pressure for 30 minutes (lighter color)or 40 minutes (darker color).
- 4Quick-release the pressure using tongs (so you won't burn your fingers) and once the pressure is all let out, carefully remove the lid. Let the water cool completely before removing can so that it won't explode in your hands. I set mine for 40 minutes, which produced a darker and creamier result than the one made in the microwave. The flavor was good, although not my favorite of the three.
- 5Slow cooker: Place can of sweetened condensed milk, laid on its side, in the slow cooker bowl, and fill with water up to 1-2 inches above the top side of the can. Close the lid and set the slow cooker to low for 8 or 10 hours.
- 6Once cooked, let water fully cool before handling the can. This method produced the best result of the three in terms of flavor(sweeter), creamy and smooth texture, and color, which was darker than the other 2 methods. The caramelization was great! By far, it was the best of them all!
About the Chef & Original Recipe
This recipe was published by easyanddelish.com. Visit the original source for step-by-step photos, chef notes and additional details.
Source: easyanddelish.com