
Air Fryer Steak
Nutrition per Serving
554
Calories
46g
Protein
2g
Carbs
41g
Fat
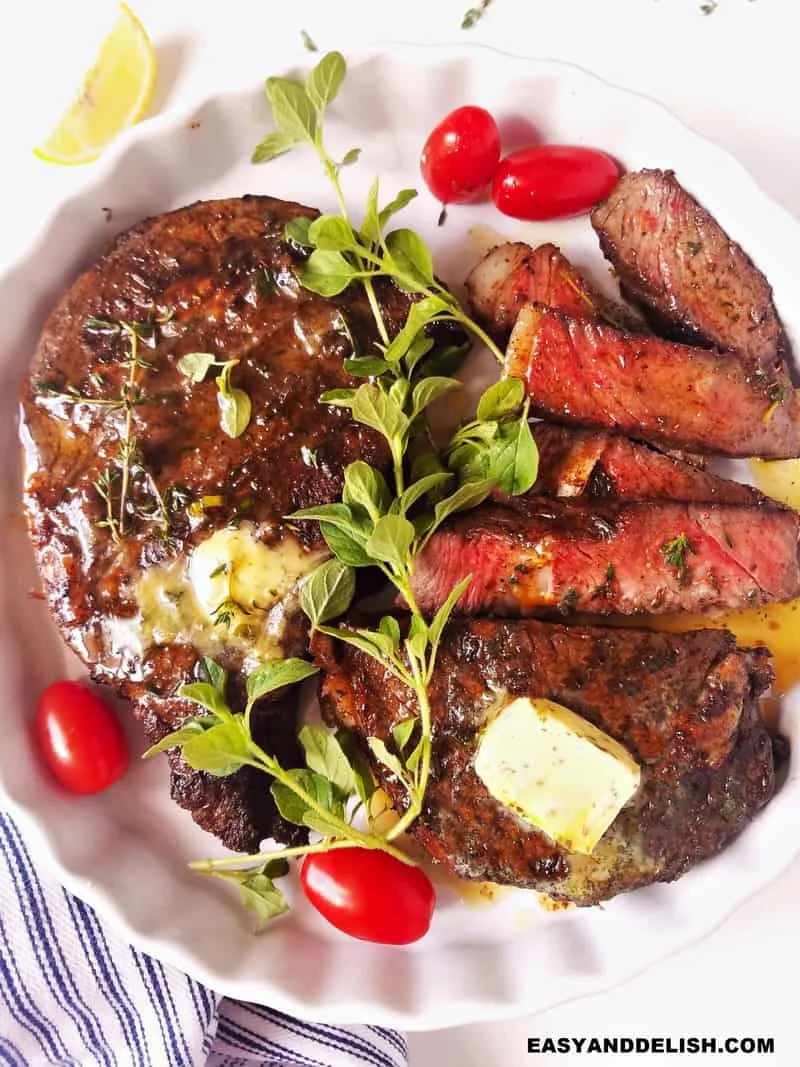
Cook this Air Fryer Steak in just 8-10 minutes (medium-rare) and get a juicy, tender, and super delish dish that the entire family will rave about. Our ribeye steak recipe calls for olive oil and a simple homemade seasoning blend, making it one of those easy dinners that are of restaurant quality. Cooking steak in an air fryer couldn’t be any easier!
📝 Ingredients
- 4 ribeye steaks (boneless, 1-inch thick)
- 2 1/2 tbsp olive oil
- 3 tbsp homemade keto taco seasoning
- 1 tbsp Italian seasoning (store-bought)
- A pat of butter herby butter (for each steak (OPTIONAL). You can buy ready or make your own.)
👨🍳 Instructions
- 1To cook steak in air fryer, remove the steak from the fridge about 20-30 minutes before cooking and pat them dry with a paper towel. It will guarantee even cooking and also a well-browned exterior.
- 2Meanwhile, preheat your air fryer to 400°F for 5-10 minutes. During this time, brush olive oil all over the steaks and season them well with a mixture of our homemade taco seasoning and Italian seaosning. Let them absorb the spices at room temp for at least 10 minutes.
- 3Place the steaks into the air fryer basket. You may need to cook in batches depending on the size of your air fryer. In order to cook evenly, you have to leave space for the hot air to circulate!
- 4Cook each steak for about 8-10 minutes for medium-rare, flipping them halfway through.
- 5Then, insert a meat thermometer into the thickest part (but not touching the bone if yours is bone-in). It must reach at least 135-145 F for medium-rare. If bone-in, it may take a few minutes more to cook.
- 6Once cooked, remove the steaks from the air fryer, cover with foil, and let them rest for 5 minutes to lock in the juices, and then serve with your favorite sides. I topped mine with a pat of herby butter and served it with cooked low-carb veggies.
About the Chef & Original Recipe
This recipe was published by easyanddelish.com. Visit the original source for step-by-step photos, chef notes and additional details.
Source: easyanddelish.com