
Vegan Nut Butter Cheesecake
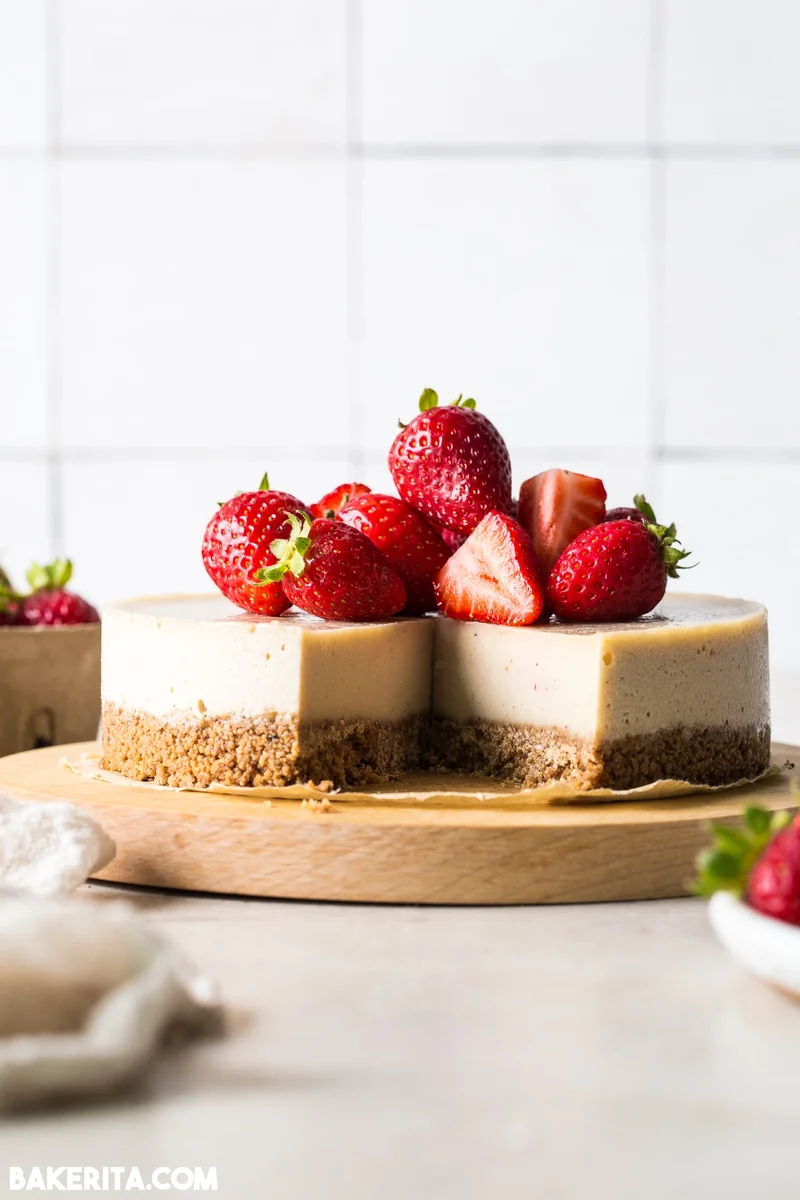
This Easy No-Bake Vegan Nut Butter Cheesecake can be prepped in a few minutes, with NO soaking or blending cashews! We use nut butter to create a simple, delicious no-bake vegan cake that can be easily made cashew-free by using your favorite nut or seed butter.
Ingredients
- 1 1/4 cup crunchy cookie crumbs (about 2 cups whole cookies, I used Simple Mills)
- 3 tablespoons refined coconut oil
- 3/4 cup (192g) cashew butter (or favorite nut or seed butter of choice, just make sure it's on the thicker side!)
- 1/2 cup canned full-fat coconut milk
- 3 tablespoons maple syrup
- 1/4 cup (50g) coconut oil (melted, use refined for no coconut flavor. Can use cacao butter instead!)
- 1 tablespoon lemon juice
- 1 teaspoon vanilla extract
- 1/4 teaspoon kosher salt
Instructions
- 1
First, prepare the crust. In a blender or food processor, pulverize the cookies until they're fine and mostly crumbs. Either blend in the coconut oil, or move to separate bowl and stir together.
- 2
Press evenly into the bottom of your 6 inch springform pan. A flat bottomed measuring cup can help press it into place. Set aside.
- 3
In a large mixing bowl, blender, or food processor, combine the nut butter, coconut milk, maple syrup, coconut oil, lemon juice, vanilla extract, salt, and any other flavorings, if using. I find using a blender or food processor easiest to make sure you get out any clumps of nut butter.
- 4
Blend until completely smooth, using a whisk if you're mixing it up in a bowl.
- 5
Pour the prepared cheesecake batter into the pan over the crust, and tap against the counter a few times to even it out and release any air bubbles.
- 6
Refrigerate for at least four hours, or freeze for two hours, or until completely firm.
- 7
Garnish as desired and serve chilled. Enjoy!!
Cook it from the original
This recipe comes from bakerita.com. Their page has the author’s own photos, notes and tips — the best place to cook it from.
Open the recipe on bakerita.com