
Gluten-Free Vegan Pumpkin Waffles (Freezer Friendly)
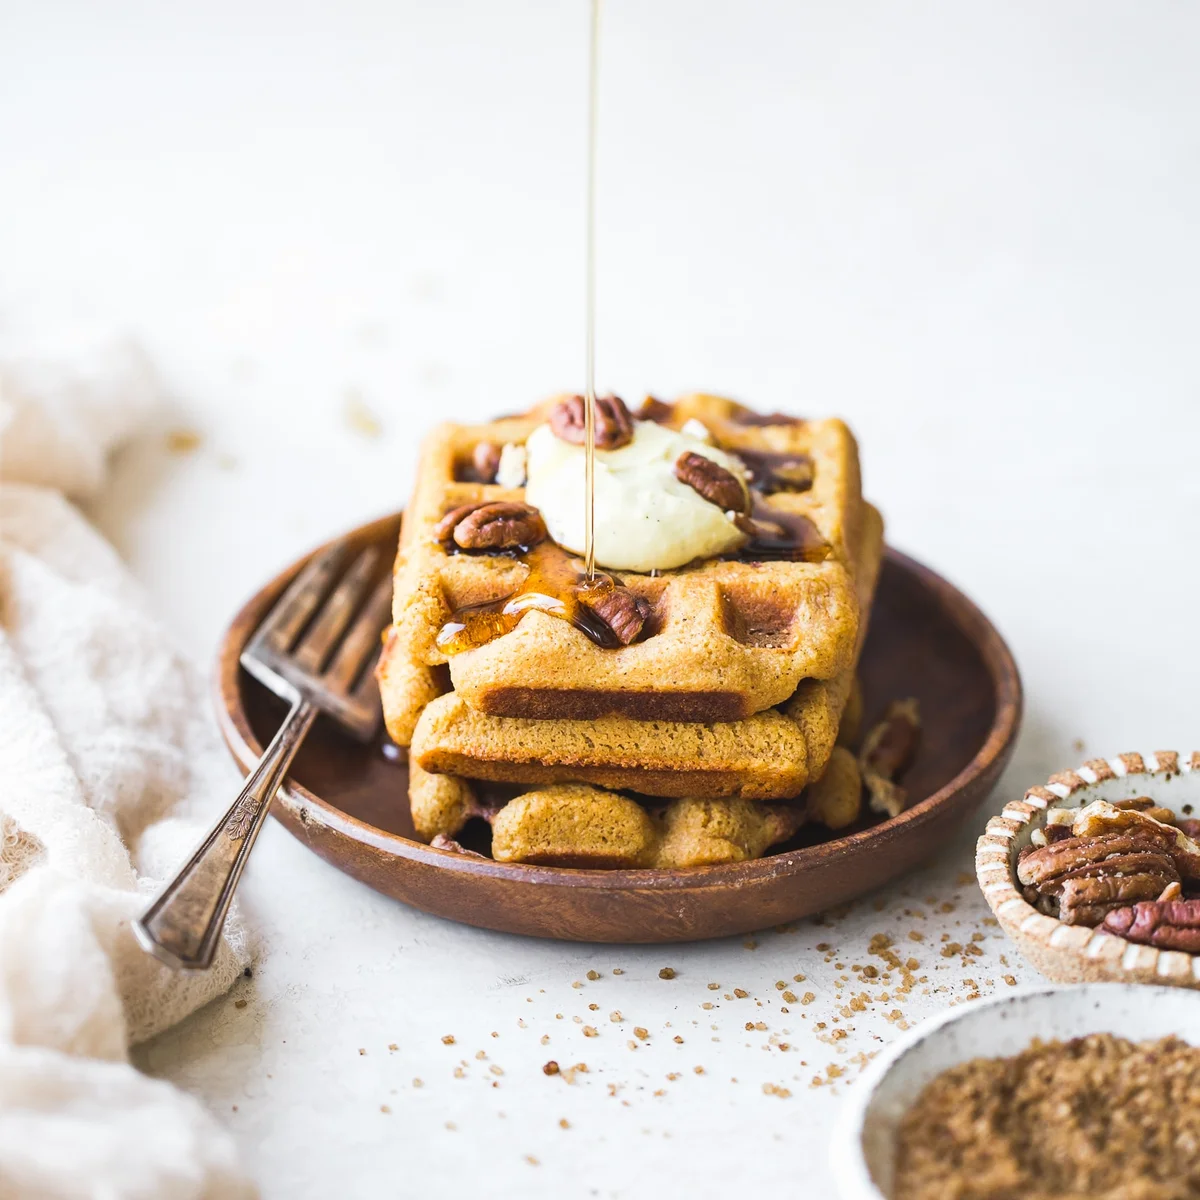
These American-style pumpkin waffles combine a crisp outside with a soft, warmly spiced centre, using almond and tapioca flours instead of wheat. Make a batch for a cosy breakfast, then freeze the extras for quick toaster-ready meals.
Ingredients
- 227 g (1 cup; 8 oz)almond milk (or dairy-free milk of choice)
- 1 teaspoonapple cider vinegar
- 80 g (⅓ cup)pumpkin purée
- 50 g (¼ cup)refined coconut oil, melted
- 38 g (¼ cup)coconut sugar
- 192 g (2 cups)blanched almond flour
- 90 g (¾ cup)tapioca flour
- 2 teaspoonsbaking powder
- 1 teaspooncinnamon
- ½ teaspooncream of tartar
- ¼ teaspoonsea salt
- ⅛ teaspoonnutmeg
Instructions
- 1
Heat the waffle iron
Plug in the waffle iron so it can heat while you prepare the batter.
- 2
Mix the wet ingredients
In a small bowl or liquid measuring jug, stir together the dairy-free milk and apple cider vinegar. Leave for 3 minutes, then whisk in the pumpkin purée, melted coconut oil and coconut sugar.
- 3
Whisk the dry ingredients
In a separate bowl, whisk the almond flour, tapioca flour, baking powder, cinnamon, cream of tartar, sea salt and nutmeg.
- 4
Combine the mixtures
Add the wet ingredients to the dry ingredients and whisk until combined.
- 5
Thicken the batter
Leave the batter to stand for a few minutes so it can thicken.
- 6
Cook the waffles
Lightly grease the waffle iron and add enough batter to fill its cavity. Cook according to the iron’s instructions until golden and crisp; this takes 4–5 minutes in the original cook’s waffle iron.
- 7
Cook the remaining batter
Repeat with the rest of the batter, adding more oil between waffles if needed.
- 8
Serve while warm
Serve the waffles warm with your chosen toppings.
- 9
Cool before freezing
To freeze, let the waffles cool completely, then transfer them to an airtight container or zip-top bag and place in the freezer.
- 10
Reheat from frozen
Toast at 177°C (350°F) for 5–10 minutes, or until heated through and crisp to your liking. For best quality, use within 3 months.
What are pumpkin waffles?
Waffles are a familiar American breakfast, cooked in a patterned iron until browned and crisp. This version brings pumpkin purée and warming spices to a gluten-free, vegan batter.
Almond flour gives the waffles richness, while tapioca flour helps make the cooked edges crisp. The recipe also suits batch cooking because the waffles can be frozen and toasted later.
Nutrition and macros by portion
The nutrition label shows one serving as written: 533 calories, 11g protein, 41g carbs, 39g fat.
| Portion | Adjustment | kcal | Protein | Carbs | Fat |
|---|---|---|---|---|---|
| Lighter | Use less coconut oil | 373 kcal | 8g | 29g | 27g |
| This serving | As written | 533 kcal | 11g | 41g | 39g |
| Hungry | Serve a larger portion | 800 kcal | 17g | 62g | 59g |
Almond flour and coconut oil provide most of the fat, while the almond flour also contributes protein. Tapioca flour and coconut sugar supply much of the carbohydrate. For a more balanced plate, serve a waffle with fruit and a protein-rich topping such as dairy-free yoghurt made with soy.
How the flours work
Almond flour: blanched almond flour forms the main body of the batter and gives it a tender, substantial texture. It is not interchangeable with finely ground wheat flour in the same way as a one-for-one swap.
Tapioca flour: this starch lightens the mix and helps the exterior crisp. Measure it accurately so the batter keeps the balance intended by the recipe.
Build the pumpkin flavour
Pumpkin purée: use plain puréed pumpkin rather than sweetened pumpkin pie filling, which already contains added flavourings. Its moisture and earthy flavour help give the waffles their soft centre.
Spices: cinnamon and a small amount of nutmeg add warmth without masking the pumpkin. Coconut sugar sweetens the batter, while the salt keeps the flavour from tasting flat.
The vinegar-and-milk step
Resting the milk and vinegar for 3 minutes gives them time to combine before they go into the batter. Whisk the pumpkin, melted oil and sugar into this mixture until evenly blended.
Keep the wet and dry ingredients separate until both are ready. Once combined, a short rest allows the batter to thicken before it goes into the waffle iron.
Look for crisp, golden waffles
Doneness: follow the waffle iron’s own instructions and cook until the waffle is golden brown and crisp. The stated 4–5 minutes is specific to the original cook’s iron, so yours may take a little longer or less.
Batter quantity: add enough to fill the waffle cavity without overfilling it. A light coating of oil between waffles can help prevent sticking and support even browning.
Serve and freeze
Serving: bring the waffles to the table warm, with toppings of your choice. Fresh fruit, a spoonful of dairy-free yoghurt or a drizzle of syrup all work well alongside the pumpkin and spice.
Freezer: cool the waffles completely before packing them in an airtight container or zip-top bag. Reheat from frozen in a 177°C (350°F) oven for 5–10 minutes, or until warm and crisp.
Recipe notes & tips
- Use plain pumpkin purée, not pumpkin pie filling.
- Let the milk and vinegar stand for the full 3 minutes.
- Give the batter a few minutes to thicken before cooking.
- Heat the waffle iron while preparing the batter.
- Cool waffles completely before packing them for the freezer.
Variations
- Dairy-free milk: choose your preferred unsweetened milk alternative.
- Extra spice: add a little more cinnamon for a stronger warming flavour.
- Fruit topping: serve with sliced banana or berries for freshness.
- Crunchy topping: scatter chopped nuts over the warm waffles.
- Savoury contrast: pair with a plant-based breakfast sausage.
Common mistakes to avoid
- Using pie filling: it is already sweetened and spiced; choose plain pumpkin purée.
- Skipping the batter rest: the mixture needs a few minutes to thicken before cooking.
- Opening the iron too soon: cook according to its instructions and wait for the waffle to turn golden and crisp.
- Overfilling the iron: add only enough batter to fill the waffle cavity.
- Freezing warm waffles: let them cool completely first to avoid trapping steam in the container.
How to store
Once completely cool, store the waffles in an airtight container or zip-top bag in the freezer and use within 3 months for best quality. Reheat from frozen at 177°C (350°F) for 5–10 minutes, until warmed through and crisp to your liking.
Frequently asked questions
Can I use a different dairy-free milk?
Yes. The ingredient list allows almond milk or another dairy-free milk of your choice.
Can I use pumpkin pie filling?
Use plain pumpkin purée instead. Pie filling may include extra sugar and spices that change the batter’s flavour.
How long does each waffle take to cook?
The original cook reports 4–5 minutes in their waffle iron. Follow your own iron’s instructions and cook until golden and crisp.
Can I make the batter ahead?
The method has the batter stand for only a few minutes before cooking. For advance preparation, cooking and freezing the waffles is the storage method provided.
How do I freeze the waffles?
Cool them completely, then place them in an airtight container or zip-top bag and freeze. They are best used within 3 months.
How do I reheat frozen waffles?
Toast them in an oven at 177°C (350°F) for 5–10 minutes, until heated through and crisp to your preference.
Cook it from the original
This recipe comes from bakerita.com. Their page has the author’s own photos, notes and tips — the best place to cook it from.
Open the recipe on bakerita.com