
Crunchy Peanut Butter Cookies
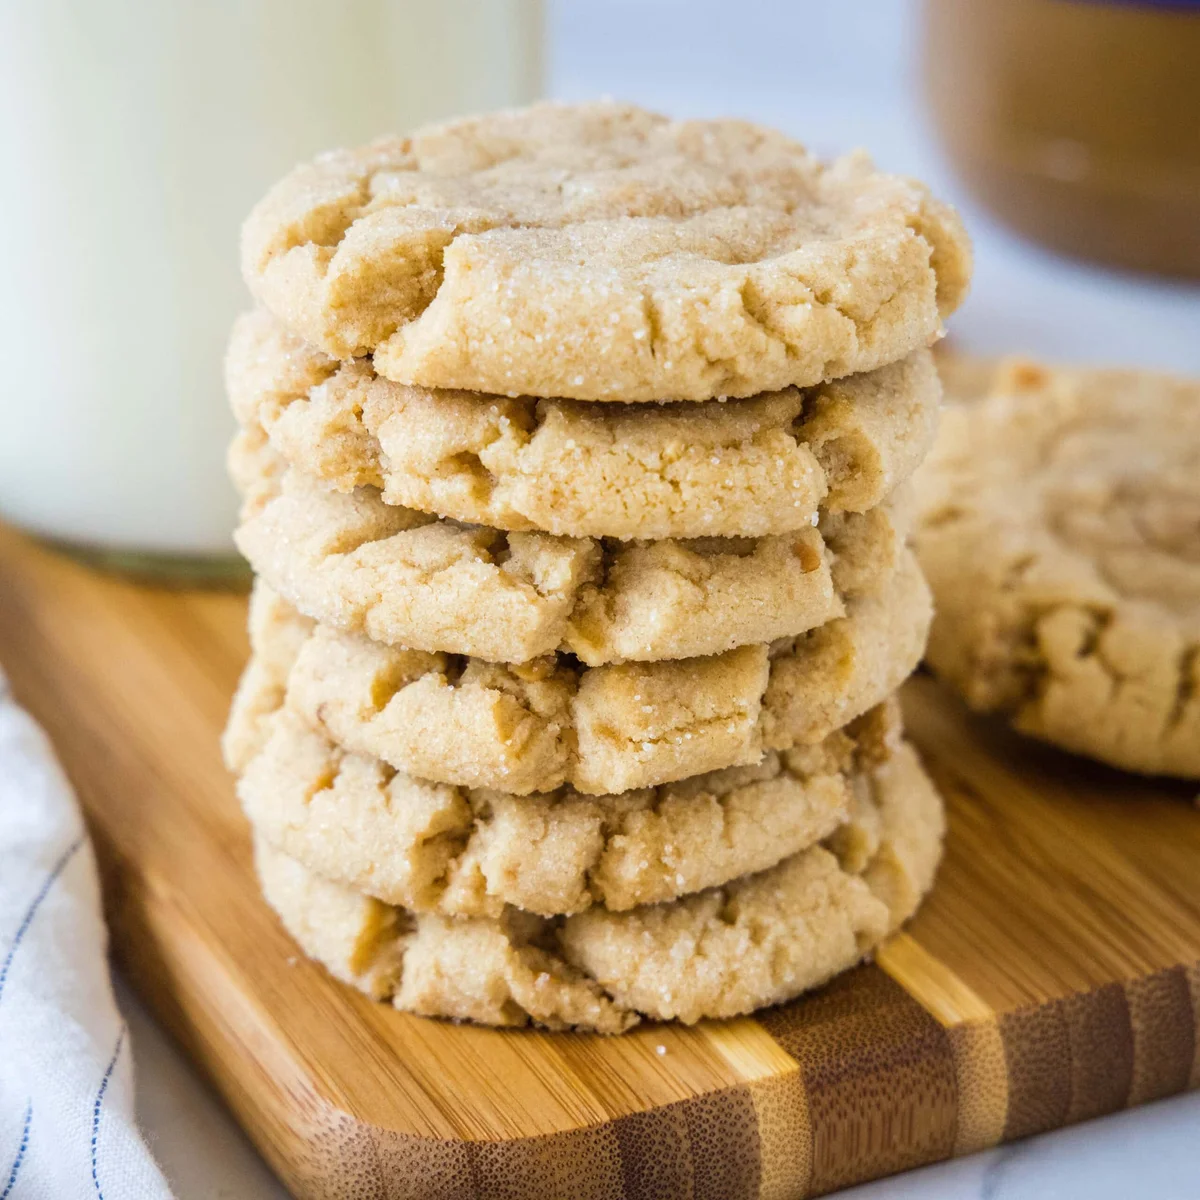
These American-style peanut butter cookies bake up crisp around the edges, with extra crunch from chunky peanut butter and a coating of sugar. They need no chilling, making them a straightforward choice when you want cookies without a long wait.
Ingredients
- 113 g (½ cup)butter
- 150 g (¾ cup), dividedgranulated sugar
- 110 g (½ cup)brown sugar
- 128 g (½ cup)crunchy peanut butter
- 1 largeegg
- 5 ml (1 teaspoon)vanilla extract
- 188 g (1½ cups)all-purpose flour
- 2.5 ml (½ teaspoon)baking soda
Instructions
- 1
Preheat the oven
Heat the oven to 180°C (350°F).
- 2
Cream the mixture
Beat together the butter, 100 g (½ cup) of the granulated sugar, the brown sugar and peanut butter until combined. Beat in the egg and vanilla until incorporated.
- 3
Mix the dough
Add the flour and baking soda, then mix until a dough forms.
- 4
Shape and coat
Scoop the dough into balls of about 30 ml (2 tablespoons) each and roll them in the remaining 50 g (¼ cup) of granulated sugar.
- 5
Flatten the cookies
Press each ball down gently, using a fork to make a criss-cross pattern if you like.
- 6
Bake until golden
Bake for 10–11 minutes, until the edges are set and golden brown.
- 7
Cool the cookies
Leave the cookies on the baking tray for 5 minutes, then transfer them to a wire rack to cool completely.
What are peanut butter cookies?
Peanut butter cookies are a familiar American-style bake built around the rich, savoury flavour of peanut butter. This version uses crunchy peanut butter, so the finished cookies have little nutty pieces throughout as well as crisp edges.
The dough is mixed and baked without a chilling stage, and rolling the portions in sugar gives the outside an extra crisp finish.
Nutrition and macros by portion
The nutrition label shows one serving as written: 139 calories, 2g protein, 18g carbs, 7g fat.
| Portion | Adjustment | kcal | Protein | Carbs | Fat |
|---|---|---|---|---|---|
| Lighter | Smaller cookie portions | 97 kcal | 1g | 13g | 5g |
| This serving | As written | 139 kcal | 2g | 18g | 7g |
| Hungry | Larger cookie portion | 209 kcal | 3g | 27g | 11g |
The flour and sugars provide most of the carbohydrates, while butter and peanut butter contribute much of the fat; the egg and peanut butter provide some protein. Pair a cookie with fruit or yoghurt for a more balanced snack.
The ingredients that shape the texture
Crunchy peanut butter: this is the key choice for added texture; smooth peanut butter will make a more uniform cookie.
Butter and sugars: butter brings richness, while granulated and brown sugar sweeten the dough. The portion of granulated sugar reserved for rolling gives the exterior a sugary coating.
Mixing a workable dough
Creaming the butter, sugars and peanut butter first helps combine the base before the egg and vanilla go in. Beat until the egg is incorporated, then add the flour and baking soda and stop mixing once the dough comes together.
If the dough feels soft as you shape it, work promptly so the balls hold their form when rolled in sugar.
Shaping and flattening
Even portions: scoop balls of about 30 ml (2 tablespoons) so they bake at a similar rate.
Fork marks: a fork pressed across each ball makes the familiar criss-cross pattern while flattening the dough. A gentle press without the pattern works too.
How to judge doneness
Bake for 10–11 minutes at 180°C (350°F), looking for edges that are set and golden brown. The centres may still seem soft when the tray comes out, so avoid waiting for the whole cookie to look firm in the oven.
Let the cookies rest on the tray for 5 minutes before moving them; this gives them a chance to firm up enough to transfer.
Serving and cooling
Cool the cookies completely on a wire rack for the crispest result, then serve them as a snack or alongside a hot drink. Make sure they are fully cool before storing so trapped warmth does not soften them.
Recipe notes & tips
- Measure the reserved sugar separately before mixing so it is ready for rolling.
- Use a consistent scoop to help the cookies bake evenly.
- Roll each dough ball thoroughly in sugar for an even coating.
- Leave space between the dough balls so they have room to spread.
- Use the stated edge colour as a doneness cue rather than waiting for the centres to look fully firm.
Variations
- Smooth peanut butter: use it instead of crunchy for a more even texture.
- Fork pattern: press each sugared ball twice with a fork to create a criss-cross top.
- Smaller cookies: make smaller portions and begin checking them earlier, as they may bake faster.
- Simple finish: flatten the balls gently without adding fork marks.
- Fresh batch: bake one tray at a time if your oven does not heat evenly.
Common mistakes to avoid
- Overmixing after adding flour: stop as soon as the dough comes together to avoid tough cookies.
- Uneven portions: use a consistent scoop so cookies finish baking at roughly the same time.
- Skipping the flattening: press the balls down before baking so they bake in the intended shape.
- Moving them too soon: leave the cookies on the tray for 5 minutes before transferring to the rack.
- Overbaking: take them out when the edges are set and golden, even if the centres still look soft.
How to store
Once completely cool, store the cookies in an airtight container at room temperature for up to 5 days. If they soften, warm them briefly in a low oven and let them cool before serving.
Frequently asked questions
Do I need to chill the dough?
No chilling step is needed for this recipe. Shape the dough and bake it after mixing.
Can I use smooth peanut butter?
Yes. The cookies will have a smoother texture and will lack the extra crunchy pieces from the peanut butter.
Why do the cookies look soft when they come out?
The centres can still be soft when the edges are set and golden. Leave them on the tray for 5 minutes to firm up before transferring.
Do I have to make the fork pattern?
No. The fork marks are optional; you can simply press each ball down gently to flatten it.
How can I tell when they are baked?
Check that the edges are set and golden brown after 10–11 minutes. Avoid waiting for the centres to become fully firm in the oven.
Cook it from the original
This recipe comes from dinnersdishesanddesserts.com. Their page has the author’s own photos, notes and tips — the best place to cook it from.
Open the recipe on dinnersdishesanddesserts.com