
Instant Pot Pork Chops
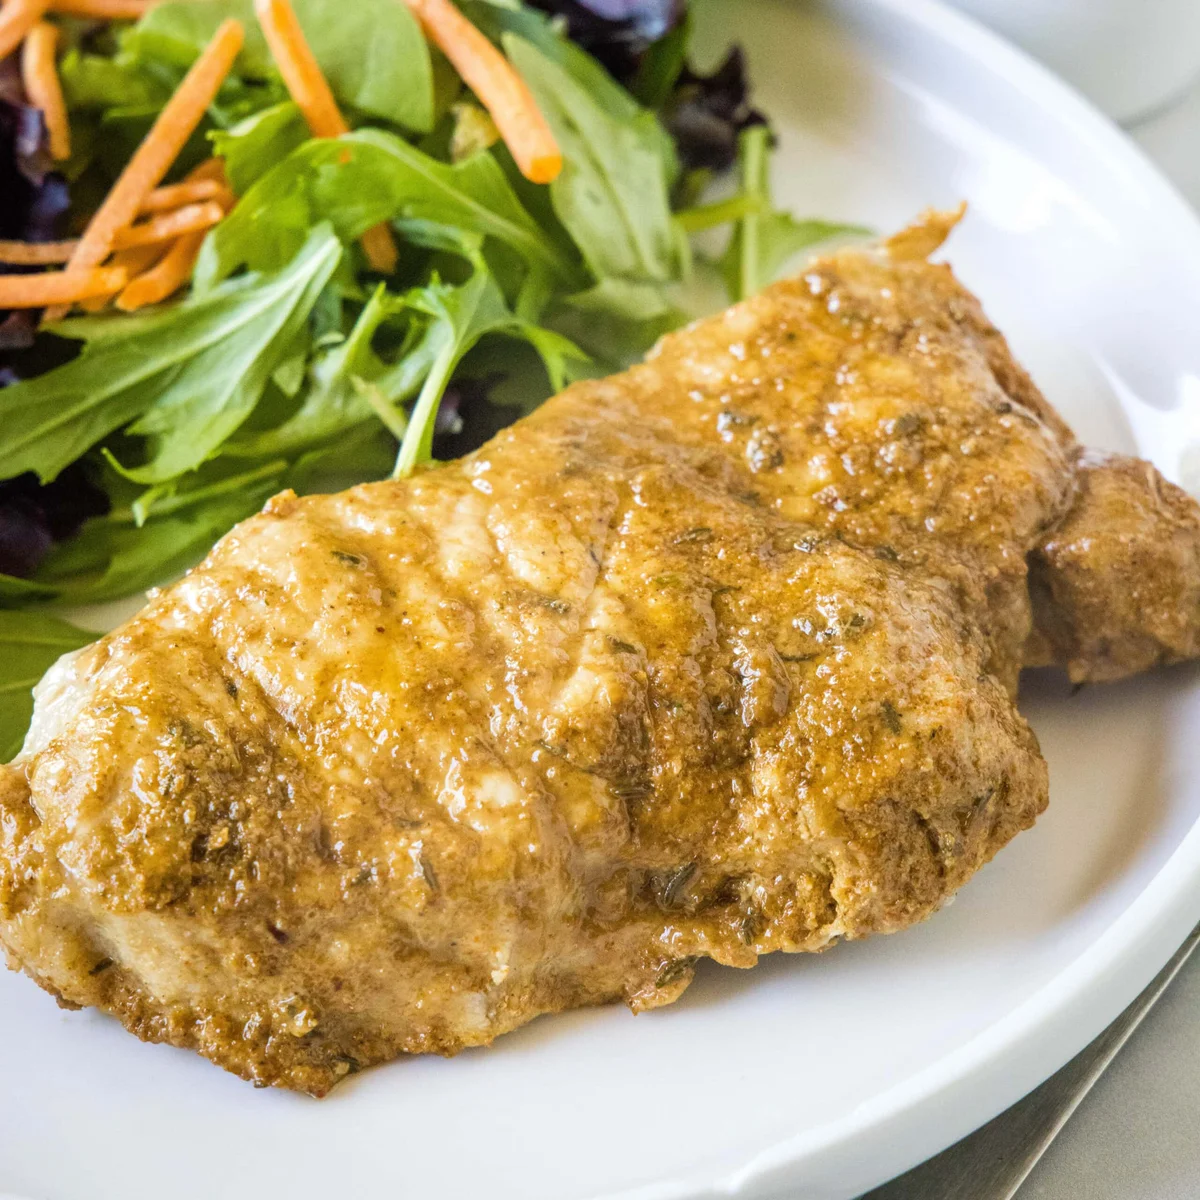
These Instant Pot pork chops are seasoned, browned and pressure-cooked with chicken broth for a straightforward weeknight main. Serve them with vegetables or a salad to round out the meal.
Ingredients
- 4 pork chops, about 2.5 cm (1 inch) thickpork chops
- 15 ml (1 tablespoon)pork chop seasoning
- 15 ml (1 tablespoon)olive oil
- 240 ml (1 cup)chicken broth
Instructions
- 1
Heat the pot
Set the Instant Pot to sauté and leave it to heat.
- 2
Season the chops
While the pot heats, coat both sides of the pork chops evenly with the pork chop seasoning.
- 3
Brown the pork
Add the oil to the pot. When it is hot, arrange the pork chops in a single layer and brown them for about 2 minutes on each side, then remove them from the pot.
- 4
Add the broth
Pour in the chicken broth, put the trivet that came with the Instant Pot in the pot, then place the pork chops on it. They can overlap.
- 5
Pressure-cook the chops
Cover and lock the pot, then cook at high pressure for 5 minutes. Allow the pressure to release naturally for 10 minutes, then use quick release to finish.
- 6
Serve straight away
Remove the pork chops from the pot and serve immediately.
What are Instant Pot pork chops?
Pork chops are cuts from the loin, and this American-style version uses seasoning, a brief sear and pressure cooking to make a simple main. The Instant Pot brings the chops together with a small amount of broth for a practical one-pot approach.
Browning first adds colour, while the trivet keeps the chops above the broth as they cook. The method is designed for chops about 2.5 cm thick.
Nutrition and macros by portion
The nutrition label shows one serving as written: 254 calories, 30g protein, 3g carbs, 13g fat.
| Portion | Adjustment | kcal | Protein | Carbs | Fat |
|---|---|---|---|---|---|
| Lighter | Serve with extra vegetables | 178 kcal | 21g | 2g | 9g |
| This serving | As written | 254 kcal | 30g | 3g | 13g |
| Hungry | Add a larger side | 381 kcal | 45g | 5g | 20g |
The pork chops provide most of the protein, while the olive oil contributes most of the fat; the seasoning and broth contribute relatively little carbohydrate. Serve a chop with vegetables or salad, and add a suitable starchy side if you want a more filling plate.
The seasoning and broth
Seasoning: Coat both sides evenly so the flavour is spread across each chop. If your seasoning is salty, bear that in mind when choosing a side or adding anything else to the plate.
Broth: The chicken broth goes into the pot before pressure cooking and provides the liquid for the cooker. Keep it in the pot rather than pouring it over the browned chops.
Why brown the chops first?
The initial sauté gives the pork a browned surface before it cooks under pressure. Work in a single layer so each chop can make contact with the hot pot.
About 2 minutes per side is the time given in the method. Lift the chops out after browning so you can add the broth and trivet.
Using the trivet
The trivet holds the pork chops above the broth during pressure cooking. Set it in the pot after adding the liquid, then arrange the chops on top.
The chops may overlap on the trivet, as the method allows. Lock the lid before starting the high-pressure cook.
Pressure and release timing
Cook the chops at high pressure for 5 minutes, then leave the pot to release naturally for 10 minutes. Finish with a quick release, following your cooker’s instructions.
The stated 30-minute total includes more than the pressure-cooking time: the pot needs to heat, the chops need browning, and pressure must build and release.
What to serve with them
Pair the chops with vegetables or a salad, as suggested for this recipe. A side with plenty of colour makes a simple plate without adding more cooking to the pressure-cooker method.
You can also serve them with a starchy side if you want a more substantial dinner. Spoon a little of the cooking liquid over the pork if you would like to use it at the table.
Recipe notes & tips
- Choose chops close to 2.5 cm thick so they match the method.
- Season both sides evenly before browning.
- Let the pot heat on sauté before adding the oil and pork.
- Brown the chops in a single layer rather than crowding them.
- Use the trivet supplied with your Instant Pot.
- Follow the 10-minute natural release with quick release to finish.
Variations
- Herb seasoning: Use a herb-forward pork chop seasoning for a different flavour.
- Spiced seasoning: Choose a seasoning blend with more warmth or heat.
- Vegetable side: Pair the chops with steamed or roasted vegetables.
- Salad pairing: Serve with a crisp salad for a lighter accompaniment.
- Starchy side: Add potatoes or another favourite starch for a more substantial meal.
Common mistakes to avoid
- Uneven seasoning: Coat both sides of every chop before cooking.
- Crowded browning: Brown the chops in a single layer so they can contact the pot.
- Skipping the broth: Pour in the chicken broth before placing the trivet.
- Skipping the trivet: Set the supplied trivet in the pot before adding the chops.
- Rushing the release: Allow the full 10-minute natural release before quick release.
- Leaving them in the pot: Remove the chops and serve them immediately after cooking.
How to store
Refrigerate leftover pork chops in a covered container and use within 3–4 days. Reheat until hot throughout, adding a little broth if needed to keep them moist.
Frequently asked questions
Can the pork chops overlap on the trivet?
Yes. The method allows the chops to overlap when placed on the trivet.
How long do the chops cook under pressure?
Cook them at high pressure for 5 minutes, then allow a 10-minute natural release before quick release.
Do I need to brown the pork chops first?
Yes. The recipe browns them for about 2 minutes on each side before pressure cooking.
What can I serve with these pork chops?
Serve them with vegetables or salad. A starchy side is another option for a more substantial meal.
Can I use thicker pork chops?
The method is written for chops about 2.5 cm thick. Thicker chops may need different cooking, so follow guidance suited to their size and your cooker.
Cook it from the original
This recipe comes from dinnersdishesanddesserts.com. Their page has the author’s own photos, notes and tips — the best place to cook it from.
Open the recipe on dinnersdishesanddesserts.com