
How To Make Over Easy Eggs
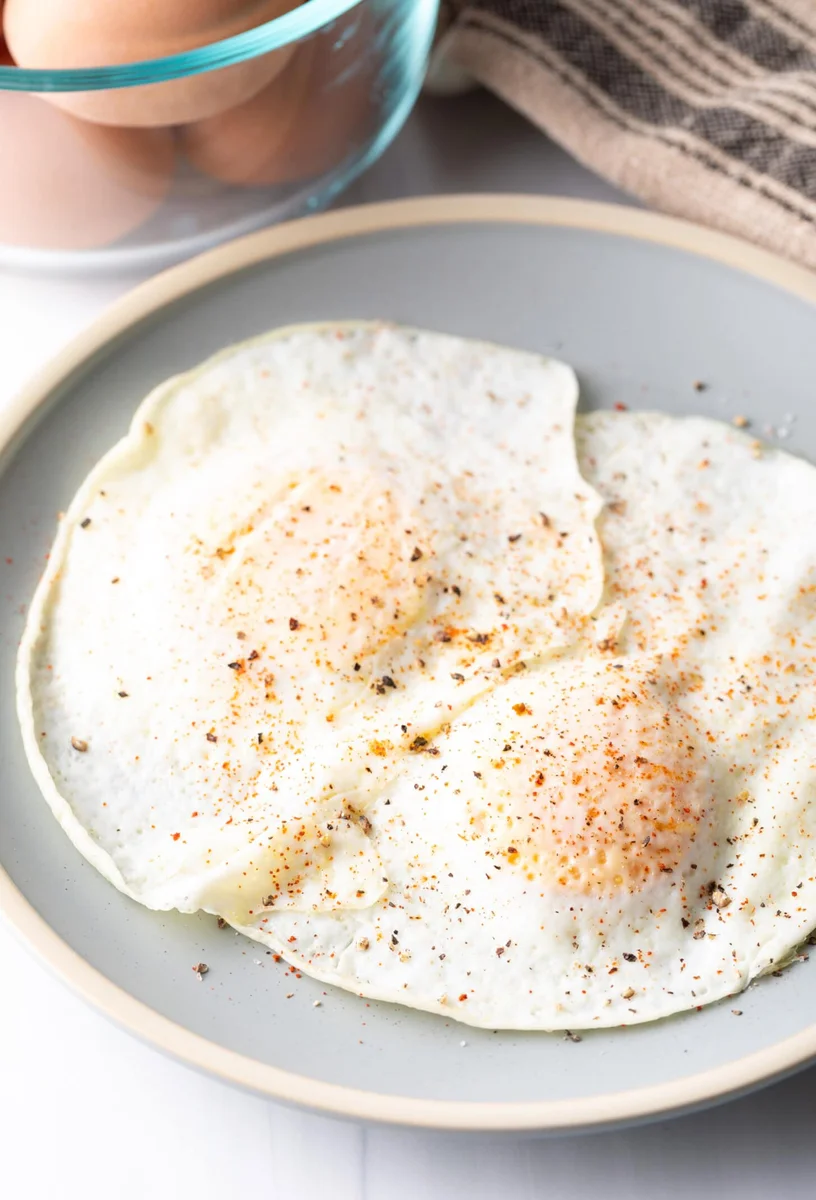
Over-easy eggs are fried on both sides, with set whites and a soft, runny yolk. This quick stovetop method uses a little oil spray and a gentle flip for a simple breakfast in about four minutes.
Ingredients
- 1egg
- to coat the pan lightlyoil spray
- to tastesalt and pepper
- to tasteadditional seasonings: smoked paprika (cayenne pepper, garlic salt)
Instructions
- 1
Prepare the pan
Set a small non-stick frying pan over low heat and spray it once with oil or butter spray, making a very fine layer without using too much.
- 2
Crack in the egg
Tap the egg on the edge of the pan or on the worktop. Hold it close to the pan and gently break it into the centre, taking care to keep the yolk intact. If you like, use the edge of the shell to keep the yolk in the centre of the white for a few seconds.
- 3
Cook the first side
Cook over low heat for about 2 minutes, until the white is set but has not turned golden or brown.
- 4
Flip the egg
Slide a flat non-stick spatula fully beneath the egg, then carefully turn it over in the centre of the pan. A larger spatula can make the flip easier.
- 5
Cook the second side
Cook for about 1 minute, just until the white is cooked through.
- 6
Season and serve
Transfer the egg to a plate and season as desired.
- 7
Repeat if needed
Repeat the steps for as many eggs as needed.
What are over-easy eggs?
Over-easy eggs are fried eggs briefly turned over so the white cooks on both sides while the yolk stays runny. They are a familiar American breakfast choice, often served on toast or alongside other breakfast foods.
Low heat and a careful flip are what make this version work: the white sets gently without browning, and the second side cooks just long enough to finish it.
Nutrition and macros by portion
The nutrition label shows one serving as written: 102 calories, 6g protein, 1g carbs, 8g fat.
| Portion | Adjustment | kcal | Protein | Carbs | Fat |
|---|---|---|---|---|---|
| Lighter | Use minimal oil spray | 71 kcal | 4g | 1g | 6g |
| This serving | As written | 102 kcal | 6g | 1g | 8g |
| Hungry | Add another egg | 153 kcal | 9g | 2g | 12g |
The egg supplies most of this serving’s protein and fat, while the small amount of carbohydrate comes from the egg and any chosen seasoning. Pair it with wholemeal toast and fruit or vegetables for a more substantial, balanced plate.
Why use a non-stick pan?
Pan choice: A small non-stick frying pan helps the egg release cleanly and makes it easier to slide a spatula underneath.
Keep the pan lightly greased
Oil spray: A fine coating is enough to help prevent sticking. Too much fat can make the egg slide around just as you are trying to flip it.
How to flip without breaking the yolk
Cracking: Break the egg gently and close to the pan to reduce the chance of the yolk breaking on impact.
Turning: Wait until the white has set, then get the spatula fully beneath the egg before lifting and turning it in one controlled movement. A broad, flat spatula offers more support than a small flexible one.
Look for the right doneness
First side: After about 2 minutes on low, the white should be set and still pale rather than golden or brown.
Second side: About 1 minute is enough to cook the white through while leaving the yolk soft and runny. Avoid extending the cooking time if you want that texture.
Season and serve
Seasoning: Salt and pepper are a straightforward finish; smoked paprika, cayenne pepper or garlic salt can add a different flavour.
Serving: Eat the egg straight away, on toast or with breakfast potatoes and vegetables. Toast is especially handy for scooping up the runny yolk.
Recipe notes & tips
- Keep the heat low so the white sets without browning.
- Use only a light film of oil spray across the pan.
- Crack the egg close to the pan to help keep the yolk intact.
- Wait for the white to set before sliding the spatula underneath.
- Choose a broad, flat spatula to support the egg during the flip.
- Serve immediately for the softest yolk.
Variations
- Smoked paprika: Dust the cooked egg with smoked paprika for a gentle smoky note.
- Cayenne: Add a small pinch of cayenne for heat.
- Garlic salt: Use garlic salt instead of plain salt for a savoury finish.
- Peppery finish: Add freshly ground black pepper just before serving.
- On toast: Serve on toasted bread so it can soak up the runny yolk.
Common mistakes to avoid
- Heat too high: The base can brown before the white sets; keep the pan over low heat.
- Too much oil: The egg may slide around when you try to turn it; use only a fine coating.
- Cracking from too high: The yolk may break on impact; open the egg close to the pan.
- Flipping too soon: The white may tear; wait until it is set before using the spatula.
- Small spatula: The egg can fold or break during the turn; use a broad, flat one.
- Cooking too long: The yolk can firm up; stop after about 1 minute on the second side.
How to store
Over-easy eggs are best eaten immediately, while the yolk is still runny. If you need to keep one, refrigerate it promptly in a covered container and use within 3–4 days; reheating will cook the yolk further.
Frequently asked questions
How long do over-easy eggs take to cook?
This method takes about 2 minutes on the first side and about 1 minute on the second, with a little time for preparation.
How can I keep the yolk runny?
Cook the egg over low heat, then limit the second side to about 1 minute, just until the white is cooked through.
How do I stop the egg sticking?
Use a non-stick pan and spray it with a very fine layer of oil. Make sure the spatula is fully under the egg before lifting it.
Can I use butter instead of oil spray?
Yes. The method allows for butter spray; use just enough to create a thin coating in the pan.
What does over-easy mean?
It means the egg is cooked on both sides, but only briefly on the second side so the yolk remains runny.
Can I make more than one egg?
Yes. Repeat the method as needed, making sure each egg has room to cook and can be flipped carefully.
Cook it from the original
This recipe comes from aspicyperspective.com. Their page has the author’s own photos, notes and tips — the best place to cook it from.
Open the recipe on aspicyperspective.com