
Dairy Free Coconut Ice Cream
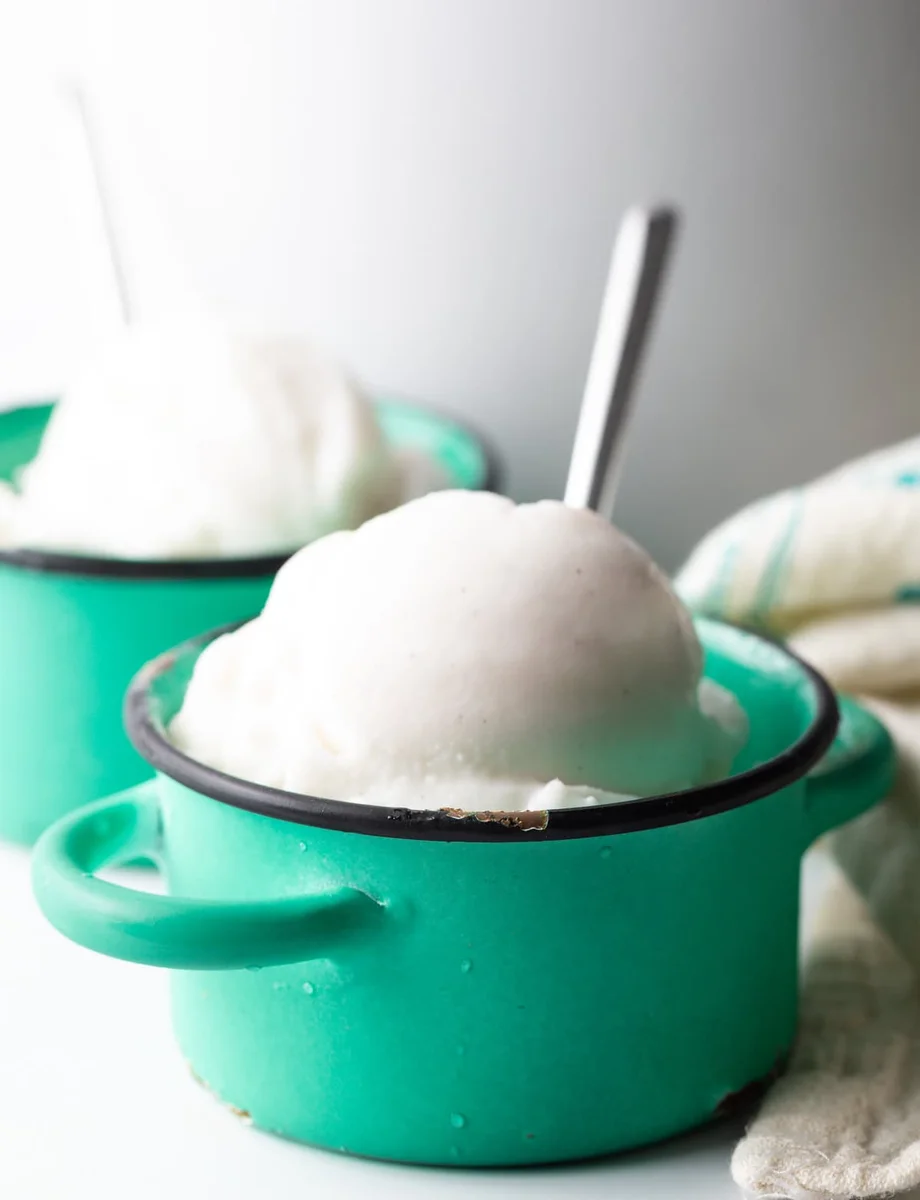
I am totally obsessed with this ultra-creamy and tropical dairy-free coconut ice cream. This indulgent frozen treat is my kind of dessert and the ultimate refresher for warm summer days. Plus, you can kind of feel better about eating this version of coconut ice cream than the classic variety!
Ingredients
- 27 ounce canned full-fat unsweetened coconut milk (2 cans)
- 13.6 ounce can coconut cream
- 1 cup granulated sugar
- 2 teaspoons vanilla extract (or vanilla bean paste)
- 1/4 teaspoon salt
Instructions
- 1
No-Heat Test: I’ve made this ice cream several times and have discovered that it doesn’t always need to be heated/cooked before churning… Which cuts out a significant amount of time. (It depends on what brand of coconut milk/cream you use and the type of blender you use.) To test if your ice cream needs to be heated, put all the ingredients in a blender and puree until smooth. If the coconut ice cream mixture is VERY smooth without ANY chunks, it’s safe to churn it as-is without heating.
- 2
Heat and Stir: However, if there are any coconut cream chunks present in the mixture, they will freeze into hard waxy clumps in the ice cream. In this case you need to warm the mixture over medium heat until smooth, stirring regularly. Then chill and cool to at least room temperature before churning. *If you don’t want to “test” the no-heat method, you can simply dump all the ingredients in a saucepot and warm over medium heat until smooth, so the coconut clumps and sugar dissolve. Then chill.
- 3
To Churn: Once the ice cream mixture is cold, set out a 1.5-2 quart ice cream machine. Place the freezer bowl in the machine and turn on. Pour the very smooth cold ice cream mixture into the machine. Churn for 20-25 minutes, until thick, firm, and smooth.
- 4
Serve immediately, or scoop into an airtight container and freeze until ready to use.
Cook it from the original
This recipe comes from aspicyperspective.com. Their page has the author’s own photos, notes and tips — the best place to cook it from.
Open the recipe on aspicyperspective.com