
Mochi 餅
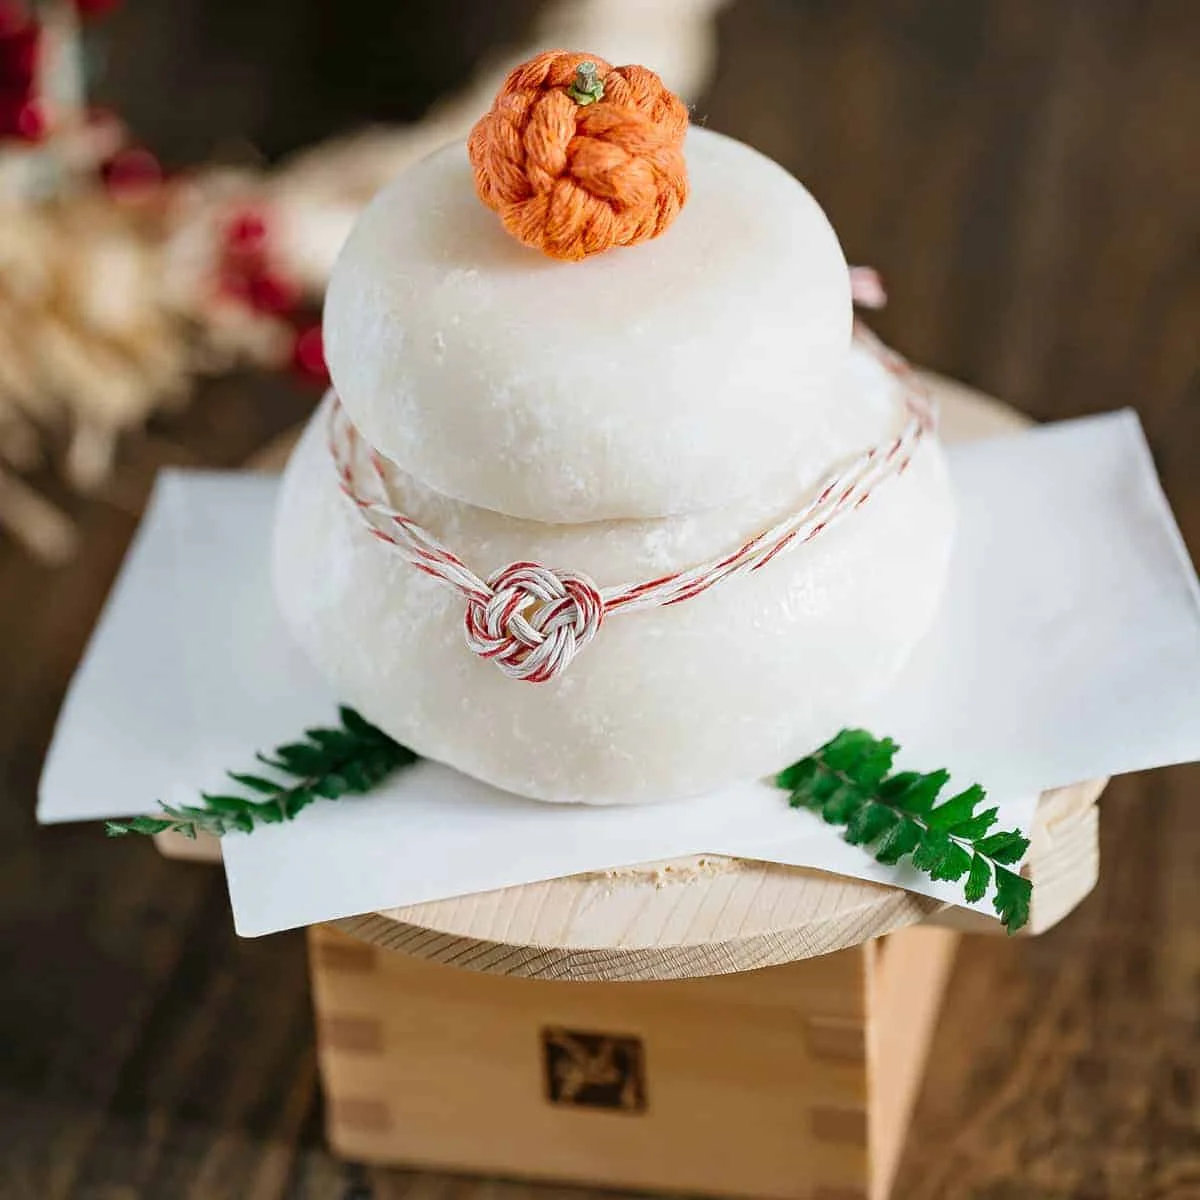
Mochi recipe making it at home without a mochi making machine with step by step photo instructions, tips and tricks, how to serve and store.
Ingredients
- 1.5 cups short grain Japonica glutinous rice (sweet rice/Mochigome) (or 300g *1)
- 1/2 cup Mochi-toriko (such as potato starch or cornstarch) (*2)
Instructions
- 1
--- A night before pounding mochi ---
- 2
Wash the rice gently under running water, changing and draining the water a few times.
- 3
Soak the rice in the large bowl with plenty water overnight.
- 4
--- On the following day ---
- 5
Drain the soaking water.
- 6
Boil water: Start boiling water in a pot. *3
- 7
Prepare steamer: Prepare a bamboo steamer with lining a tightly squeezed wet kitchen cloth on the bottom of the bamboo steamer.
- 8
Place rice onto the prepared steamer: Place the drained rice over the kitchen cloth making a dent in the centre like a donut shape in order for the steam to evenly and efficiently move around the rice.
- 9
Steam: Put the prepared steamer over the boiling water in the pot and steam for 30- 45 min.
- 10
Heat off: Turn the heat off and empty the steamed rice into a bread machine. *4
- 11
Pounding: Put the lid on and press "knead" and set for 20 minutes. *5
- 12
Remove the mochi dough onto a tray with generous amount of mochi-toriko (potato starch/cornstarch) dusted.
- 13
Shape into small mochi balls, or into nice round/rectangle/square shapes and slice it 0.4inch (1cm) thick the next day. *6
- 14
Serve with red bean paste, sweet soy bean powder, or with grated daikon and soy sauce. *7
Cook it from the original
This recipe comes from chopstickchronicles.com. Their page has the author’s own photos, notes and tips — the best place to cook it from.
Open the recipe on chopstickchronicles.com