
Pain Au Chocolat Recipe
Nutrition per Serving
504
Calories
9g
Protein
50g
Carbs
30g
Fat
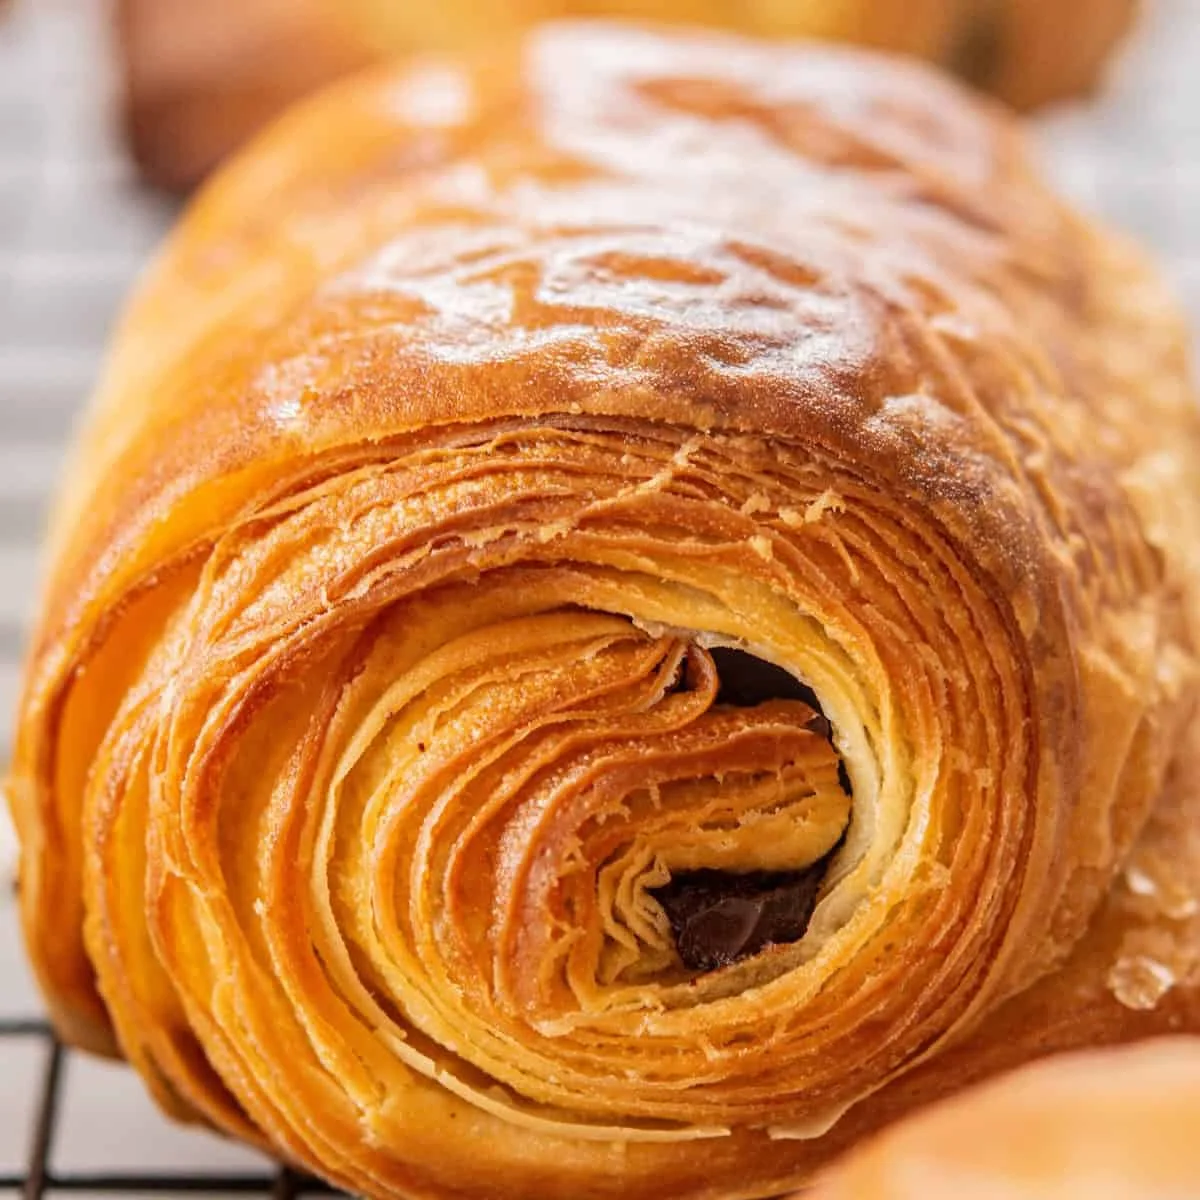
This pain au chocolat recipe will guide you on how to make flaky, layered chocolate pastries at home. There are a few steps involved, so read through the recipe first, then you’ll be able to make them at home!
📝 Ingredients
- 2 1/4 teaspoons instant yeast (or active dry yeast)
- 160 g whole milk (lukewarm)
- 120 g water
- 470 g all-purpose flour (plus extra for dusting)
- 50 g granulated sugar
- 1 1/2 teaspoons salt
- 30 g unsalted butter (room temperature)
- 250 g unsalted butter (room temperature)
- 1 1/2 tbsp all-purpose flour
- 140 g dark chocolate (chopped into sticks or thin pieces)
- 1 large egg
- powdered sugar
👨🍳 Instructions
- 1In a large bowl add the milk, water, yeast and sugar. If using active dry yeast, let it sit for 5-10 minutes until frothy. Skip this step if using instant yeast.
- 2Add the flour and salt and combine until a rough dough forms.
- 3Turn the dough onto a lightly floured surface and begin kneading. Work the dough for about 3 minutes to start developing the gluten. The dough should become smoother and less sticky.
- 4Once the gluten has begun to develop, add the 30g of room temperature butter to the dough. Continue kneading for another few minutes until the butter is fully incorporated.
- 5Roll it into a rough rectangle, wrap it in plastic, and refrigerate for at least 2 hours or overnight.
- 6--- Butter Block ---
- 7Mix 250g butter with 1 1/2 tbsp flour until combined.
- 8Place the butter between two sheets of parchment paper and roll it into a 20x15cm (8x6 inch) rectangle, about 5mm (1/4 inch) thick. To get clean, straight edges, fold the edges of the parchment paper around the butter block to create a square frame, then press the butter with the rolling pin to fit neatly into this frame.
- 9Refrigerate the butter block until it’s firm.
- 10--- Laminating ---
- 11Remove your butter block from the fridge and roll it in the parchment paper a bit with the rolling pin to make it pliable and mouldable. It should be cold but be able to be bent a bit.
- 12On a floured surface, roll the chilled dough into a 20x32 cm (8x12.5 inch) rectangle. The dough should be twice the height of the butter, and around the same width.
- 13Place the butter block in the center of the dough, folding the top and bottom edges over the butter to fully encase it like a letter. Press this seal closed with your fingertips. Use a sharp knife to make shallow slits along the edges of the dough. This helps prevent excessive tension in the dough, especially if it's slightly too tight around the butter block.
- 14Turn it 90 degrees so the crease where you encased it is vertically in front of you.
- 15First fold: Applying gentle pressure, roll the dough into long rectangle about 4mm thick. Don't worry about how wide it is. Always roll forward with gentle, even pressure and focus on length not width. Avoid pushing too hard, which can tear the dough and crack the butter layers. Ensure the dough is not sticking to the bench, and dust with more flour if needed.
- 16Once rolled, trim the edges to make it neat and brush away excess flour on the dough. Fold one-quarter of the dough in towards the center. Fold the remaining three-quarters of the dough over so that it meets the edge of the first fold.
- 17Brush away any excess flour. Fold the dough in half, like closing a book. Wrap the dough in plastic and let it rest in the fridge for 30-60 minutes to relax and cool.
- 18Remove the dough from the fridge and place it on a floured bench vertically infront of you.
- 19Roll the dough out to rectangle about 5-6mm thick. Brush away any excess flour. Fold the bottom third of the dough up and the top third down, like folding a letter. Wrap the dough and chill in the fridge for 2 hours.
- 20--- Shaping ---
- 21Once the dough has chilled, roll it out into a large rectangle, approximately 40cm x 30cm (16x12 inch) . Cut the dough in half lengthwise to create two long strips, each measuring 40×15 cm (16x6 inch).
- 22Next, cut each strip widthwise into 5 equal strips. Brush away any excess flour. Place a piece of chocolate at one end of the rectangle. Roll the dough once, just to cover the first chocolate stick.Then, place a second chocolate stick next to the first roll.
- 23Continue rolling the dough until you reach the end of the rectangle, with the seam on the bottom.
- 24Place the chocolate croissants on baking trays lined with parchment paper. Cover loosely with plastic wrap or a towel and let them proof for 2-5 hours at room temperature, until doubled in size and visibly puffy. The timing will depend on your room temperature.
- 25Preheat the oven to 200°C/400°F.
- 26Whisk the egg with a tablespoon of water and use a pastry brush to brush the tops of the chocolate croissants with the egg wash.
- 27Bake them for around 20-22 minutes until deeply browned. Let them cool, then dust with powdered sugar.
About the Chef & Original Recipe
This recipe was published by Elien Lewis on bakingwithbutter.com. Visit the original source for step-by-step photos, chef notes and additional details.
Source: bakingwithbutter.com