
Oeufs Brouillés Recipe - French Creamy Scrambled Eggs
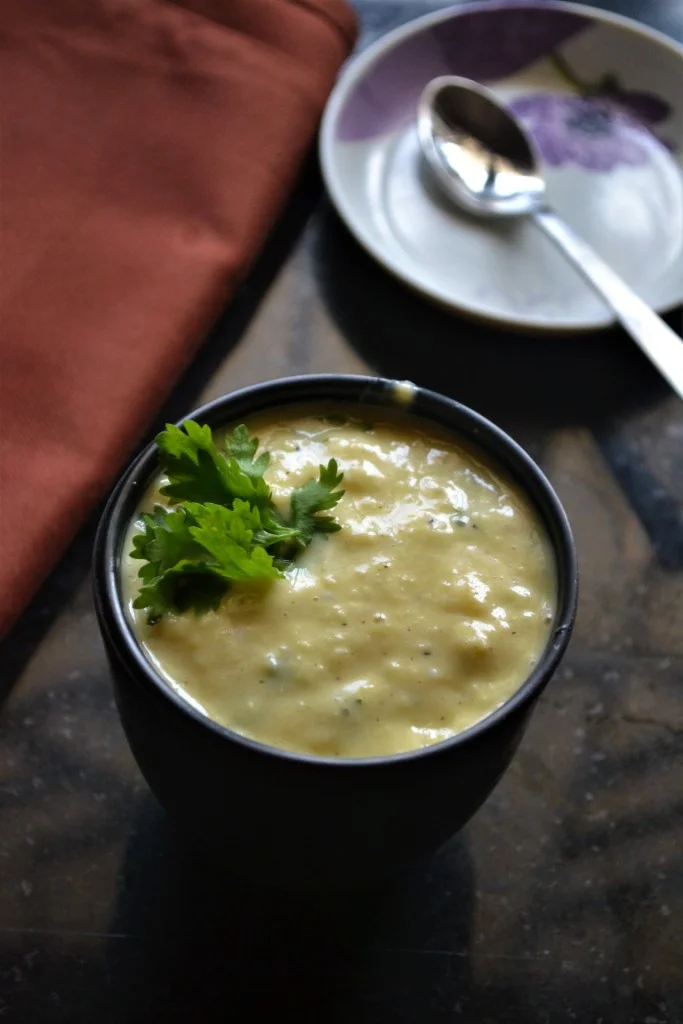
Oeufs brouillés are French-style scrambled eggs cooked slowly until soft and creamy. This simple version finishes the eggs with butter, cream and chives for a rich, delicate breakfast or light meal.
Ingredients
- 3eggs
- 42 g (3 tbsp)butter
- to tastesalt and pepper
- 15 ml (1 tbsp)chives
- 15 ml (1 tbsp)cream
Instructions
- 1
Start the eggs
Put the eggs and 15 ml (1 tbsp) of the butter in a pan over low heat. Whisk continuously.
- 2
Season the mixture
The eggs will first blend without appearing to cook. Keep whisking until the mixture begins to thicken, then season with salt and pepper.
- 3
Cook gently
Continue whisking over low heat until the eggs are cooked but still slightly moist.
- 4
Add butter and cream
Take the pan off the heat straight away and add the remaining butter and the cream.
- 5
Add the chives
Stir in the chopped chives. The original cook notes that they used coriander instead.
- 6
Whisk until creamy
Keep whisking until everything is combined and the eggs have a creamy, custard-like consistency.
- 7
Serve immediately
Transfer the eggs to a serving dish and serve straight away.
What are oeufs brouillés?
Oeufs brouillés is the French name for scrambled eggs. The dish belongs to a long tradition of French cooking that prizes careful technique and a soft, smooth finish.
Here, gentle heat and constant whisking keep the eggs tender, while butter and cream enrich them at the end. Chives bring a fresh, savoury note.
Nutrition and macros by portion
The nutrition label shows one serving as written: 284 calories, 10g protein, 1g carbs, 27g fat.
| Portion | Adjustment | kcal | Protein | Carbs | Fat |
|---|---|---|---|---|---|
| Lighter | Use less finishing butter | 199 kcal | 7g | 1g | 19g |
| This serving | As written | 284 kcal | 10g | 1g | 27g |
| Hungry | Add toast alongside | 426 kcal | 14g | 2g | 40g |
The eggs provide most of the protein, while the butter and cream contribute most of the fat and energy. The eggs also supply a small amount of carbohydrate; bread or toast alongside would add more. For a balanced plate, serve with vegetables or salad and choose bread to suit your appetite.
Why cook the eggs slowly?
Low heat gives you time to notice the eggs thickening before they become firm. Keep the whisk moving across the base and corners of the pan so the mixture cooks evenly.
A heavy-based pan can make the temperature easier to control, but the key is steady, gentle heat rather than a fast cook.
How to judge doneness
Look for eggs that have thickened but still appear slightly moist. They should be soft and creamy, not dry or broken into firm chunks.
Take the pan off the heat as soon as they reach that point. They continue to cook briefly from their own warmth.
Finish off the heat
Adding the remaining butter and cream after removing the pan from the heat helps bring the eggs together without cooking them further over the hob.
Whisk until the finish looks smooth and custard-like. If the eggs seem to be setting too quickly, move the pan fully away from the heat while you work.
Choose the herbs
Chives are the listed herb and give the eggs a mild onion flavour. Chop them finely so they distribute through the mixture.
The method also mentions coriander as the herb used by the original cook. Add it chopped in place of the chives if you prefer its brighter, more distinctive taste.
What to serve alongside
Toast or warm crusty bread makes a straightforward accompaniment and gives the soft eggs something to sit on. A simple tomato salad or lightly dressed leaves can add freshness.
Serve as soon as the eggs are ready; their creamy texture is at its best before they cool and firm up.
Recipe notes & tips
- Use low heat from the start to avoid setting the eggs too quickly.
- Whisk continuously, including around the edges and base of the pan.
- Season once the eggs begin to thicken so the seasoning is easy to mix through.
- Remove the pan from the heat while the eggs still look slightly moist.
- Chop the chives finely for an even distribution.
- Serve straight away because the eggs continue to firm as they stand.
Variations
- Use coriander: Swap the chives for finely chopped coriander, as mentioned in the method.
- Add black pepper: Grind it over the eggs just before serving for a more pronounced peppery note.
- Serve on toast: Spoon the eggs over warm toast for a more substantial meal.
- Add smoked salmon: Serve a little alongside the eggs for a savoury variation.
- Include spring onion: Replace some or all of the chives with finely sliced spring onion.
Common mistakes to avoid
- Using high heat: The eggs can set before they turn creamy; keep the hob low.
- Leaving the pan unattended: The mixture can cook unevenly; whisk continuously.
- Cooking until fully dry: The eggs will firm further off the heat; remove them while slightly moist.
- Adding the finishing butter over the heat: It can push the eggs past their soft stage; take the pan off first.
- Waiting to serve: The texture tightens as the eggs cool; serve immediately.
How to store
These eggs are best eaten immediately and do not keep their creamy texture well. If needed, refrigerate leftovers in a covered container for up to 1 day and reheat gently in a pan, stirring, until just warmed through.
Frequently asked questions
How do I know when the eggs are cooked?
They should be thickened and cooked but still slightly moist. Take them off the heat at that stage, as they will continue to set briefly.
Can I use a different herb?
Yes. The method notes that coriander was used in place of chives. Chop it finely and stir it in at the same point.
Why add butter and cream after cooking?
They are stirred in once the pan is off the heat to finish the eggs with a creamy texture without continuing to cook them over the hob.
Can I make these eggs ahead?
They are best made just before serving because they can firm up as they cool. For the softest texture, cook and serve them straight away.
What can I serve with oeufs brouillés?
Toast, crusty bread or a simple salad all work well. Serve the eggs as soon as they are ready.
Cook it from the original
This recipe comes from gayathriscookspot.com. Their page has the author’s own photos, notes and tips — the best place to cook it from.
Open the recipe on gayathriscookspot.com