
Pear and onion chutney
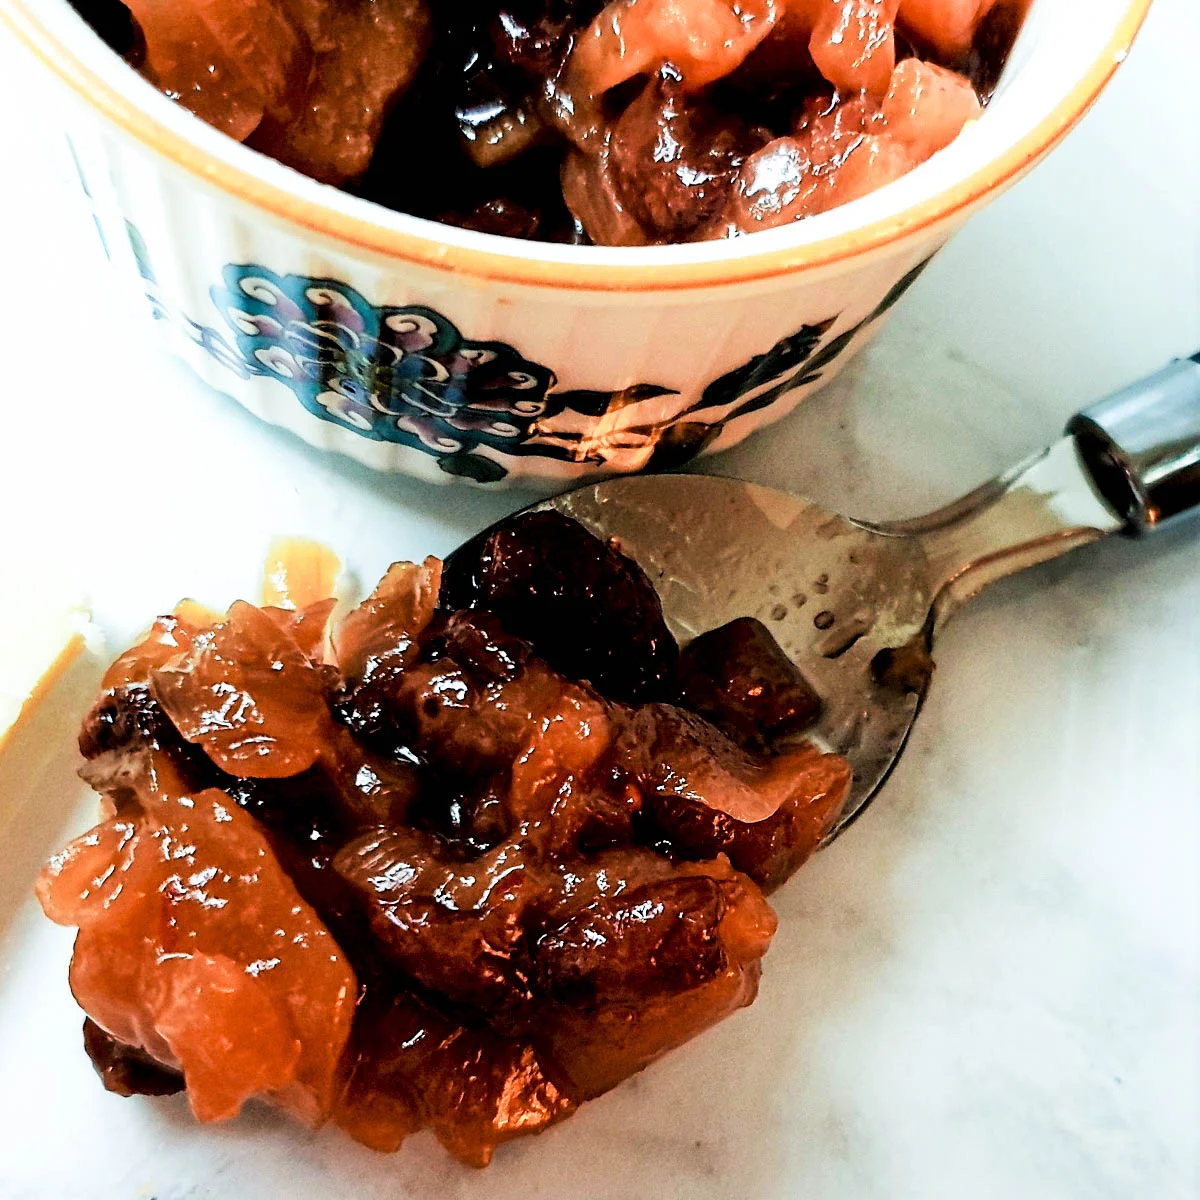
Pear and onion chutney with a hint of heat from chili is the perfect way to spice up any Christmas or Thanksgiving leftovers. It makes the ideal accompaniment to cold meat, or you could even serve a dish of this chutney with your after-dinner cheese platter.
Ingredients
- 1/2 pound / 225 grams white onions finely chopped (approx 2 medium sized onions)
- 1 1/2 pound / 675 grams firm fresh pears (peeled and finely chopped)
- 1 cup / 150 grams sultanas
- 1/4 cup / 60 ml red wine vinegar ((or white wine vinegar or sherry vinegar))
- 2 tablespoons / 25 grams dark brown sugar
- 1/2 teaspoon dried chili flakes
- 1 tablespoon olive oil
Instructions
- 1
Peel the pears, discard any pips and chop into 1cm pieces. For a smoother chutney, you could grate the pears.
- 2
Peel the onions and chop into a fine dice. For a smoother chutney, whizz the onions in a food processor. Do not grate the onion as this will create too much onion juice which will give a bitter taste.
- 3
Fry the onions on a low heat in 1 tablespoon of olive oil until just starting to soften.
- 4
Add the remaining ingredients, stir well, and bring to the boil.
- 5
As soon as the chutney starts to boil, turn down the heat to a low simmer, cover the pan with a lid and leave to simmer for approximately 1 and a half hours, stirring occasionally.
- 6
The chutney will be done when it turns thick and syrupy and leaves a clean trail on the bottom of the pan when you draw a spoon through it.
- 7
If the chutney is still watery after 1 hour and 15 minutes, remove the lid for the final 15 minutes to allow it to thicken.
- 8
Pour the hot chutney into warm sterilised glass jars and seal.
- 9
Store unopened in a cool dark place for up to 6 months. Once opened store in the refrigerator and use within 6 weeks.
Cook it from the original
This recipe comes from foodleclub.com. Their page has the author’s own photos, notes and tips — the best place to cook it from.
Open the recipe on foodleclub.com