
Cottage Cheese Bread Loaf - Rohi Parāoa Tīhi Pahī
Nutrition per Serving
—
Calories
—
Protein
—
Carbs
—
Fat
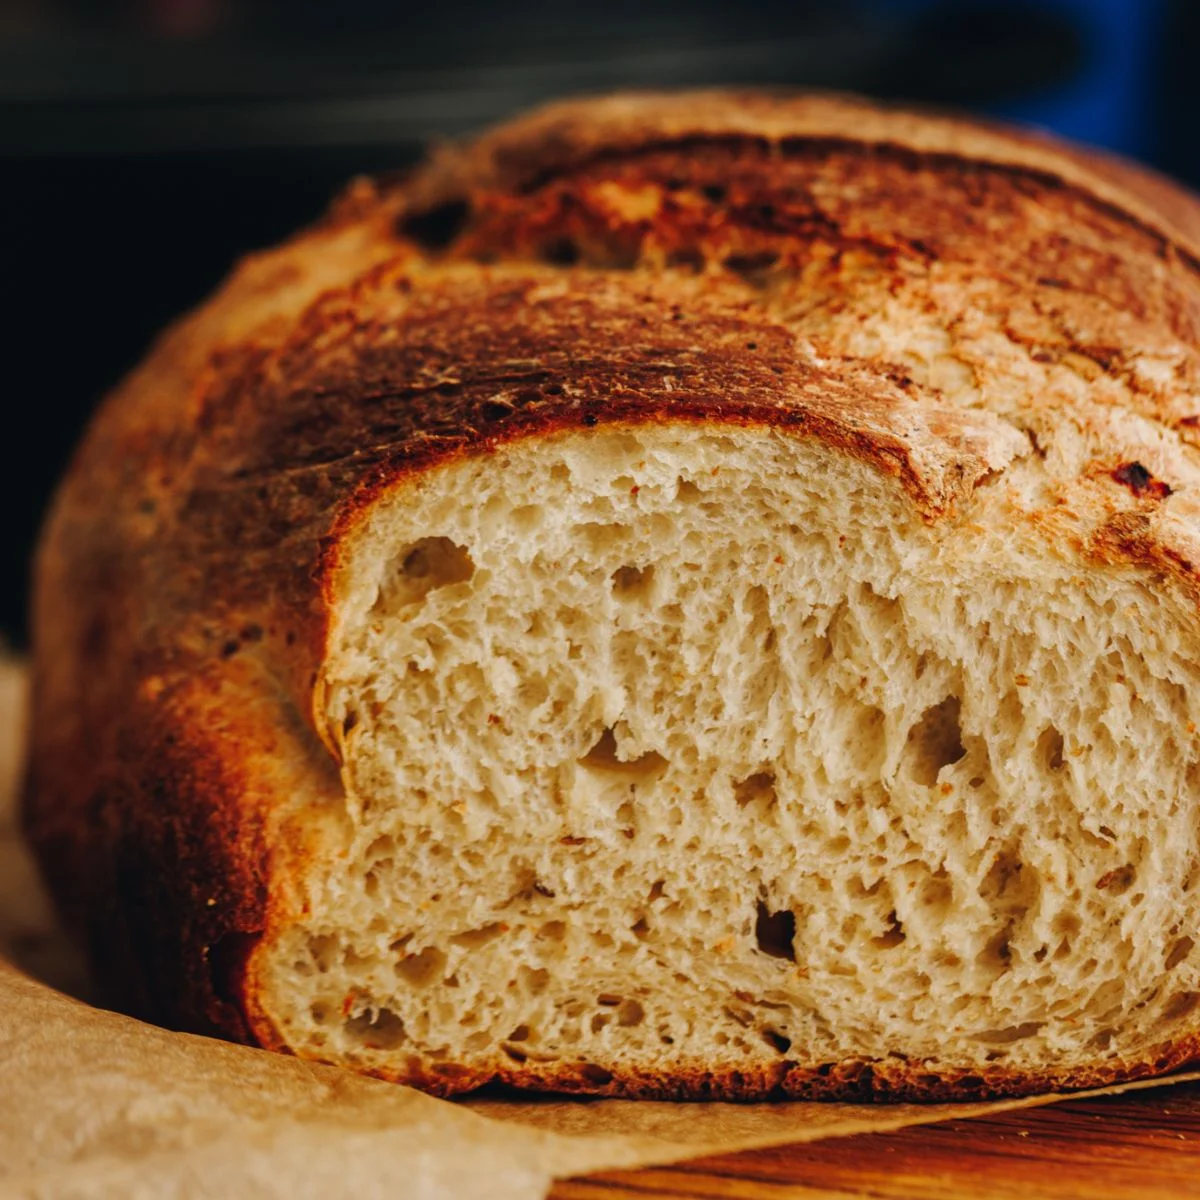
A rustic bread loaf with cottage cheese and toasted cumin seeds kneaded in to the loaf for a delicious flavour combination! This recipe can be baked in a cast iron pot or a loaf tin.
📝 Ingredients
- 1 tbsp kākano kumene (cumin seeds). If cumin are not your vibe, leave them out or swap them for spices like dried coriander or oregano.
- 2 tsp (10 g) tote (salt). I use Himalayan salt here, if you are using iodised table salt, half this amount.
- 1 C (250 ml) wai aromahana (lukewarm water)
- 2 tbsp (30 g) huka hāura (brown sugar)
- 2 1/2 tsp (8 g) īhi horo (instant yeast). This can be swapped for 4 tsp (16 g) Surebake yeast.
- 1 hēki (egg, size 6)
- 3/4 C (170 g) tīhi pahī (cottage cheese)
- 3 C (450 g) puehu parāoa kounga (high grade flour)
👨🍳 Instructions
- 1--- 1. Toast the Cumin: ---
- 2Note: If you don't want a super pronounced flavour of cumin in your pokenga (dough), skip the toasting step and add it in un-toasted.
- 3Set a frying pan over medium heat. Add the kākano kumene (cumin seeds) and toast for 5 minutes or until fragrant.
- 4Add them to a mortar and pestle or a chopping board.
- 5Add the tote (salt) to the kākano kumene (cumin seeds) and either grind them to a powder with a mortar and pestle or crush and chop them finely with a sharp knife. They can also be ground in a spice grinder. Leave to the side.
- 6--- 2. Activate the Yeast: ---
- 7Add the wai aromahana (lukewarm water) and huka hāura (brown sugar) in to a large bowl. Kaurorihia (stir it) until the sugar dissolves.
- 8Add in the īhi (yeast) and whisk it together. If you are using instant yeast, leave it for 5 minutes until the yeast has floated to the top. If you are using surebake yeast, leave for 10 minutes until the yeast has floated to the top and is foamy.
- 9--- 3. Add the Egg and Cottage Cheese: ---
- 10Add the hēki (egg) in to the yeast mixture and whisk until well incorporated.
- 11Using a fork, give the tīhi pahī (cottage cheese) a really good mash until smooth. (Mine was a bit too lumpy in the video - woops).
- 12Add it to the yeast mixture.Whakawhenumia (mix it together).
- 13--- 4. Mix in the Dry Ingredients: ---
- 14Add the puehu parāoa (flour) and ranunga kumene (cumin mixture).
- 15Mix it together with a bread and butter knife until a shaggy dough forms.
- 16--- 5. Kneading the dough - Pokepoke pokenga ---
- 17Now it is time to knead the dough. The dough has an egg in it so it will be a little sticky but don't add extra flour.
- 18If you are using a stand mixer, place the dough in the mixing bowl. Using a dough hook, knead for 8 – 10 minutes on low-medium speed. If you are kneading by hand, add the dough to a lightly floured bench or table. Knead the dough with the palms of your hands (not with your fingers), for 10 – 12 minutes.
- 19--- 6. First Rise: ---
- 20Add the dough to a large oiled bowl and cover with a tea towel or bowl cover.
- 21Leave for 1 hour and 30 - 1 hour and 45 minutes to rise and double in size.
- 22Once the dough has risen, follow the steps for either baking it in a cast iron pot or a loaf tin. If you are baking it in a tin, skip to step number 12. If you are baking it in a cast iron pot, go to step number 7.
- 23--- 7. Shape the Dough for a Cast Iron Pot: ---
- 24Once the dough has risen, tip it on to a lightly floured bench and fold in to a loaf shape. (Refer to the video for a guide).
- 25Place it in an oiled bowl or a sourdough banneton that is the same shape as your cast iron pot (it should be smaller than the pot).
- 26--- 8. Second Rise: ---
- 27Cover and rise again for 50 minutes.
- 28--- 9. Preheat the Cast Iron Pot: ---
- 29Add a 3.6 L cast iron pot and the lid to the oven and heat at 200 °C for 30 minutes.
- 30--- 10. Bake the Loaf in a Cast Iron Pot: ---
- 31Tip the risen dough upside down on to a large piece of baking paper that will over hang in the cast iron pot. Score it, this helps the parāoa (bread) rise in a uniform way and can be done with scissors or a sharp knife.
- 32Remove the preheated cast iron pot from the oven and gently lower the parāoa (bread) in to it. Place the lid on.
- 33Bake it for 25 minutes with the lid on.
- 34Remove the lid and bake for a further 20 minutes uncovered.
- 35--- 11. Cool and Serve: ---
- 36Remove it from the oven, let it cool for 5-10 minutes and slice in to the delicious parāoa (bread) that you just made. Ka wani kē - how awesome!
- 37--- 12. Prepare the Loaf Tin: ---
- 38Grease the base and sides of a loaf tin with oil. The size should be approximately 20 cm long and 12 cm wide.
- 39--- 13. Shape the Dough: ---
- 40Once the dough has risen, tip it on to a lightly floured bench and fold in to a loaf shape. (Refer to the video for a guide).
- 41Add the rolled up dough in to the loaf tin, with the seam underneath.
- 42--- 14. Second Rise: ---
- 43Cover the tin with a tea towel and allow to rise for 45-50 minutes.
- 44--- Preheat the Oven: ---
- 45As it rises, preheat the oven to 175 °C.
- 46--- 15. Bake the Bread: ---
- 47Once it has doubled in size, score it, this helps the parāoa (bread) rise in a uniform way and can be done with scissors or a sharp knife.
- 48Slide it in to the preheated oven and bake for 45 minutes until golden.
- 49--- 16. Slice and Enjoy: ---
- 50Allow to cool for 5 minutes in the tin. Slice and enjoy with your favourite toppings.
- 51--- Store the Bread: ---
- 52This loaf will be at its best on the day but will also make great toast or epic toasties the next day.
- 53In general, I keep homemade bread in a plastic bag for a day on the bench. Beyond that I slice it and store it in the freezer and remove a piece at a time for toasting.
- 54This parāoa (bread) also works as the best base for my Maple Bacon Cheese Toastie.
About the Chef & Original Recipe
This recipe was published by whanaukai.nz. Visit the original source for step-by-step photos, chef notes and additional details.
Source: whanaukai.nz