
No Churn Peanut Butter Ice Cream
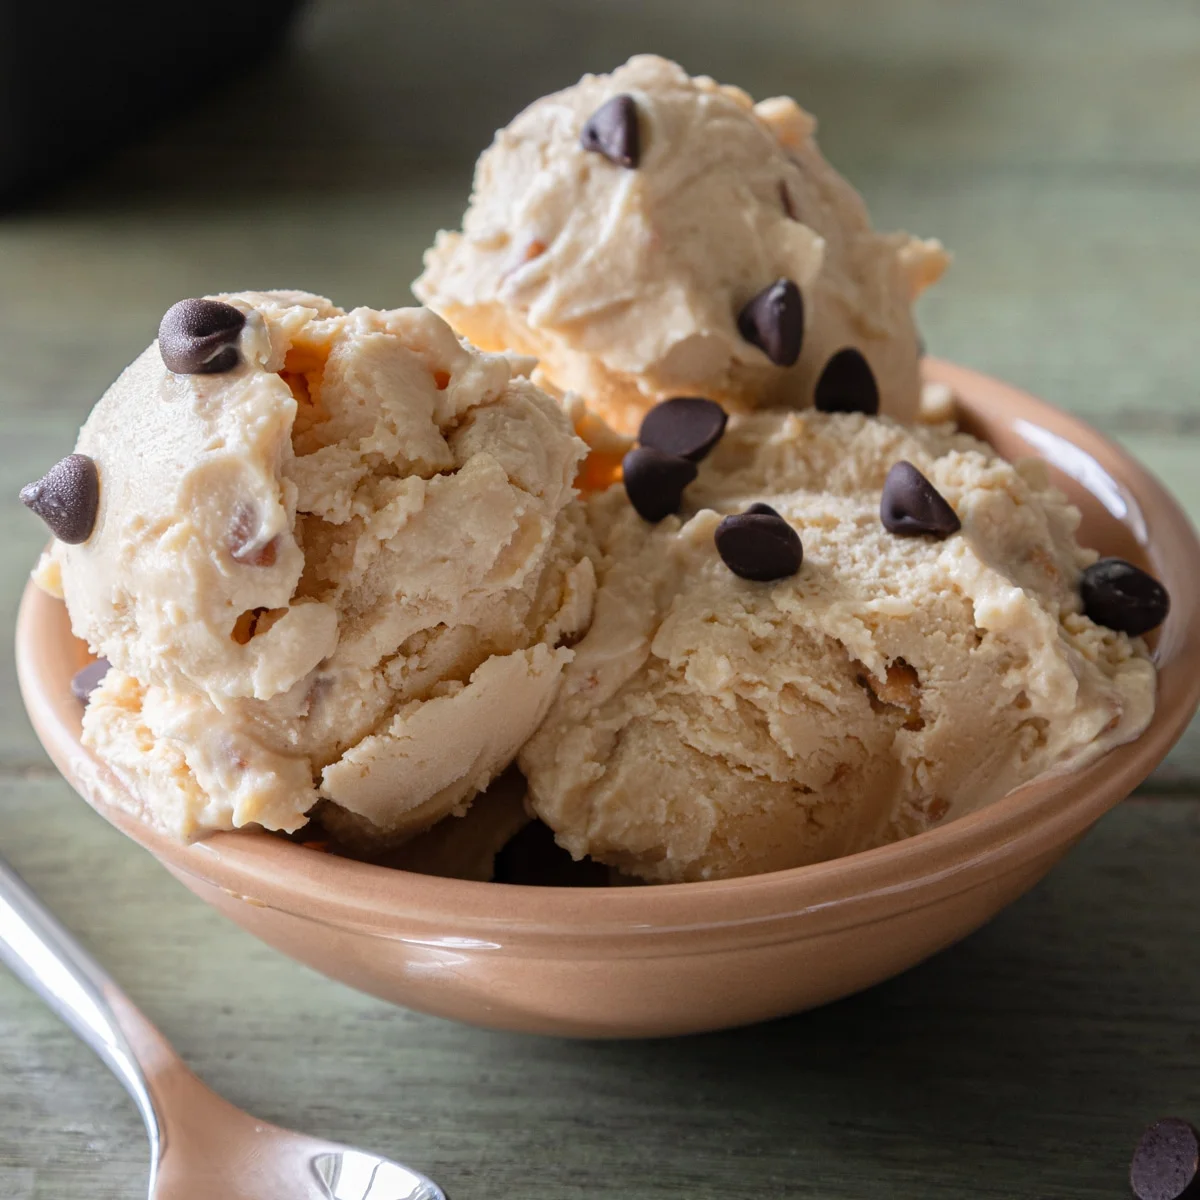
This no-churn peanut butter ice cream combines sweetened condensed milk, cream and peanut butter for a rich, smooth frozen dessert. It is an easy option when you want homemade ice cream without an ice cream maker.
Ingredients
- 397 g (14 oz)sweetened condensed milk
- 480 ml (2 cups)whole, heavy or whipping cream, at least 30% fat
- 5 ml (1 teaspoon)vanilla extract
- 250 g (1 cup)peanut butter
- to tastechocolate chips, for serving
- to tastemelted chocolate, for serving
Instructions
- 1
Mix peanut butter
Beat the peanut butter and sweetened condensed milk together until smooth and evenly combined.
- 2
Add cream
Add the cream and vanilla, then beat until the mixture is very thick.
- 3
Fill the tin
Transfer the mixture to a 23 cm (9-inch) loaf tin and smooth the surface.
- 4
Cover the surface
Cover tightly with cling film, pressing it directly onto the mixture to help prevent ice crystals forming.
- 5
Freeze until firm
Freeze for at least 5 hours, or overnight.
- 6
Add a topping
Serve with chocolate chips sprinkled over the top or a drizzle of melted chocolate.
What is no-churn peanut butter ice cream?
No-churn ice cream is a homemade frozen dessert made without an ice cream machine. This American-style version combines peanut butter with sweetened condensed milk and whipped cream for a rich, distinctly nutty result.
The condensed milk sweetens the mixture, while the cream gives it body. Freezing it in a loaf tin keeps the method simple and makes it easy to scoop once firm.
Nutrition and macros by portion
The nutrition label shows one serving as written: 555 calories, 13g protein, 36g carbs, 42g fat.
| Portion | Adjustment | kcal | Protein | Carbs | Fat |
|---|---|---|---|---|---|
| Lighter | Smaller scoop, lighter topping | 389 kcal | 9g | 25g | 29g |
| This serving | As written | 555 kcal | 13g | 36g | 42g |
| Hungry | Larger scoop | 833 kcal | 20g | 54g | 63g |
Peanut butter and cream provide most of the fat, while the sweetened condensed milk contributes much of the carbohydrate; the peanut butter also supplies some of the protein. For a more balanced plate, serve a scoop with fresh fruit rather than adding a larger chocolate topping.
Choosing the ingredients
Peanut butter: A smooth variety blends most easily into the condensed milk and gives the finished ice cream an even texture.
Cream: Use whole, heavy or whipping cream with at least 30% fat, as specified in the recipe. A lower-fat cream may not become as thick when beaten.
Vanilla: A small amount rounds out the peanut butter flavour without taking centre stage.
Getting the texture right
Smooth base: Beat the peanut butter and condensed milk until no streaks remain before adding the cream. This helps distribute the peanut butter through the mixture.
Thick mixture: Continue beating after adding the cream and vanilla until the mixture is very thick, as directed. Stop once it reaches that texture rather than continuing unnecessarily.
Covering and freezing
Direct contact: Press the cling film onto the surface of the mixture before putting the tin in the freezer. This is the recipe’s stated way to help keep ice crystals from forming.
Timing: Allow at least 5 hours for freezing, or leave it overnight. The recipe does not specify a serving temperature, so check that it is firm enough to scoop before serving.
Serving ideas
Chocolate topping: The recipe suggests chocolate chips or a drizzle of melted chocolate. Add either just before serving so the topping stays distinct.
Pairings: Serve a scoop on its own or alongside fruit or a plain biscuit for contrast with the rich, sweet ice cream.
Recipe notes & tips
- Use a loaf tin close to 23 cm (9 inches) so the mixture freezes in a similar layer to the recipe.
- Make sure the peanut butter and condensed milk are smooth before adding the cream.
- Press cling film directly onto the ice cream mixture, not just over the rim of the tin.
- Freeze overnight if you want to prepare the dessert ahead.
- Add chocolate chips or melted chocolate when serving, as suggested in the method.
Variations
- Chocolate chips: Sprinkle them over each serving for a little crunch.
- Chocolate drizzle: Pour melted chocolate over the scoops just before serving.
- Crunchy peanut butter: Use it instead of smooth for a more textured result.
- Swirled topping: Fold a little extra peanut butter through the mixture before transferring it to the tin.
- Vanilla emphasis: Add a little more vanilla extract for a stronger vanilla note.
Common mistakes to avoid
- Lumpy base: Beat the peanut butter and condensed milk until smooth before adding the cream.
- Thin mixture: Use cream with at least 30% fat and beat until the mixture is very thick.
- Ice crystals: Press cling film directly onto the surface before freezing.
- Rushed freezing: Allow at least 5 hours, or freeze overnight, before serving.
- Overbeating: Stop once the mixture is very thick rather than continuing to beat it.
How to store
Keep the ice cream covered in its loaf tin in the freezer. Press cling film onto the surface before covering; the recipe gives a minimum freezing time but does not specify a storage duration. Let it soften briefly before scooping if it is too firm to serve.
Frequently asked questions
Do I need an ice cream maker?
No. This recipe is made by beating the ingredients together and freezing them in a loaf tin.
How long does it need to freeze?
Freeze it for at least 5 hours or overnight.
Can I use whipping cream?
Yes. The recipe allows whole, heavy or whipping cream, provided it has at least 30% fat.
Why press cling film onto the surface?
The method uses direct contact with the surface to help prevent ice crystals from forming.
What can I put on top?
Serve it with chocolate chips or a drizzle of melted chocolate, as suggested in the recipe.
Cook it from the original
This recipe comes from anitalianinmykitchen.com. Their page has the author’s own photos, notes and tips — the best place to cook it from.
Open the recipe on anitalianinmykitchen.com