
Xanthan Gum | Vegan Mango Ice Cream Using Xanthan Gum
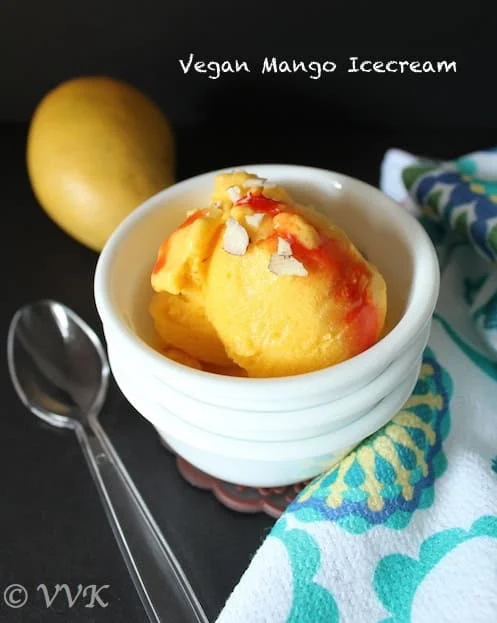
This Mango Ice Cream is a vegan homemade ice-cream prepared with coconut milk, alphonso mango pulp, Xanthan Gum and almond milk without using an ice cream maker.
Ingredients
- 13.5 oz Coconut Milk (one 13.5 oz can)
- 30 oz Mango Pulp (one 30 oz can or 850 g can)
- 1/2 tsp Xanthan Gum (heaped)
- 1/2 cup Almond Milk
Instructions
- 1
Equipment Used:For the mixing it initially, I used my hand mixer and also for first stir I went with my hand mixer and for rest all I used regular mixer blender.
- 2
Steps:Mix the coconut milk, mango pulp and almond milk and using the hand mixer blend them well.
- 3
Now add the Xanthan Gum and blend well.
- 4
Ice-Cream Churning Process:(This method and the time interval worked for me perfectly and I got nice creamy texture. I did only 3 churns. If you have ice-cream machine follow the instruction and churn accordingly)
- 5
Setting the ice-cream:After adding xanthan gum, cover it with aluminum foil (so as to prevent the freezer burn) and keep it in freezer for 2 hours.
- 6
Churn 1:After two hours, the ice-cream mix will be semi solid with small air bubbles on top.
- 7
Now using the hand mixer, blend them well for about 5 minutes and break all those air pockets. There will be still some on top. But it will eventually go away in the next churning.
- 8
Now cover it aluminum foil and let it sit for 2 more hours.
- 9
Churn 2:Remove the aluminum foil and using a flat spatula break the ice-cream.
- 10
Blend them again in a mixer/blender. I divided the mixture into 4 parts and blended each portion individually for about 2 minutes.
- 11
Transfer the blended ice-cream to a container with lid.
- 12
Cover it and let it freeze again for up to 8 to 9 hours.
- 13
Churn 3:We need to follow the same steps as we did in churn 2. Break the ice-cream and work on small portions.
- 14
Blend them well. By now, there should be no air pockets and as you blend you can the creamy thick ice-cream mixture.
- 15
Transfer the blended content to a container with lid.
- 16
Cover and freeze again till they are set.
- 17
That’s it. Yummy and creamy ice cream is ready.
Cook it from the original
This recipe comes from vidhyashomecooking.com. Their page has the author’s own photos, notes and tips — the best place to cook it from.
Open the recipe on vidhyashomecooking.com