
No-Bake Vegan Black Forest Cake (gluten-free)
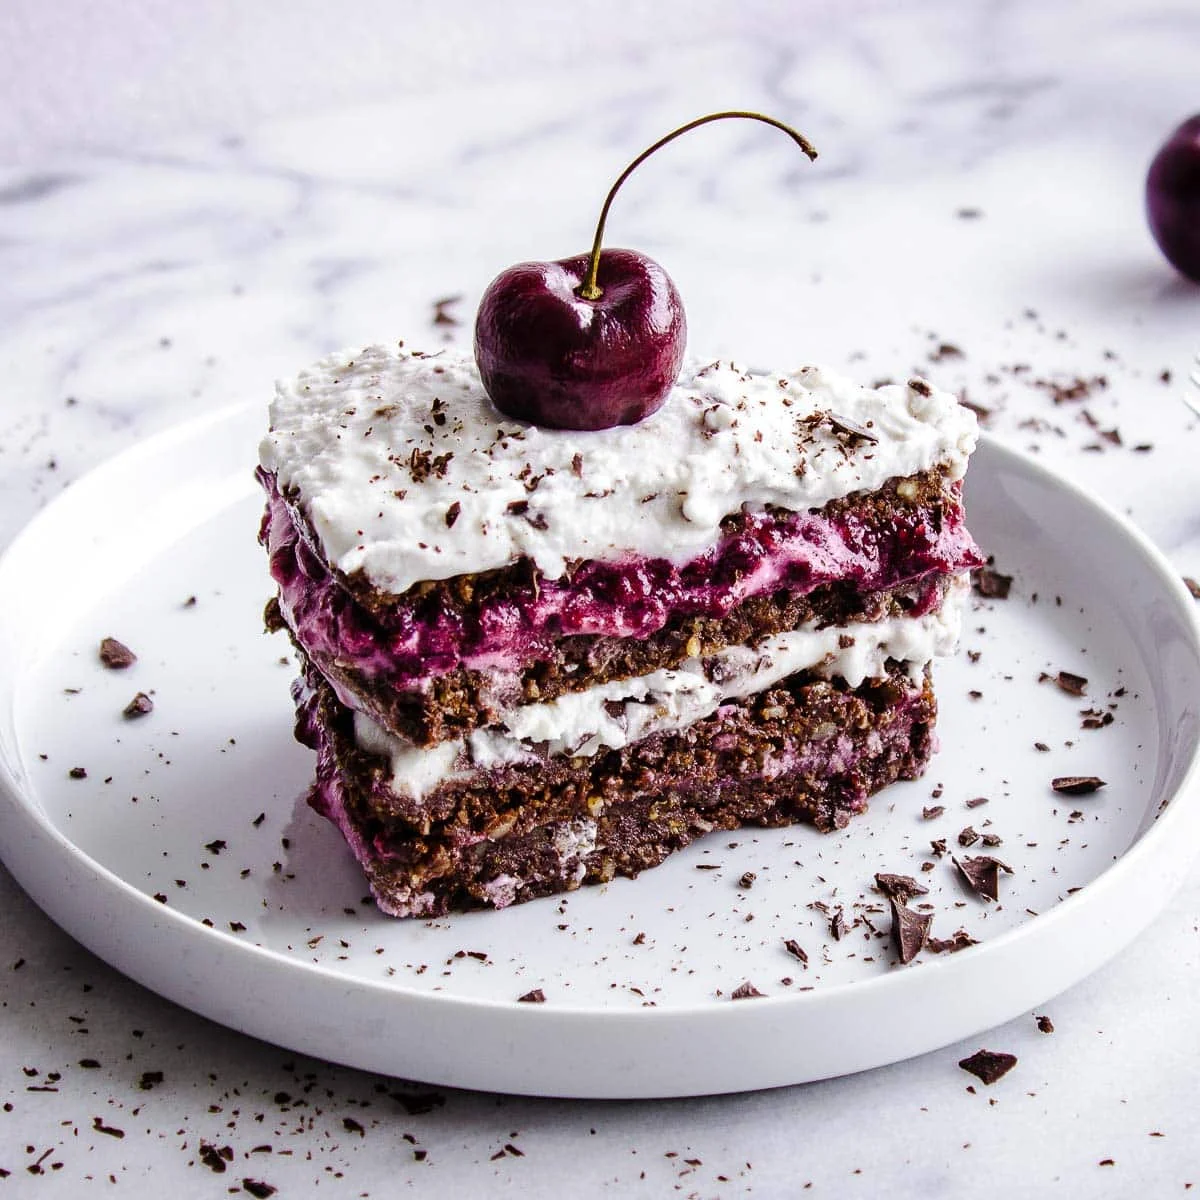
The perfectly indulgent but healthy dessert: this No-Bake Vegan Black Forest Cake is surprisingly easy to make but looks and tastes incredible!
Ingredients
- 1 1/2 cups cherries, halved and with stones removed
- 2 tsp chia seeds
- 1 tsp maple syrup (optional)
- 3 cups walnuts (see note below for substitutions)
- 16 small dates
- 1/2 cup raw cacao powder
- 1/2 cup unsweetened shredded coconut
- 3 tbsp coconut oil
- Pinch of salt
- 1 492ml can full fat coconut milk (stored in the fridge overnight)
- 8 squares your favourite dark chocolate, grated or roughly chopped with a knife
- 12 fresh cherries, halved
Instructions
- 1
--- To make cherry filling ---
- 2
Add the 1½ cups cherries to a small saucepan and simmer on a medium-low heat for about 15 minutes until they have partially broken down.
- 3
Place in a blender and blend for 10 seconds or until a smooth consistency is achieved.
- 4
Pour into a bowl and stir in the chia seeds and maple syrup (if using).
- 5
Allow the mixture to cool, then store it in the fridge for one hour to firm up.
- 6
--- To make the cake ---
- 7
Line two 5-6" round cake tins with baking parchment. If you don't have two cake tins of this size, you can line two similar-sized square or rectangular plastic food containers with baking parchment for a square cake.
- 8
Place all ingredients into a food processor and blend until a sticky dough forms.
- 9
(If you don't have a food processor, add the walnuts to a blender and process until they form a flour. Remove from the blender and blend the dates the same way until they are broken into small pieces. Add the walnut flour, date pieces and all other cake ingredients to a large bowl and mix together with your hands until a dough forms.)
- 10
Divide the dough between the two cake tins and press it down flat with your fingers until smooth.
- 11
Put the cake tins in the freezer for 30 minutes to set.
- 12
--- To make the cream ---
- 13
Remove the can of coconut milk from the fridge and open it. Scrape out the hardened coconut cream that has solidified in the top half of the can into a large bowl. (The leftover coconut water isn't needed for this recipe. You can use it in smoothies or on cereal, or just drink it!)
- 14
Using an electric whisk, beat the cream for 3-5 minutes, until it is lump-free and fluffy. It should have roughly the same consistency as whipped cream. Store in the fridge until needed to keep the cream firm.
- 15
--- To assemble ---
- 16
Once the cherry filling has firmed up and cakes have set, remove them from the fridge and freezer. Remove the cakes from their tins, being careful not to break them.
- 17
Add a thick layer of the cherry filling (about half the amount) to the top of one cake, followed by a layer of coconut cream (about half the cream).
- 18
Slice 6 of your decorative set-aside cherry halves into quarters, and scatter evenly over the cream (this will help stop the cream/jam from splurging out of the cake when you cut it later - it gives it a bit more structural integrity!).
- 19
Sandwich the other cake on top of this, and repeat the process of adding a layer of cherry filling and cream to the top.
- 20
Decorate with the remaining cherry halves and grated dark chocolate, and serve immediately!
- 21
(If you find this cake tricky to slice, wait a few minutes for the layers to soften slightly. The fillings are naturally pretty messy and will splurge out as your slice it - embrace this! It's part of the fun.)
Cook it from the original
This recipe comes from vancouverwithlove.com. Their page has the author’s own photos, notes and tips — the best place to cook it from.
Open the recipe on vancouverwithlove.com