
Gluten-Free Sourdough Waffles (Same Day or Overnight)
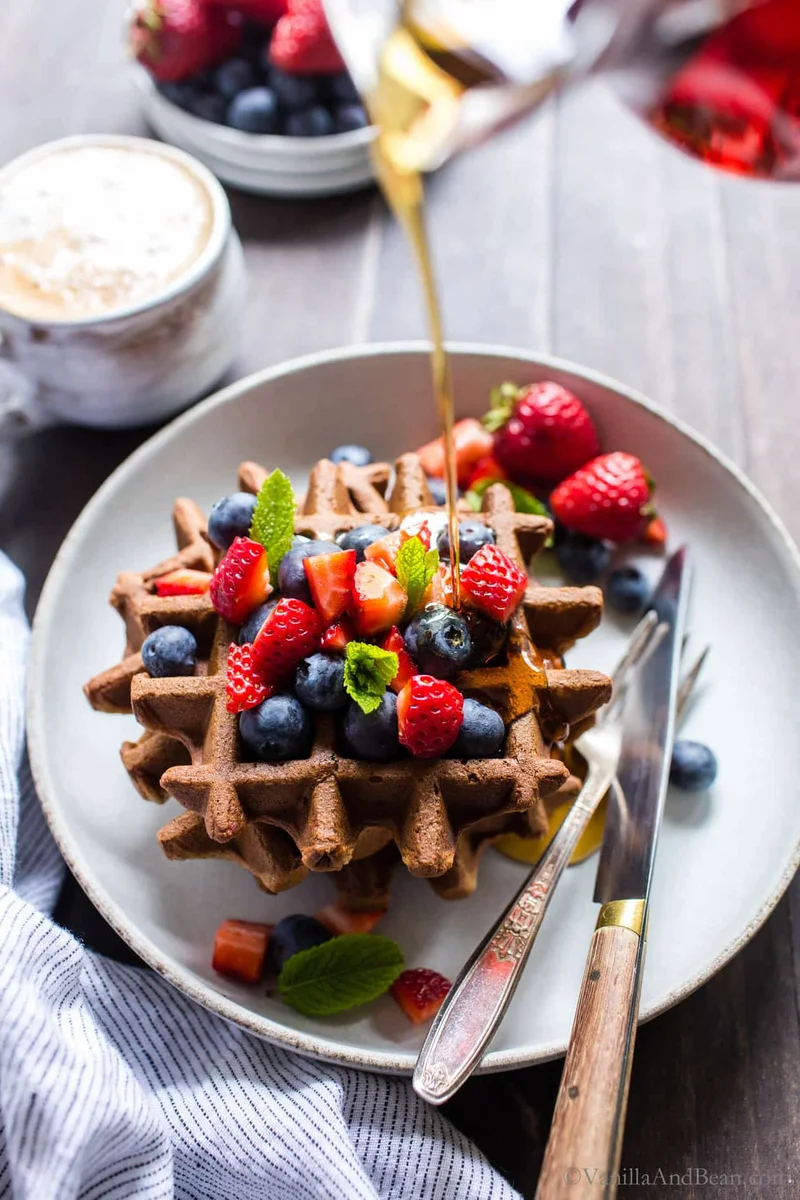
*Advance Prep Required* You'll need a Gluten Free Sourdough Starter.Whip up the easiest Gluten Free Sourdough Waffles using your gluten free sourdough discard! Whip em' up in a blender, overnight for best flavor, or same day in a pinch. Crispy on the outside and tender on the inside, flavorful and so easy, these waffles are vegetarian, egg free, and easily vegan! Total time does not include overnight method, where the batter is rested at 8 hours.See recipe notes for hand mixing rather than blending and for an alternative to almond flour.
Ingredients
- 1 1/2 cup (160 grams) Gluten Free Whole Rolled Oats
- 1/2 cup (60 grams) Super Fine Almond Flour (see note for variation*)
- 1/2 cup (140 grams) Gluten Free Sourdough Starter Discard
- 1 cup (240 grams) Milk (plant or pasteurized whole milk, I use cashew milk)
- 1 1/2 teaspoon Vanilla Extract
- 1 tablespoon Maple Syrup
- 2 tablespoons Unsalted Butter (plant or dairy, melted)
- 1/2 cup (125 grams) Mashed Banana (about 1 large banana)
- 1/2 teaspoon Ground Cinnamon
- 1 1/4 teaspoons Baking Powder (aluminum free)
- 1 teaspoon Baking Soda
- 1/2 teaspoon Fine Sea Salt
Instructions
- 1
A. For Overnight Waffles: To the Blender (I use VitaMix - affiliate link) add the oats, almond flour, sourdough discard, milk, vanilla and maple syrup. Blend for one minute on medium to medium high. The batter will be thick and smooth. Allow to rest in the blender overnight at room temperature (8-10 hours). In the morning, to the blender, add butter, banana, cinnamon, baking powder, baking soda and salt. Blend for about 30 seconds or until smooth. ORB. For Same Day Waffles: To the Blender (I use VitaMix - affiliate link) add the oats, almond flour, sourdough discard, milk, vanilla, maple syrup, butter, banana, cinnamon, baking powder, baking soda and salt. Blend for one minute on medium to medium high. The batter will be thick and smooth. Allow to rest in the blender for at least 30 minutes or up to an hour.**See note for hand mixing.
- 2
Preheat the waffle iron according to manufacturer's directions, including whether to oil/butter the iron or not (***see note). Preheat the oven to 185F (85C) and place a parchment lined sheet pan in the oven.
- 3
Scoop out 1/3 C of batter and pour/scrape it into the waffle iron. Bake until golden (according to manufacturer's directions). Mine take about 8-9 minutes to bake and they're dark. Gently remove the waffles using a fork and place them on the sheet pan in the preheated oven. Finish baking the remaining batter. If you like a softer (less crisp waffle), while the waffles are keeping warm in the oven, lay a piece of foil over the top of them. This will capture a bit of steam to help soften the waffles.
- 4
Share with butter, real maple syrup, fresh seasonal fruit, blueberry compote or stewed apples.
- 5
To Freeze: Allow the waffles to cool completely before storing them in a storage container. They can stack one on top of another - freeze for up to two weeks (beyond that and I start getting freezer burn unless individually wrapped). From the Freezer: Bake at 300F (150C) for about 8-10 minutes or until warmed through or toast on the toaster setting in a toaster oven. For a softer waffle, rewarm wrapped in foil. Keep an eye on them so they don't get too dark.
Cook it from the original
This recipe comes from vanillaandbean.com. Their page has the author’s own photos, notes and tips — the best place to cook it from.
Open the recipe on vanillaandbean.com