
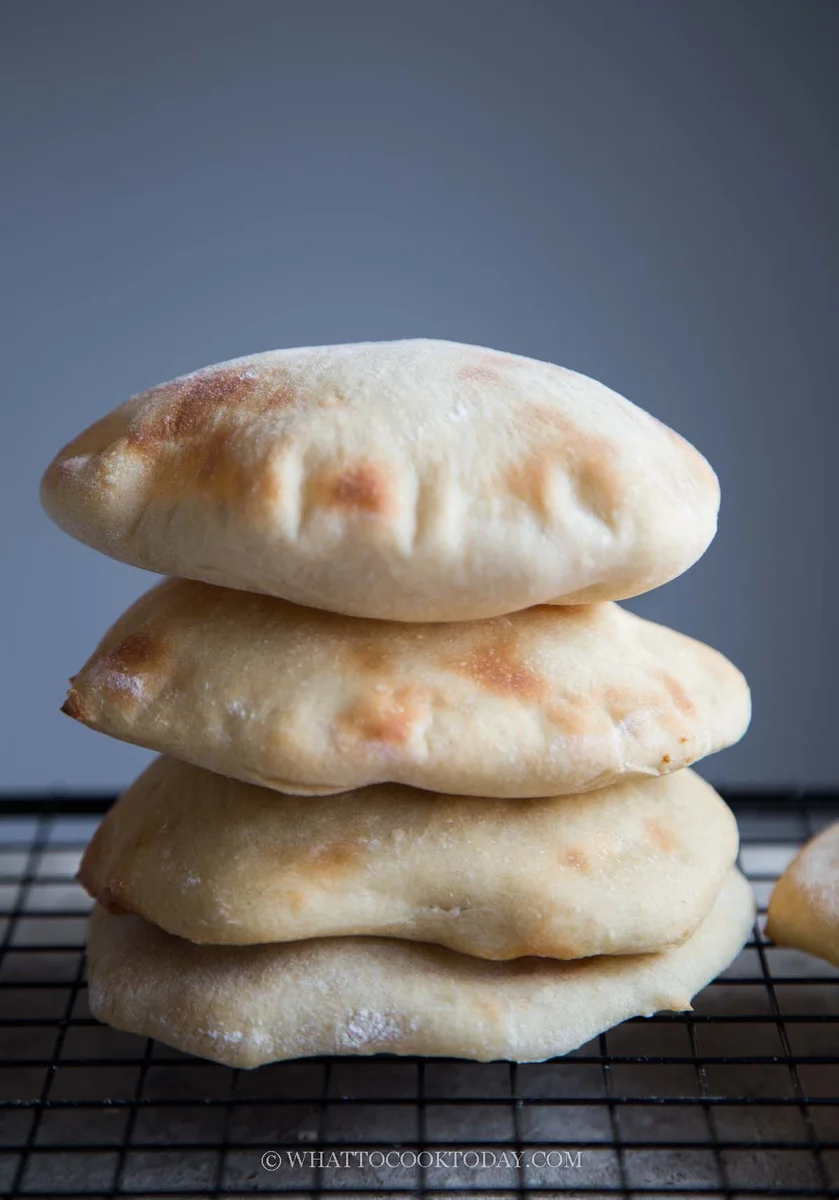
How To Make Perfectly Puffed Pita Bread at Home
Nutrition per Serving
200
Calories
5g
Protein
35g
Carbs
4g
Fat
With this method, you’ll never fear flat pita bread again. Master the technique once, and pita-making becomes a joyful ritual you’ll want to repeat week after week. Now, I can't stop making pita bread. It's also a great recipe to clear out sourdough discard if you want to go that route!
📝 Ingredients
- 350 g all-purpose flour (plus more for dusting)
- 10 g sugar
- 8 g salt
- 2 Tbsp oil
- 225 g water
- 1 tsp instant yeast
- 250 g all-purpose flour (plus more for dusting)
- 10 g sugar
- 8 g salt
- 2 Tbsp oil
- 115 g water
- 200 g sourdough discard
👨🍳 Instructions
- 1--- Mix & Knead ---
- 2Put all ingredients for the dough in a mixing bowl of a standmixer fitted with a dough hook attachment
- 3Knead the dough for 5 for 6 minutes (on medium speed 4 on Kitchen Aid), or knead by hand for about 10 minutes, until smooth and elastic. It should clear the sides of the bowl but still stick to the bottom.
- 4When you gently stretch a small amount of the dough, it won't tear easily. The gluten is well-developed if you kneaded to this stage. The dough will be sticky to the touch and that's normal
- 5--- First Rise ---
- 6Let the dough rise in a warm place until doubled, about 1 hour. You can also cold ferment in the fridge overnight for deeper flavor for 8-12 hours and bake the next day
- 7--- Divide & Shape ---
- 8Lightly dust your work surface. Turn the dough out
- 9Divide into 8 equal pieces.
- 10Round the dough up by pulling the edges towards the center. Place seam side down and rest them for 5 minutes, covered, to relax the gluten.
- 11--- Roll Out ---
- 12Lightly dust your work surface again and the rolling pin. Roll each ball into a 6-inch round, about 1/4-inch thick (not too thin or too thick). Roll it out from the center outward. Don't flip the dough back and forth during rolling. Just keep the same side and roll it out until you get about 6-inch round circle
- 13Don’t worry about perfect circles, but try to roll out to an even thickness throughout to ensure the bread will puff evenly later. This is important. If one part is thicker than the other, the puff won't be even and you may even have no puff or only a partial puff
- 14--- Prep Your Foil ---
- 15Line a piece of aluminum foil (shiny side up) and lightly grease it with oil on an inverted baking pan or rimless cookie sheet. We won't be baking with the pan but the pan just makes transferring the foil with the proofed pita bread on top of it, to the oven much easier.
- 16Place 4 dough circles on top. The dough most likely will retract back when you move from the counter to the pan, it's fine just gently stretch them back out a bit
- 17--- Rest Again ---
- 18Let the rolled dough rest on the foil for 15 minutes while your oven preheats.
- 19--- Preheat Oven ---
- 20Preheat your oven to 500°F (or the highest it goes), with the rack in the middle. If your oven has the fan option, turn it on. We need as much blast of heat we can get for the perfect puff
- 21--- Bake Directly on the Rack ---
- 22Slide the entire foil sheet—with the pita dough on it—directly onto the oven rack. Shut the door quickly to trap the heat.
- 23You’ll see puffing begin around minute 2 (at least in my case). It will continue to puff and mine is usually fully puffed by minute 5. I let it bake another minute for a more golden brown color
- 24--- Keep Pitas Soft ---
- 25Use your inverted baking pan again to carefully remove the foil along with the baked pita bread from the oven. Immediately wrap baked pitas in a clean kitchen towel to keep them soft. Let them cool fully before storing.
- 26--- Reheat Oven Between Batches ---
- 27Let the oven heat back up for 5 minutes before baking the next batch. Repeat with the same steps again
- 28If in the end of the day, you still end up with no puff, don't stress out! You still have good pita bread. Try again next round!
About the Chef & Original Recipe
This recipe was published by whattocooktoday.com. Visit the original source for step-by-step photos, chef notes and additional details.
Source: whattocooktoday.com