
Mars Bar Slice - A Super Easy Traybake Recipe
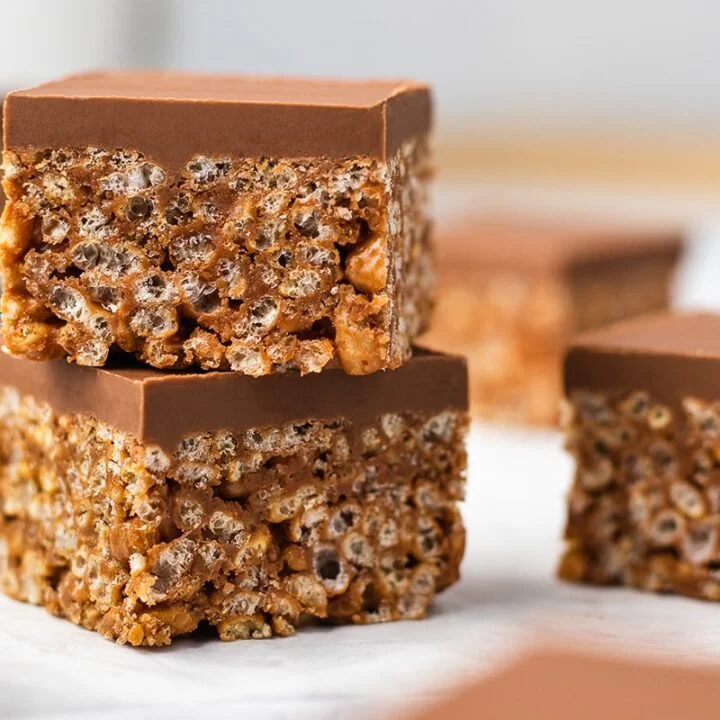
Mars Bar Slice - or Mars Bar Traybake - is yet another one of those classic cakes you’ll see in cafes across Scotland. We can’t resist a slice whenever we see one (which is far too often!) so we decided to make our own. Mars Bar Slice is just two layers. One is melted Mars Bars mixed with Rice Krispies and butter, and the other is a layer of chocolate on top. That’s it. It’s that easy.
Ingredients
- 5 full size Mars Bars (51g each)
- 90 g unsalted butter (1/3 cup + 1 tbsp)
- 120 g Rice Krispies (4 2/3 cups)
- 300 g milk chocolate (1 3/4 cups)
Instructions
- 1
Grease and line a 20x20cm square tin with...: Grease and line a 20x20cm square tin with baking paper.
- 2
Chop the Mars Bars into chunks approx. 1cm...: Chop the Mars Bars into chunks approx. 1cm thick.
- 3
Add the chopped Mars Bars and the butter...: Add the chopped Mars Bars and the butter to a large saucepan and heat on the low-medium temperate, stirring frequently until mostly melted. The nougat section of the Mars Bars will not melt completely but that’s ok!
- 4
Pour the Rice Krispies into the saucepan and...: Pour the Rice Krispies into the saucepan and stir well until completely coated in the Mars Bar mixture.
- 5
Spoon the mixture into the prepared tin and...: Spoon the mixture into the prepared tin and smooth it out into an even, compacted layer with the back of a spoon.
- 6
Melt the chocolate in the microwave in 30-second...: Melt the chocolate in the microwave in 30-second bursts, stirring in between.
- 7
Pour the melted chocolate on top of the...: Pour the melted chocolate on top of the Rice Krispie layer and smooth it out to the edges.
- 8
Place the tin in the fridge for at...: Place the tin in the fridge for at least 2 hours or overnight.
- 9
Let the traybake come to room temperature again...: Let the traybake come to room temperature again before slicing to prevent the chocolate layer from cracking when you slice it.
- 10
Slice into 16 squares and enjoy!
Cook it from the original
This recipe comes from scottishscran.com. Their page has the author’s own photos, notes and tips — the best place to cook it from.
Open the recipe on scottishscran.com