
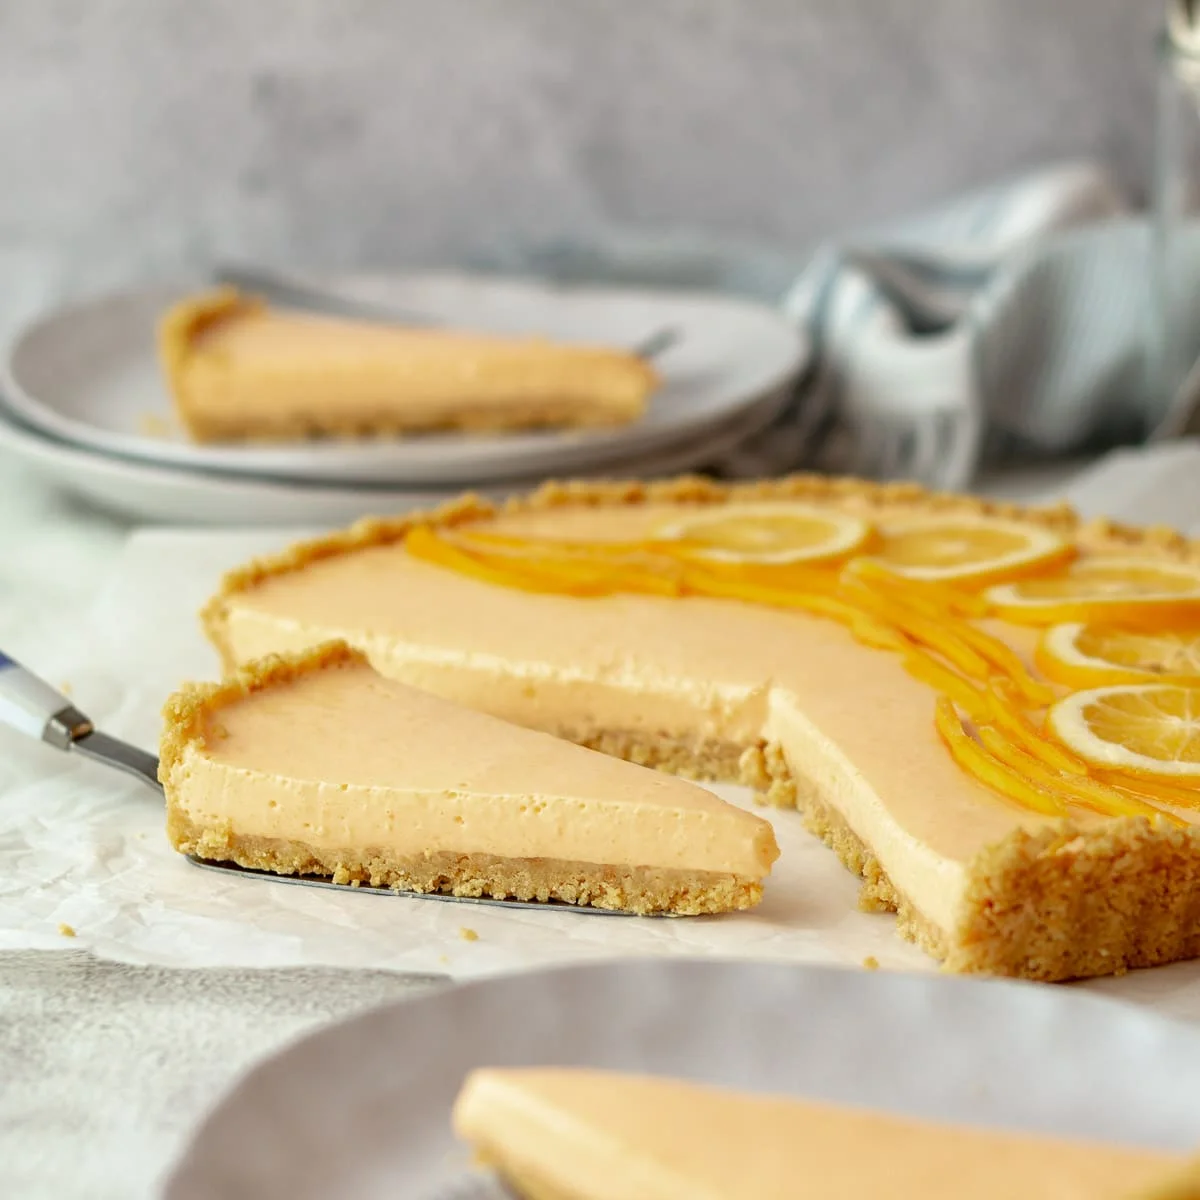
Yoghurt Fridge Tart
Nutrition per Serving
212
Calories
3g
Protein
22g
Carbs
13g
Fat
A quick, simple, great for summer fridge yoghurt tart. 6 ingredients and 20 minutes are all you need to whip up a great looking, even better-tasting dessert.
📝 Ingredients
- 250 grams biscuits crumbs ((tennis, malted biscuit, crispy coconut biscuits))
- 125 grams melted butter
- 500 grams yogurt ((fruit flavored))
- 100 grams sweetened condensed milk
- 1 packet jelly crystals ((jello - same or similar flavour to yoghurt))
- 125 ml boiling water ((use more if needed to dissolve the crystals))
👨🍳 Instructions
- 1Prepare a 23cm loose based tart or quiche pan.
- 2--- Biscuit Base ---
- 3Place the biscuits in a food processor or blender to create biscuit crumbs. Alternatively, place the biscuits in a sturdy ziplock back and crush using a rolling pin.
- 4Melt the butter in the microwave (in 20-second bursts, stirring in between) or on the stovetop. Add the butter to the biscuit crumbs and stir until all the crumbs are coated in butter.
- 5Place the butter-biscuit mixture into the tart tin, and using the back and side of a cup measure press the biscuit crumbs into the bottom and sides of the pan. Refrigerate the biscuit base for at least 30 minutes while you make the filling.
- 6--- Tart Filling ---
- 7Mix together the yoghurt and condensed milk until there are no white streaks through the yoghurt.
- 8In a small bowl or jug, add the boiling water to both packets of the jelly crystals and stir until the crystals have dissolved. Allow the jelly mixture to cool for a minute or two. Add liquid jelly mixture to the yoghurt mixture and whisk until well combined.
- 9--- Constructing the Tart ---
- 10Pour the yoghurt mixture over the biscuit base. You can tap the dish on the kitchen counter to remove air bubbles. Place the tart in the fridge and allow it to set for at least 3 hours. When removing the tart from the pan, place the loose-bottom tart on top of an upturned bowl.
- 11Slice and serve.
About the Chef & Original Recipe
This recipe was published by saltyginger.com. Visit the original source for step-by-step photos, chef notes and additional details.
Source: saltyginger.com