
Sweet and Sour Pork Recipe
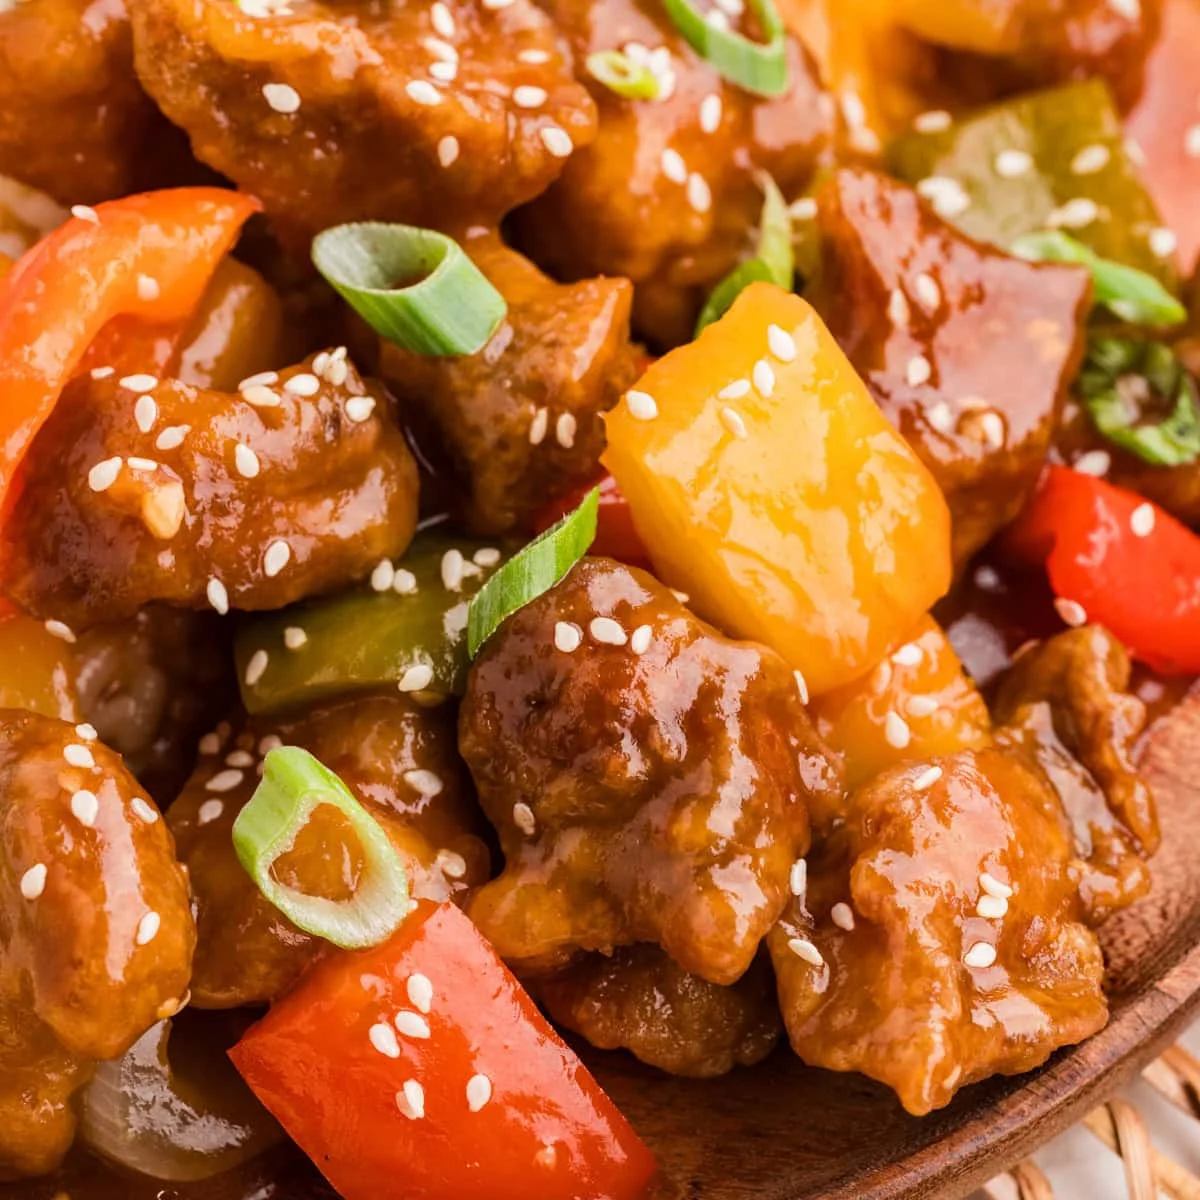
This sweet and sour pork pairs crisp, twice-fried pork with peppers, onion and pineapple in a tangy-sweet sauce. Make it at home for a quick, colourful dinner served straight from the wok with steamed rice.
Ingredients
- 240 ml (1 cup)pineapple juice
- 100 g (½ cup, packed)light brown sugar
- 80 ml (⅓ cup)ketchup
- 60 ml (¼ cup)rice vinegar
- 60 ml (¼ cup)apple cider vinegar
- 30 ml (2 tablespoons)reduced-salt soy sauce
- 13 g (5 teaspoons)cornflour
- to tastesalt
- ½ teaspoonginger paste or grated ginger
- 1 clovegarlic, minced
- 680 g (1½ pounds), cut into bite-sized pieces about 2.5 cm (1 inch) acrosspork shoulder or pork neck
- 120 g (1 cup), dividedcornflour
- as neededvegetable or rapeseed oil, for frying
- 30 ml (2 tablespoons)vegetable or rapeseed oil
- 1green pepper, chopped into 2.5 cm (1-inch) pieces
- 1red pepper, chopped into 2.5 cm (1-inch) pieces
- ½ largeyellow onion, chopped into 2.5 cm (1-inch) pieces
- 360 ml (1½ cups)pineapple chunks from a tin, reserving the juice for the sauce
- to servesteamed rice
- to servesliced spring onions
- to servesesame seeds
Instructions
- 1
Mix the sauce
Whisk all the sauce ingredients together in a large measuring jug, then set it aside.
- 2
Coat the pork
Toss the pork with 60 g (½ cup) of the cornflour and salt to taste. Leave it for about 5–10 minutes, until the coating looks gummy rather than powdery.
- 3
Heat the oil
Pour oil to a depth of 5–7.5 cm (2–3 inches) into a large pot or deep-sided frying pan. Heat over slightly below medium-high until it reaches about 163°C (325°F), allowing at least 5–10 minutes; use a thermometer if available. Set a wire rack over a rimmed baking tray.
- 4
Fry the pork
Coat each piece of pork individually in the remaining cornflour, seasoning with salt and shaking off the excess. When the oil is hot, fry the pork in batches without crowding the pan, about three batches, for 1–2 minutes until it reaches 63°C (145°F) inside. Transfer the pieces to the prepared rack.
- 5
Fry until crisp
Raise the oil temperature to 191°C (375°F) over medium-high or slightly higher heat. Starting with the first batch, fry the pork again for about 1 minute per batch, working in batches as needed, until crisp outside. Return it to the rack.
- 6
Cook and serve
Heat the 30 ml (2 tablespoons) of oil in a large frying pan or wok over medium-high heat. Add the peppers and onion, stirring frequently as they cook for 2 minutes. Add the pineapple and cook for 1 minute, then add the sauce and cook for 2–3 minutes until it begins to thicken. Add the pork, toss to coat and cook for another 1–2 minutes until the sauce has thickened. Take off the heat and serve straight away with rice, spring onions and sesame seeds, if desired.
What is sweet and sour pork?
Sweet and sour pork is a Chinese-American take-away favourite, combining pork with a sharp, sweet sauce and often peppers and pineapple. This version keeps those familiar contrasts and serves them with rice.
Crispy pork: A two-stage fry gives the pieces a crisp coating before they are tossed in the sauce. Add them at the end so they are coated but not left simmering for long.
Nutrition and macros by portion
The nutrition label shows one serving as written: 587 calories, 21g protein, 60g carbs, 29g fat.
| Portion | Adjustment | kcal | Protein | Carbs | Fat |
|---|---|---|---|---|---|
| Lighter | Use less frying oil | 411 kcal | 15g | 42g | 20g |
| This serving | As written | 587 kcal | 21g | 60g | 29g |
| Hungry | Add extra rice | 881 kcal | 32g | 90g | 44g |
The rice, sugar and pineapple juice contribute most of the carbohydrates, while the pork supplies much of the protein. Pork and the frying oil account for much of the fat. Pair a serving with extra peppers or another non-starchy vegetable if you want more vegetables on the plate.
Building the sauce
Sweetness: Pineapple juice and brown sugar provide the sweet base, while ketchup adds colour and body.
Tang: Rice vinegar and apple cider vinegar make the sauce lively, and soy sauce brings savoury depth. Whisk the cornflour into the sauce ingredients before cooking to help it thicken evenly.
Getting crisp pork
First coating: The pork sits briefly with some of the cornflour until the surface turns tacky. That helps the second coating cling rather than fall away as it fries.
Two fries: Cook the pieces first at about 163°C, then raise the oil to about 191°C for a brief second fry. A thermometer helps keep the oil near the intended temperatures as batches go in.
Keeping the vegetables lively
Short cooking: The peppers and onion fry for just 2 minutes before the pineapple goes in. Stir often so they cook evenly while retaining some bite.
Sauce finish: Let the sauce thicken for 2–3 minutes, then toss in the pork for only another 1–2 minutes. This coats the pieces without giving their crisp exterior too long to soften.
Timing the frying
Batch size: Fry the pork in batches rather than filling the pot; the recipe uses about three batches for the first fry. Crowding makes it harder to maintain the oil temperature and brown the pieces evenly.
Rack: Drain the fried pork on a wire rack set over a tray. Keeping it raised lets excess oil drip away while the other batches cook.
Serving ideas
Rice: Serve the pork and vegetables immediately with steamed rice to catch the sweet-and-sour sauce. Keep the rice ready before you start the final wok stage.
Garnishes: Spring onions and sesame seeds add a fresh, savoury finish if you like. Serve them over the plated dish rather than cooking them into the sauce.
Recipe notes & tips
- Cut the pork into evenly sized pieces so they fry at a similar rate.
- Use a thermometer to check both the oil temperature and the pork's internal temperature.
- Let excess cornflour fall away before each piece goes into the oil.
- Prepare the vegetables and sauce before you begin frying, as the final wok stage moves quickly.
- Serve as soon as the pork has been coated in the thickened sauce.
Variations
- More vegetables: Add extra peppers or onion, keeping the pieces similar in size.
- Pineapple: Use the reserved juice from the tin in the sauce and the drained chunks in the wok.
- Ginger: Use either ginger paste or freshly grated ginger for the sauce.
- Garnish: Finish with spring onions, sesame seeds, or both.
- Rice: Serve with your preferred steamed rice alongside the pork.
Common mistakes to avoid
- Crowded frying pot: The oil temperature can drop and the pork may cook unevenly; fry in batches.
- Skipping the first rest: The coating may stay powdery; wait 5–10 minutes for it to turn tacky.
- Oil at the wrong temperature: The coating may not crisp as intended; check the temperature before frying each stage.
- Too much sauce cooking time with the pork: The coating can soften; toss the pork in only for the final 1–2 minutes.
- Adding the pork before the sauce thickens: The finish may be runny; cook the sauce for 2–3 minutes first.
How to store
Refrigerate leftover pork and rice in separate airtight containers for up to 3 days. Reheat until piping hot; the pork coating will soften once stored in the sauce, so for a crisper result reheat the pork separately in an oven or air fryer and add the sauce afterwards.
Frequently asked questions
Can I make the sauce ahead?
Yes. Whisk the sauce ingredients together and refrigerate until needed. Stir it again before adding it to the pan, as the cornflour may settle.
How do I know when the pork is cooked?
The method gives an internal temperature of 63°C (145°F) after the first fry. Check the centre of a piece with a food thermometer.
Why fry the pork twice?
The first fry cooks the pork, while the hotter second fry crisps the outside. Keep the second fry brief, then coat the pork in the sauce just before serving.
Can I use fresh pineapple?
The recipe uses tinned pineapple and its juice for the sauce. Fresh pineapple can replace the chunks, but you will still need pineapple juice for the sauce.
What can I serve with sweet and sour pork?
Serve it with steamed rice, as suggested in the recipe. Spring onions and sesame seeds make optional toppings.
Cook it from the original
This recipe comes from noshingwiththenolands.com. Their page has the author’s own photos, notes and tips — the best place to cook it from.
Open the recipe on noshingwiththenolands.com