
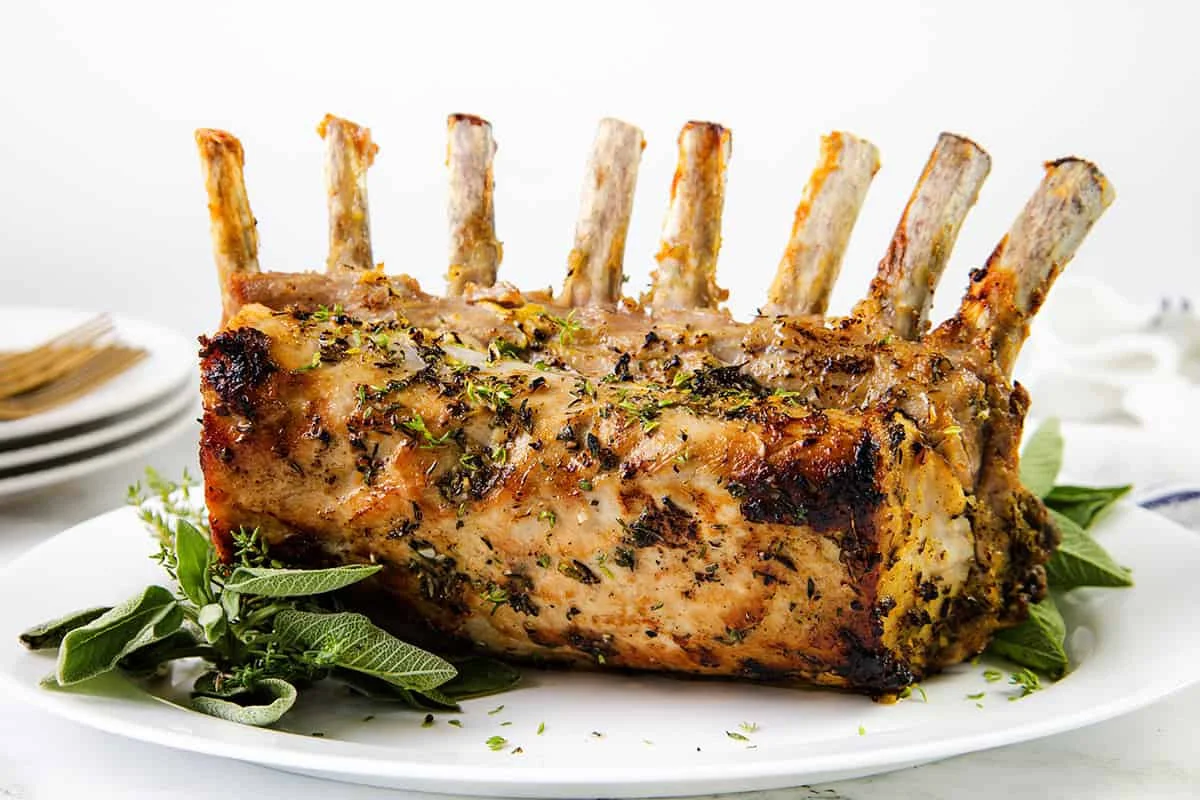
Pork Rib Roast with Garlic Herb Crust
Nutrition per Serving
471
Calories
46g
Protein
9g
Carbs
27g
Fat
This is your ultimate juicy pork roast: brined for max tenderness, coated in tangy mustard, and topped with a crispy garlic-herb crust. It’s savory, simple, and looks like it came straight from a fancy kitchen.
📝 Ingredients
- 8 cups cold water
- 1/2 cup kosher salt
- 4 tablespoons brown sugar
- 1 tablespoon black peppercorns
- 1 teaspoon baking soda
- 6 lb pork rib roast (bone-in and frenched if possible)
- 4 tablespoons Dijon mustard
- 6 cloves garlic (minced)
- 2 tablespoon fresh thyme leaves (chopped)
- 2 tablespoon fresh sage (chopped)
- Zest of 1 lemon
- 1 tablespoon olive oil
- 1/4 teaspoon salt
- Freshly ground pepper (to taste)
👨🍳 Instructions
- 1Brine the Roast (Do This the Day Before)
- 2In a large container or pot, combine the water, salt, brown sugar, and peppercorns. Stir until salt and sugar are dissolved.
- 3Submerge the pork rib roast in the brine. Cover and refrigerate for 12–24 hours.
- 4Take the roast out of the brine and pat it completely dry with paper towels. Let it rest at room temp for 30–60 minutes before cooking.
- 5Preheat oven to 475°F (245°C). Line a roasting pan with foil and place a rack inside if you have one.
- 6Rub the roast all over with Dijon mustard.
- 7In a small bowl, mix together the garlic, thyme, sage, lemon zest, olive oil, salt, and black pepper.
- 8Gently press the mixture over the top and sides of the roast.
- 9Place roast bone-side down on the rack.
- 10Roast at 475°F for 15 minutes to brown the crust.
- 11Lower oven temp to 325°F (165°C) and roast for 1.5 to 2 hours, or until the internal temp reaches 140–145°F.
- 12Use a meat thermometer in the thickest part of the meat, avoiding bone.
- 13Let the roast rest 15–20 minutes, tented loosely with foil, to let the juices redistribute.
- 14Slice between the bones into thick, juicy chops and serve with your favorite cozy sides. 🥰
About the Chef & Original Recipe
This recipe was published by Erren Hart on errenskitchen.com. Visit the original source for step-by-step photos, chef notes and additional details.
Source: errenskitchen.com