
Bacon and Cheese Quiche
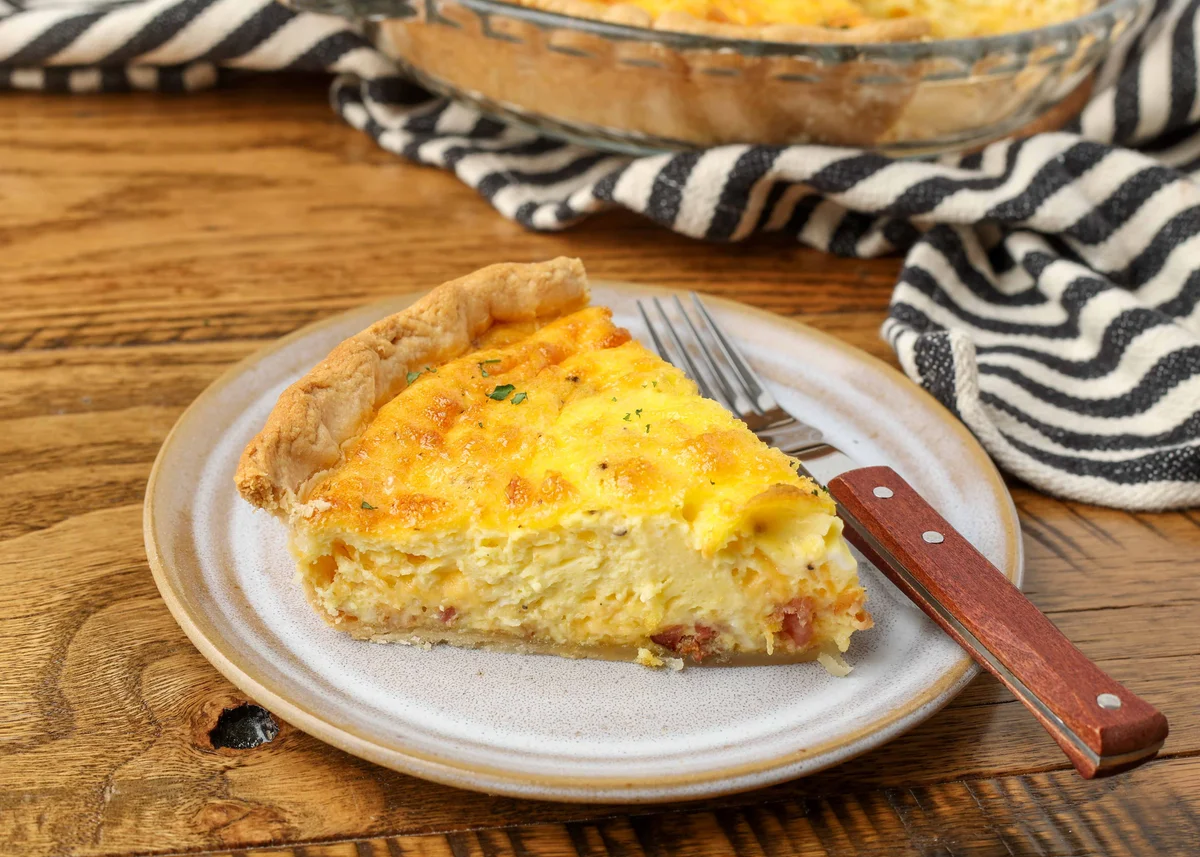
This American-style bacon and cheese quiche combines a flaky pastry case with a savoury filling of eggs, cream, bacon and cheddar. It makes a filling brunch or lunch centrepiece and is straightforward to prepare with a ready-made crust.
Ingredients
- 6eggs
- 240 ml (1 cup)double cream
- 2.5 ml (½ teaspoon)kosher salt
- 1.25 ml (¼ teaspoon)freshly ground black pepper
- 6–12 slicesbacon, cooked and crumbled
- 150 g (1½ cups)grated cheddar cheese, Mexican cheese blend or another cheese
- 1prepared pastry case
Instructions
- 1
Whisk the filling
Heat the oven to 220°C (425°F). In a medium bowl, whisk the eggs with the cream, salt and pepper until combined.
- 2
Prepare the case
Set the pastry case in a round 23 cm (9-inch) tin or deep-dish pie plate. Prick the base several times with a fork.
- 3
Fill the pastry
Scatter the crumbled bacon over the pastry base, then cover it with the cheese. Pour the egg mixture over the top.
- 4
Bake the quiche
Bake for 15 minutes at 220°C (425°F). Lower the oven to 150°C (300°F) and bake for a further 30–40 minutes, until puffed and lightly browned. Leave to cool for 5–10 minutes before serving.
What is bacon and cheese quiche?
Quiche is a savoury pastry tart filled with a set mixture of eggs and dairy, with ingredients such as cheese or bacon added for flavour. It is especially associated with French cooking, while this bacon-and-cheddar version follows an American home-cooking style.
A ready-made pastry case keeps preparation simple, and layering the bacon and cheese beneath the egg mixture distributes them through each slice.
Nutrition and macros by portion
The nutrition label shows one serving as written: 332 calories, 12g protein, 12g carbs, 26g fat.
| Portion | Adjustment | kcal | Protein | Carbs | Fat |
|---|---|---|---|---|---|
| Lighter | Use less bacon and cheese | 232 kcal | 8g | 8g | 18g |
| This serving | As written | 332 kcal | 12g | 12g | 26g |
| Hungry | Serve a larger slice | 498 kcal | 18g | 18g | 39g |
The eggs contribute protein, while the pastry supplies much of the carbohydrate; cream, cheese and bacon account for much of the fat. Serve a slice with a generous portion of salad or vegetables to round out the plate.
Choosing the filling
Bacon: Cook it before adding it to the case, then crumble it into pieces so it is easy to distribute. The recipe allows 6–12 slices, so choose the amount to suit how bacon-heavy you want the filling.
Cheese: Cheddar gives the quiche a savoury, familiar flavour, while a Mexican cheese blend or another melting cheese also works. Grate it for an even layer.
Getting the pastry ready
Pricking: A few fork holes in the pastry base let steam escape as the quiche bakes. This recipe does not call for blind-baking, so add the filling directly to the prepared case.
Filling: Spread the bacon and cheese over the base before pouring in the egg mixture. Pour steadily to avoid disturbing the layers too much.
How to tell when it is done
Colour: The top should look lightly browned, and the filling should have puffed up. The recipe gives a 30–40-minute second bake, so check towards the earlier end of that range.
Resting: Let the quiche stand for 5–10 minutes after baking. This gives the filling time to settle and makes the slices easier to serve.
Serving and timing
The two-stage oven temperature is important: start at 220°C (425°F) for 15 minutes, then reduce to 150°C (300°F) for another 30–40 minutes. Keep the oven door closed as much as possible during baking.
Serve warm or at room temperature with a green salad or lightly dressed vegetables. The recipe takes about 70 minutes in total, including baking and resting.
Recipe notes & tips
- Cook and crumble the bacon before you begin assembling the quiche.
- Use a deep-dish pie plate if your pastry case is deeper than a standard tin.
- Whisk the eggs and cream just until combined rather than beating them excessively.
- Pour the egg mixture slowly so the bacon and cheese stay evenly spread.
- Allow the quiche to rest for 5–10 minutes before cutting.
Variations
- Try another cheese: Swap the cheddar for a Mexican cheese blend or another cheese that melts well.
- Adjust the bacon: Use 6 slices for a milder bacon flavour or up to 12 for a more substantial filling.
- Add spring onions: Scatter finely sliced spring onions over the bacon before adding the cheese.
- Include spinach: Add cooked, well-drained spinach to the filling for a vegetable variation.
- Change the seasoning: Add a pinch of smoked paprika to the egg mixture for extra savoury warmth.
Common mistakes to avoid
- Adding raw bacon: Cook it first, as the recipe calls for cooked, crumbled bacon in the filling.
- Skipping the fork pricks: Prick the pastry base several times so steam can escape as it bakes.
- Using a shallow tin: Choose a 23 cm (9-inch) round tin or a deep-dish pie plate to accommodate the filling.
- Keeping the oven too hot: Reduce it to 150°C (300°F) after the first 15 minutes to finish baking.
- Cutting immediately: Rest the quiche for 5–10 minutes so the filling can settle before slicing.
How to store
Cool leftovers, cover and refrigerate for up to 3 days. Reheat slices in a low oven until warmed through, or use a microwave for a quicker option.
Frequently asked questions
Can I use a different cheese?
Yes. The recipe suggests a Mexican cheese blend or any other cheese you like; choose one that melts well.
Does the bacon need to be cooked first?
Yes. Cook and crumble it before sprinkling it over the pastry base.
How do I know when the quiche is ready?
It should be puffed and lightly browned after the second bake. Follow the stated 30–40-minute range at 150°C (300°F) and check as it nears the end.
Can I make the quiche ahead?
You can bake it ahead and refrigerate it once cool. Reheat it in a low oven before serving, or serve it at room temperature.
Can I freeze leftover quiche?
Yes. Wrap cooled portions well and freeze them; thaw in the fridge before reheating. The pastry may be less crisp after freezing.
Cook it from the original
This recipe comes from barefeetinthekitchen.com. Their page has the author’s own photos, notes and tips — the best place to cook it from.
Open the recipe on barefeetinthekitchen.com