
Red Velvet Cake
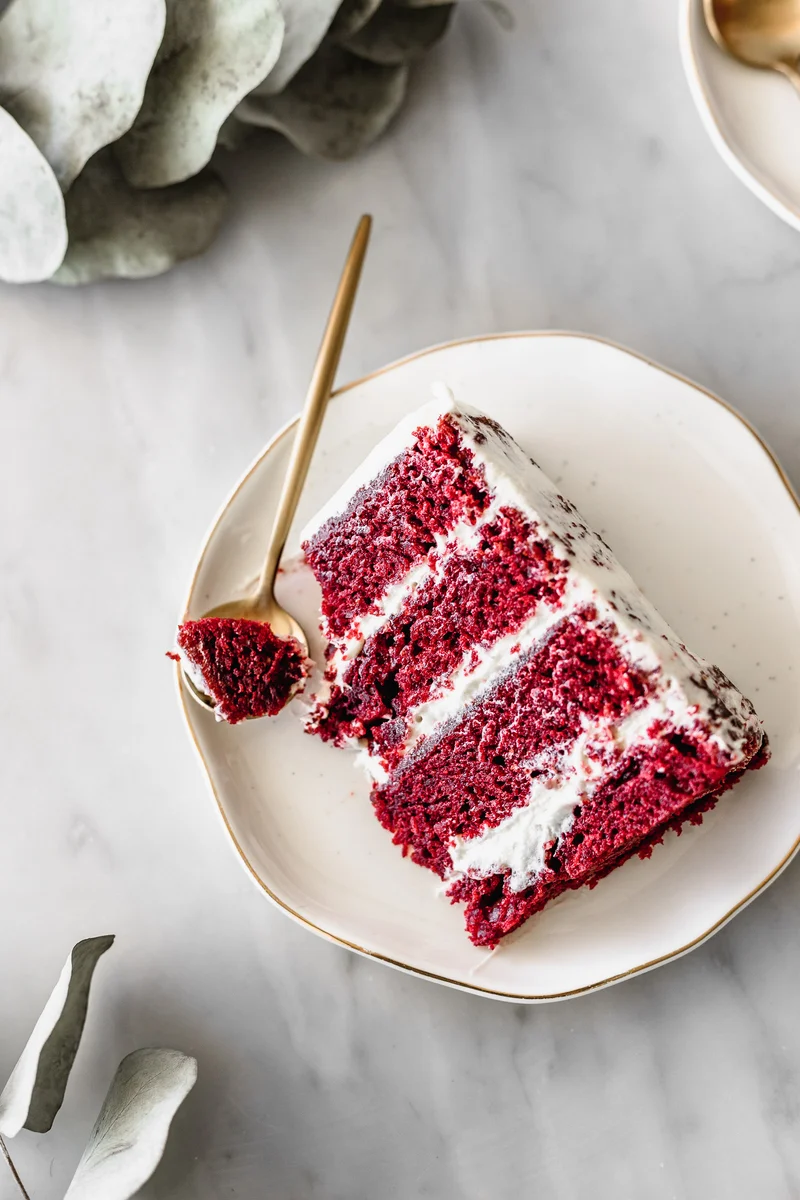
Nutrition per Serving
—
Calories
—
Protein
—
Carbs
—
Fat
📝 Ingredients
- 370 g sugar
- 300 g all purpose flour
- 1 tsp salt
- 4.5 tsp baking powder
- 400 ml milk (or vegetable milk of your choice)
- 1 tbsp apple vinegar / cider vinegar
- 1 tsp vanilla essence
- 140 ml vegetable oil (or canola + more to grease the moulds)
- 4 tbsp unsweetened cacao powder (ideally 100% cacao)
- 1 tbsp liquid red food colouring
- 250 g unsalted butter
- 210 g cream cheese
- 150 g icing sugar
👨🍳 Instructions
- 1--- For the red velvet cake ---
- 2Mix all the ingredients for the cake until you get a homogeneous mix. If you're using a stand mixer stop halfway through to scrape the sides and base of the bowl with a spatula because it's in those places where dry ingredients accumulate and don't mix in.
- 3Cut baking paper to the size of the base of two 18cm diameter moulds (double the recipe if using a 25cm diameter mould). Stick the paper discs to the base of the moulds using vegetable oil and spreading it with a bit of kitchen paper.
- 4Spread more oil on the paper at the base and also on the sides of the mould.
- 5Place about a tablespoon of flour on each mould and turn it so it sticks to the oil. Finally turn the moulds upside down and tap on them to release the excess flour.
- 6Fill the moulds with the mix and take them to a preheated oven at 180C for 45min-1hour or until you can insert a thin knife at the center and it comes out clean.
- 7Let them cool down completely before unmoulding and cutting.
- 8Run a thin knife around the mould and turn them around to unmould. Don't remove the paper from the base yet.
- 9Use a ruler to decide the height at which you will remove the dome from the top of the cake. Both cakes should have the same height. To cut them evenly make small cuts at thee desired cut all around the cake without going all the way through. On the last one go all the way through and you'll see how those small cuts help guide the knife.**
- 10Repeat the same process to divide both cakes in two.
- 11--- For the cream cheese butter cream ---
- 12If it's hot where you live or if your kitchen is too hot, don't let the butter or cream cheese soften at room temperature before making the buttercream. However if it's cold then leave them outside of the fridge for a couple of hours before starting.
- 13Mix the butter using the mixer attachment in your stand mixer for 5 minutes from the moment it goes soft. Remember to stop halfway through to scrape down the sides and bottom.
- 14Add the cream cheese and repeat thee process.
- 15Add the sugar using a sieve and mix until everything is incorporated.
- 16Place the top half of one of the cakes on the base where you're serving later.
- 17Place a bit of buttercream on top and spread it out. Try to use the same amount of filling for each layer. For this purpose I used a cookie scoop, adding 4 scoops per layer. You could also use 1/4 cup.
- 18Put the base of the cake upside down on top of the buttercream; with the paper on top. Remove the paper and spread more buttercream on top.
- 19Repeat the process with the other cake.
- 20Spread buttercream on top and to this point you have a naked cake.
- 21For the semi naked look spread buttercream around the cake and then scrape off the excess trying not to break the cake.
- 22Place the cake in the fridge for a couple of hours before cutting so it doesn't fall apart.
About the Chef & Original Recipe
This recipe was published by Lorena Salinas from Cravings Journal on cravingsjournal.com. Visit the original source for step-by-step photos, chef notes and additional details.
Source: cravingsjournal.com