
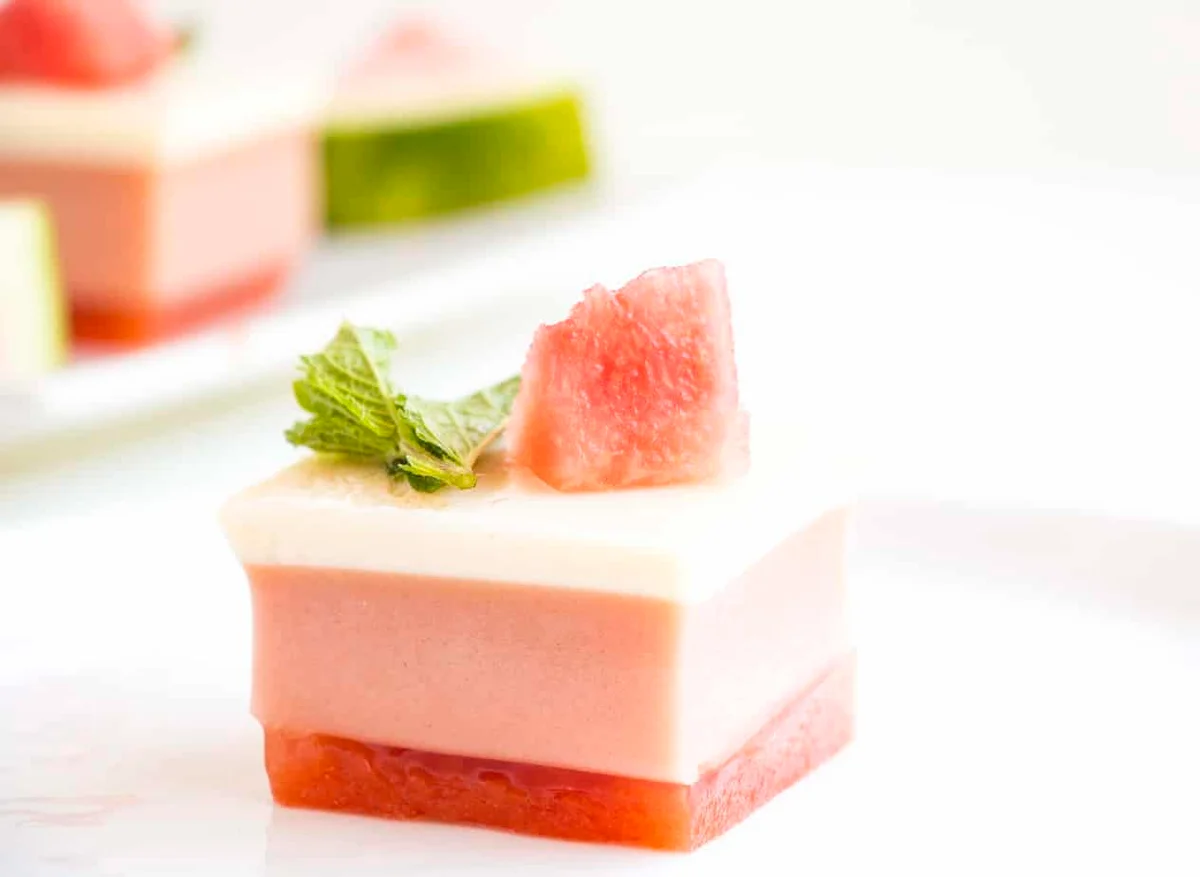
3 Layer Watermelon Gelatin Cubes
Nutrition per Serving
147
Calories
11g
Protein
24g
Carbs
1g
Fat
These beautiful 3 Layer Watermelon Cubes are incredibly simple to make and the perfect summer dessert for both kids and adults.
📝 Ingredients
- 3 Cups Fresh Watermelon Juice
- 1/4 Cup Castor Sugar
- 1 Tbsp Lemon Juice
- 30 grams Gelatin Powder
- 1/2 Cup Cold Water
- 3 Cups Fresh Watermelon Juice
- 3/4 Cup Castor Sugar
- 2 Cups Greek Yoghurt
- 2 tsp Vanilla Extract
- 40 grams Gelatin Powder
- 1/2 Cup Cold Water
- 1 Tin Condensed Milk
- 1/4 Cup Milk
- 1 tsp Vanilla Extract
- 20 Gelatin Powder
- 1/4 Cup Cold Water
👨🍳 Instructions
- 1--- For the Watermelon Layer: ---
- 2Place the gelation in the cold water for 10min. Then place the gelatine mixture in a hot water bath to allow the gelatin to melt.
- 3Meanwhile, place the remaining ingredients in a saucepan and allow to simmer.
- 4Stir until sugar is dissolved.
- 5Remove from the heat and stir in the melted gelation.
- 6Pour into a square cake tin (sprayed with cook n spray) and place in the fridge to set (about 4 hours).
- 7--- For the Yoghurt Layer: ---
- 8Place the gelation in the cold water for 10min. Then place the gelatine mixture in a hot water bath to allow the gelatin to melt.
- 9Meanwhile, place the watermelon juice and sugar in a saucepan and allow to simmer, stirring until the sugar has melted.
- 10Lower heat and stir in the yoghurt and vanilla. Stir until well incorporated.
- 11Remove from heat and stir in the melted gelatin.
- 12Allow the mixture to cool and pour gently over watermelon layer.
- 13Place back in the fridge for at least 4 hours.
- 14--- For the Condensed Milk Layer: ---
- 15Place the gelation in the cold water for 10min. Then place the gelatine mixture in a hot water bath to allow the gelatin to melt.
- 16Mix the remaining ingredients together in a saucepan over medium heat.
- 17Remove from heat and stir in melted gelatin.
About the Chef & Original Recipe
This recipe was published by Clara Jane on baking-ginger.com. Visit the original source for step-by-step photos, chef notes and additional details.
Source: baking-ginger.com