
No-knead Focaccia - Parāoa Pokapoka Kore-Poke
Nutrition per Serving
—
Calories
—
Protein
—
Carbs
—
Fat
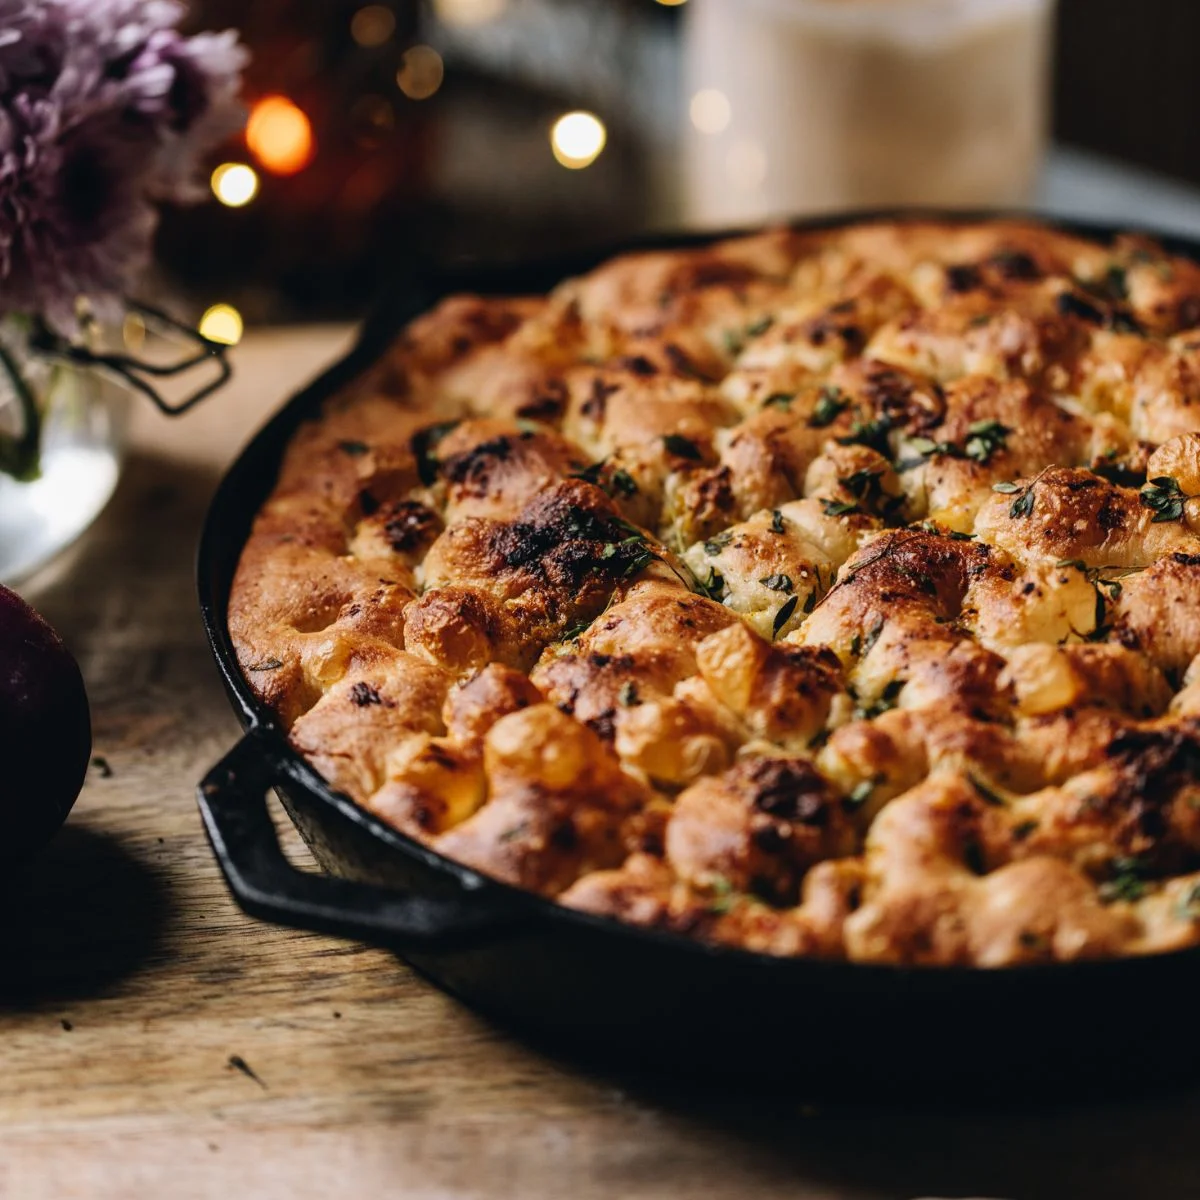
A delicious and fluffy no-knead focaccia bread with flavours of garlic, honey, thyme and lemon.
📝 Ingredients
- 2 tbsp noni (oil).
- 1 1/2 C (375 ml) wai aromahana (lukewarm water)
- 1 1/2 Tbsp mīere (honey, this can be swapped for maple syrup or sugar)
- 2 tsp (6 g) īhi tere (instant yeast)
- 3 C (450 g) puehu parāoa kounga (high grade flour)
- 1 tsp tote (salt, fine)
- 3 tbsp (45 ml) noni (oil)
- 4 kāriki (garlic cloves)
- 2 tsp mīere (honey or maple syrup)
- Tote me te pepa (salt and pepper)
- Kiri rēmana pīrahirahi (finely grated lemon zest, of two lemons)
- 15 g tāima (thyme)
- 2 tbsp noni (oil)
👨🍳 Instructions
- 1--- Prepare the Cast Iron Pan or Oven Tray: ---
- 2Oil a 23 cm cast iron pan or a 25 cm x 30 cm tray with 2 Tbsp of noni (oil). Rub it all over so every part of this pan or tray is covered.
- 3--- Activate the Yeast: ---
- 4Add the wai aromahana (lukewarm water) and mīere (honey) in a to a large bowl. Stir it until the honey has dissolved.
- 5Sprinkle over the īhi tere (instant yeast), stir, leave for 5 mins to activate. The īhi (yeast) has activated when it has floated to the top.
- 6--- Add the remaining Ingredients: ---
- 7Add in the rest of the ingredients. Stir with a knife for 1 minute until the ingredients are all combined. It will look sticky but just trust the process.
- 8--- First Rise: ---
- 9Cover with a tea towel or bowl cover and leave for 15 - 20 minutes.
- 10--- First Stretch and Fold: ---
- 11It is time to stretch and fold the dough. Take a handful of the dough from down the side of the bowl, pull the dough up as high as it can go and place it in the centre of the bowl. 1/4 turn the bowl and repeat the process.
- 12Every time you place the dough in the centre of the bowl and quarter turn the dough, is one count. Stretch and fold 12-15 times. It should take a minute to do.
- 13--- Second Rise: ---
- 14Cover the dough and leave for 15 - 20 minutes.
- 15--- Second Stretch and Fold: ---
- 16Repeat the stretch and folding process for the second time, completing 12 - 15 stretch and folds.
- 17--- Third Rise: ---
- 18Cover the dough and leave for 15 - 20 minutes.
- 19--- Third and Final Stretch and Fold: ---
- 20Stretch and fold 12 - 15 times in the bowl a third and final time.
- 21--- Transfer to the Dough: ---
- 22Add the dough into the oiled pan and gently stretch it out, I do this by rubbing my hands underneath the dough to gently tease it out. Refer to the video for clarity.
- 23--- Fourth and Final Rise: ---
- 24Cover and rise for 45 minutes to 1 hour.
- 25Before the time is up, prepare your toppings. Note: Focaccia doesn't have to have toppings, you can keep it plain and drizzle with a bit of noni (oil) and tote (salt). The options are endless - choose what you love!
- 26--- Prepare the Toppings: ---
- 27Add the kāriki (garlic), mīere (honey), tote (salt), pepa (pepper) and kiri rēmana (lemon zest) in to a mortar and pestle. Smoosh it all together until a paste forms. If you don't have a mortar and pestle you can just cut everything finely on to a chopping board.
- 28--- Preheat the Oven: ---
- 29Preheat the oven to 220 °C.
- 30--- Add the Toppings to the Dough: ---
- 31When the dough has risen, add the delicious paste all over the dough.
- 32Pull the fresh tāima (thyme) from its sprigs and add evenly all over the dough. Drizzle over the noni ōriwa (olive oil).
- 33--- Dimple the Dough: ---
- 34Once the toppings are added, press your fingers deeply into the dough, pressing the flavour right to the bottom. Leave for 5 - 10 minutes.
- 35--- Bake the No-knead Focaccia Bread: ---
- 36Slide in the delicious parāoa (bread) and bake for 5 minutes at 220 °C.Then turn it down to 170 °C, bake for 25 more minutes.
- 37Slide it out of the pan while still hot and eat warm. This is perfect to go alongside any meal.
- 38--- Storing the Focaccia Bread: ---
- 39This parāoa (bread) will be at its best on the day but will also make great toast or epic toasties the next day.
- 40I keep homemade bread in a plastic bag for a day on the bench. Beyond that I slice it and store it in the freezer and remove a piece at a time for toasting.
About the Chef & Original Recipe
This recipe was published by whanaukai.nz. Visit the original source for step-by-step photos, chef notes and additional details.
Source: whanaukai.nz