
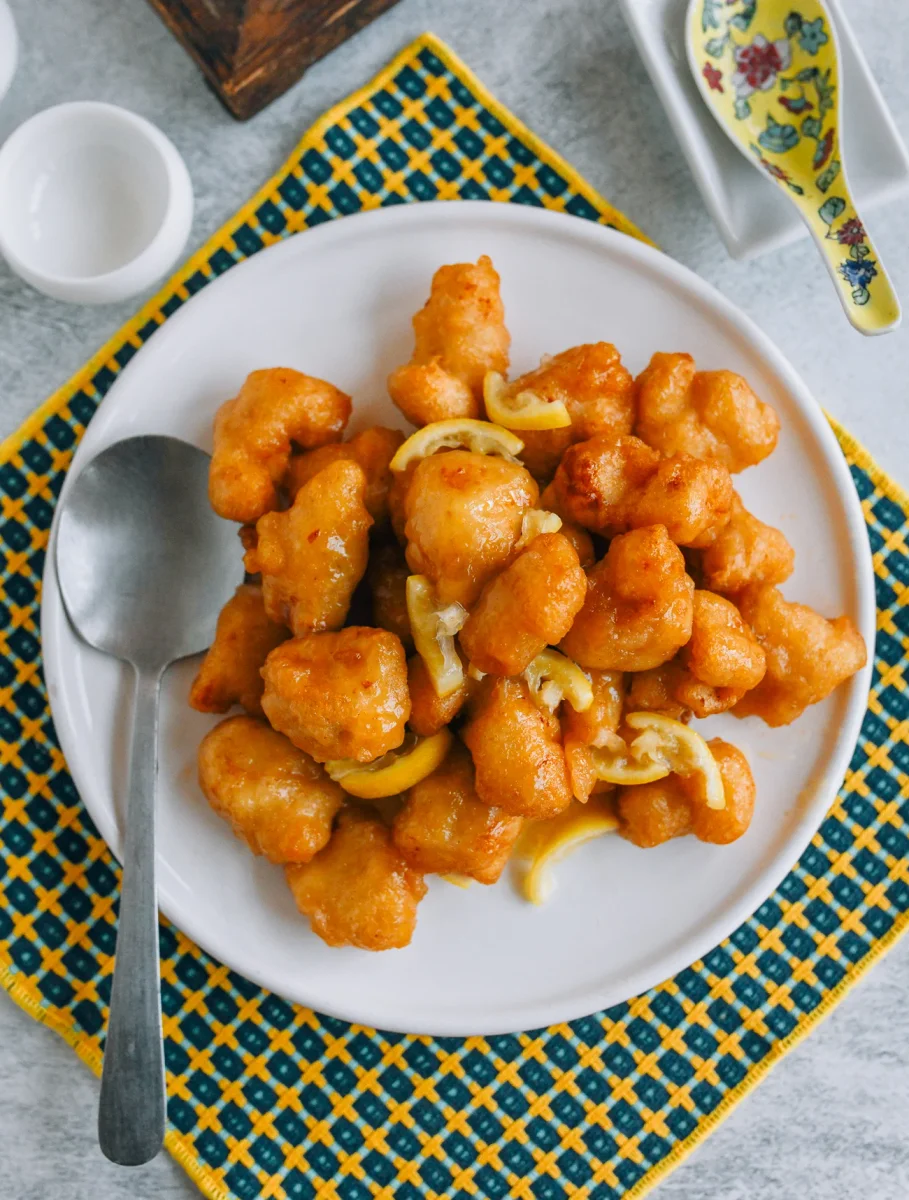
Chinese Lemon Chicken
Nutrition per Serving
457
Calories
27g
Protein
52g
Carbs
15g
Fat
This oft-requested Chinese lemon chicken recipe is a delicious, refreshing alternative to the usual crispy sweet and sour chicken.
📝 Ingredients
- 1 pound boneless skinless chicken breast ((or thighs—cut into 1 1/2 inch/4cm chunks))
- 2 teaspoons Shaoxing wine
- 1/2 teaspoon salt
- 1/4 teaspoon garlic powder
- 1/4 teaspoon sesame oil
- 1/8 teaspoon white pepper
- 1 tablespoon cornstarch
- Neutral oil (for frying (such as peanut, vegetable, or canola oil))
- 3/4 cup all-purpose flour
- 2 tablespoons cornstarch
- 1/4 teaspoon salt
- 1/8 teaspoon baking powder
- 1/8 teaspoon white pepper
- Pinch turmeric powder ((optional))
- 1/4 teaspoon sesame oil
- 1/2 cup cold beer ((a mild lager is best, or plain seltzer/club soda))
- 1/2 cup cornstarch
- 2 tablespoons all-purpose flour
- 1/4 teaspoon salt
- 1/8 teaspoon white pepper
- Pinch turmeric powder ((optional))
- 1/4 teaspoon sesame oil
- 1-2 fresh lemons ((to yield 1/4 cup lemon juice, 1/2 lemon for slices, and 1 teaspoon lemon zest))
- 1/3 cup water
- 1/4 cup white granulated sugar
- 1/4 teaspoon salt
- 1 1/2 tablespoons cornstarch ((mixed into a slurry with 1 1/2 tablespoons water))
👨🍳 Instructions
- 1--- Marinate the chicken: ---
- 2Toss the chicken in the Shaoxing wine, salt, garlic powder, sesame oil, cornstarch and white pepper. Set aside for 20 minutes (or overnight, if marinating in advance).
- 3--- Fry the chicken: ---
- 4For the batter fried version, combine ½ cup of the flour, cornstarch, salt, baking powder, white pepper, and turmeric (if using). Just before you’re ready to fry, mix in the seltzer and sesame oil, just until the batter is smooth. Dredge the chicken in the remaining ¼ cup of flour. Heat a small pot of oil to 350°F/175°C. Drop 5-6 pieces of the marinated, dredged chicken into the batter, and use chopsticks, a fork, or your fingers to coat the chicken, placing each carefully into the oil. Adjust the heat to maintain the oil temperature at around 325°F/160°C (dropping the chicken into the oil will immediately lower the temperature).
- 5For the crispy coating option, heat 1½ to 2 cups of oil in your wok for shallow frying, until it reaches 325°F/160°C. Combine the cornstarch, flour, salt, white pepper, turmeric, and sesame oil. Dredge the chicken in the dry mixture, and drop them into the oil, in batches of 5-6 pieces.
- 6Use chopsticks or a slotted spoon to carefully turn the chicken pieces occasionally (in either case!), so all sides are uniformly fried. Fry for about 2 to 3 minutes, or until the chicken is light golden brown and crispy. Remove with a slotted spoon, and let any excess oil drain off before placing onto a rack or paper towel lined plate. Repeat until all the chicken has been fried.
- 7--- Make the lemon sauce & assemble the dish: ---
- 8Juice the lemon(s) until you get ¼ cup juice. Slice a few thin rounds of lemon (about ⅛-inch/3mm thick), and zest the remainder so you have about 1 teaspoon. Slice the rounds into sixths, so you have small wedge slices. Add the juice, zest, and slices to a non-reactive/stainless steel saucepan over medium-high heat, along with the water, sugar, and salt. Bring to a simmer.
- 9While the sauce is coming up to a simmer, reheat your oil to 350°F/175°C. Fry your chicken into the oil in 2 batches, re-frying each batch, maintaining the heat at at least 325°F/160°C for 2 minutes, or until crispy.
- 10With the lemon sauce still simmering, slowly stir in the cornstarch slurry until the sauce is thick enough to coat a spoon. If the sauce thickens to this point before you add all of the slurry, don’t add the remainder; just discard it! You can do this while the chicken is frying for the second time.
- 11Once all the chicken is fried, toss it into the sauce, and fold it in with 3-4 scooping motions, until the pieces are lightly coated. Plate and serve immediately! If you like, you can garnish with additional fresh lemon slices.
About the Chef & Original Recipe
This recipe was published by thewoksoflife.com. Visit the original source for step-by-step photos, chef notes and additional details.
Source: thewoksoflife.com