
Banana Miso White Chocolate Doughnuts
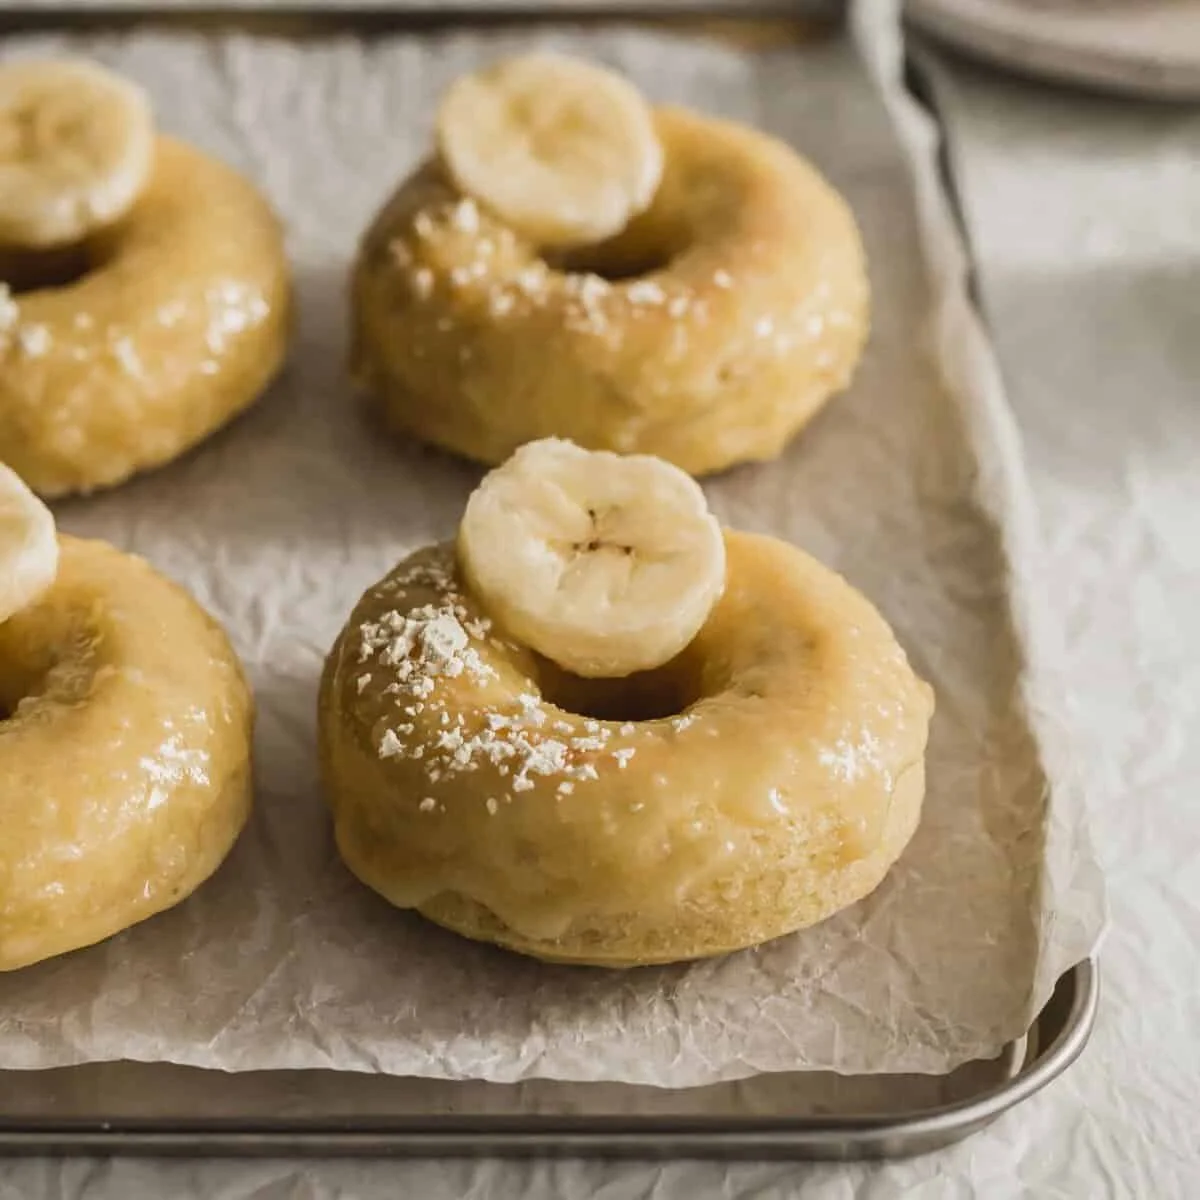
These baked doughnuts combine ripe banana and roasted soybean powder with a sweet-and-savoury white chocolate and miso glaze. They make a quick, softly textured bake when you want something a little different from a classic glazed doughnut.
Ingredients
- 1fully ripe banana
- 1 largeegg
- 30 ggranulated sugar
- 5 ml (1 tsp)vanilla extract
- 5 gwhite miso paste
- 30 mlwhole milk
- 15 mlvegetable oil
- 5 gbaking powder
- 5 gkinako (roasted soybean powder)
- 95 gcake flour
- 50 gwhite chocolate, melted
- 5 gwhite miso paste
- 15 ml (1 Tbsp), if the chocolate seizeshot boiling water
- to tastekinako (roasted soybean powder), for garnish
Instructions
- 1
Heat the oven
Preheat the oven to 177°C.
- 2
Prepare the pan
Get a six-cavity doughnut pan ready. If it is non-stick, lightly grease it with oil.
- 3
Mash the mixture
In a medium bowl, mash the banana with the egg, sugar, vanilla and 5 g of miso paste until combined.
- 4
Add the liquids
Stir in the milk and vegetable oil.
- 5
Add dry ingredients
Add the baking powder, kinako and cake flour.
- 6
Fold the batter
Use a spatula to fold the mixture just until combined.
- 7
Fill the pan
Transfer the batter to the doughnut pan, filling each cavity almost to the top.
- 8
Release air bubbles
Tap the pan a few times to dislodge any trapped air bubbles.
- 9
Bake the doughnuts
Bake at 177°C for 13–15 minutes, until a toothpick inserted into a doughnut comes out clean or with a few crumbs attached.
- 10
Cool the doughnuts
Leave them in the pan for 5 minutes, then move them to a wire rack and cool completely.
- 11
Melt the chocolate
In a microwave-safe bowl, heat the white chocolate in 20-second bursts until melted.
- 12
Stir in miso
Add 5 g of white miso paste to the chocolate.
- 13
Smooth the glaze
The chocolate may seize if the miso is not very dry; this is fine. If it does seize, add 15 ml of hot boiling water and whisk until smooth.
- 14
Dip the doughnuts
Dip the tops of the doughnuts in the glaze and place them on a baking sheet lined with baking parchment.
- 15
Garnish and set
Sprinkle with additional kinako and a slice of banana, then leave the glaze to set.
- 16
Repeat the dipping
Repeat with the remaining doughnuts.
What are banana miso doughnuts?
These are baked ring-shaped cakes rather than fried doughnuts, flavoured with banana and kinako, a roasted soybean powder used in Japanese cooking. Miso and white chocolate bring a sweet-savoury finish that recalls the contrast of salted caramel.
The banana adds moisture and flavour, while the glaze gives each doughnut a richer, more pronounced finish. The recipe draws on Japanese ingredients without requiring a specialist doughnut-making technique.
Nutrition and macros by portion
The nutrition label shows one serving as written: 159 calories, 4g protein, 27g carbs, 4g fat.
| Portion | Adjustment | kcal | Protein | Carbs | Fat |
|---|---|---|---|---|---|
| Lighter | Use less glaze | 111 kcal | 3g | 19g | 3g |
| This serving | As written | 159 kcal | 4g | 27g | 4g |
| Hungry | Serve two doughnuts | 239 kcal | 6g | 41g | 6g |
The banana and flour provide most of the carbohydrates, while the white chocolate and vegetable oil contribute fat; the egg, milk and kinako add some protein. Pair a doughnut with plain yoghurt or fruit if you want a more substantial snack.
The key ingredients
Ripe banana: mash it thoroughly so it mixes evenly into the batter and contributes its sweetness and moisture.
Kinako: this roasted soybean powder adds a toasted, nutty note to both the doughnut batter and the garnish.
White miso: its savoury saltiness balances the sweetness of the banana and white chocolate. The recipe uses it in both the batter and the glaze.
Mixing the batter
Combine the banana, egg, sugar, vanilla and miso first, then stir in the milk and oil before adding the dry ingredients. This order helps distribute the flavourings through the mixture.
Fold the flour in only until the batter comes together. Mixing more than necessary can make the baked doughnuts less tender.
Filling the doughnut pan
Almost full: fill each cavity close to the top, leaving a little room for the batter to rise as it bakes.
Air bubbles: tap the pan a few times after filling to help release bubbles that could leave holes in the baked doughnuts.
Checking when they are baked
Bake at 177°C for 13–15 minutes. Begin checking towards the shorter end of the range, as ovens and pans can affect how quickly the doughnuts bake.
A toothpick inserted into a doughnut should come out clean or with a few crumbs clinging to it. Let the doughnuts cool in the pan for 5 minutes before moving them to a rack.
Getting a smooth miso glaze
Melt the white chocolate in short 20-second microwave bursts, checking between each one. This gives you more control than heating it continuously.
The chocolate may seize when the miso is stirred in, particularly if the paste is not very dry. If that happens, whisk in the specified 15 ml of hot boiling water until the glaze smooths out.
Serving and timing
Cool the doughnuts completely before dipping so the glaze can coat the tops rather than running off warm cakes. Leave them on baking parchment while the glaze sets.
Serve them as a snack or alongside tea or coffee. The stated total time is 25 minutes, with cooling and setting time also needed before the doughnuts are ready to finish and serve.
Recipe notes & tips
- Use a fully ripe banana so it mashes easily and blends well into the batter.
- Measure the cake flour carefully and fold it in only until no dry patches remain.
- Grease a non-stick pan lightly if you want to make transferring the doughnuts easier.
- Cool the doughnuts completely before dipping them in the glaze.
- Keep the microwave bursts to 20 seconds and check the chocolate between each one.
- Sprinkle on the kinako while the glaze is still unset so it adheres.
Variations
- Extra kinako: add a light dusting over the glaze for a more pronounced roasted soybean flavour.
- Banana finish: add a slice of banana on top as directed, and serve soon after garnishing.
- More miso: add a little extra miso to the glaze for a saltier contrast with the chocolate.
- Plain tops: leave off the garnish for a simpler finish.
- Smaller doughnuts: divide the batter between more cavities if your pan has them, and check for doneness earlier.
Common mistakes to avoid
- Overmixing the batter: fold only until combined to help keep the doughnuts tender.
- Filling cavities to the brim: leave a little space for the batter to rise.
- Skipping the pan taps: tap the filled pan to help release trapped air bubbles.
- Moving them too soon: leave the doughnuts in the pan for 5 minutes before transferring them to a rack.
- Dipping while warm: cool them completely first so the glaze is easier to apply.
- Discarding seized chocolate: whisk in 15 ml of hot boiling water to smooth it out.
How to store
Store the cooled doughnuts in an airtight container at room temperature and eat within 2 days for the best texture. If needed, warm them briefly in the microwave; the glaze may soften.
Frequently asked questions
Can I make these without a doughnut pan?
The recipe is written for a six-cavity doughnut pan. A different baking tin will change the shape and may affect the baking time, so check for doneness with a toothpick.
Why did my white chocolate seize?
The miso can make the melted chocolate seize, particularly if the paste is not very dry. Whisk in 15 ml of hot boiling water until the mixture becomes smooth.
How do I know the doughnuts are ready?
Bake for 13–15 minutes at 177°C. A toothpick inserted into a doughnut should come out clean or with a few crumbs clinging to it.
Can I glaze the doughnuts while they are warm?
Wait until they have cooled completely on a wire rack. Warm doughnuts can make the glaze run rather than sit neatly on top.
What is kinako?
Kinako is roasted soybean powder with a toasted, nutty flavour. It is used in the batter and as a garnish in this recipe.
Can I prepare the doughnuts ahead?
You can bake them ahead and store them in an airtight container. For the neatest finish, add the glaze and garnish once the doughnuts have cooled.
Cook it from the original
This recipe comes from siftandsimmer.com. Their page has the author’s own photos, notes and tips — the best place to cook it from.
Open the recipe on siftandsimmer.com