
Funfetti Cake
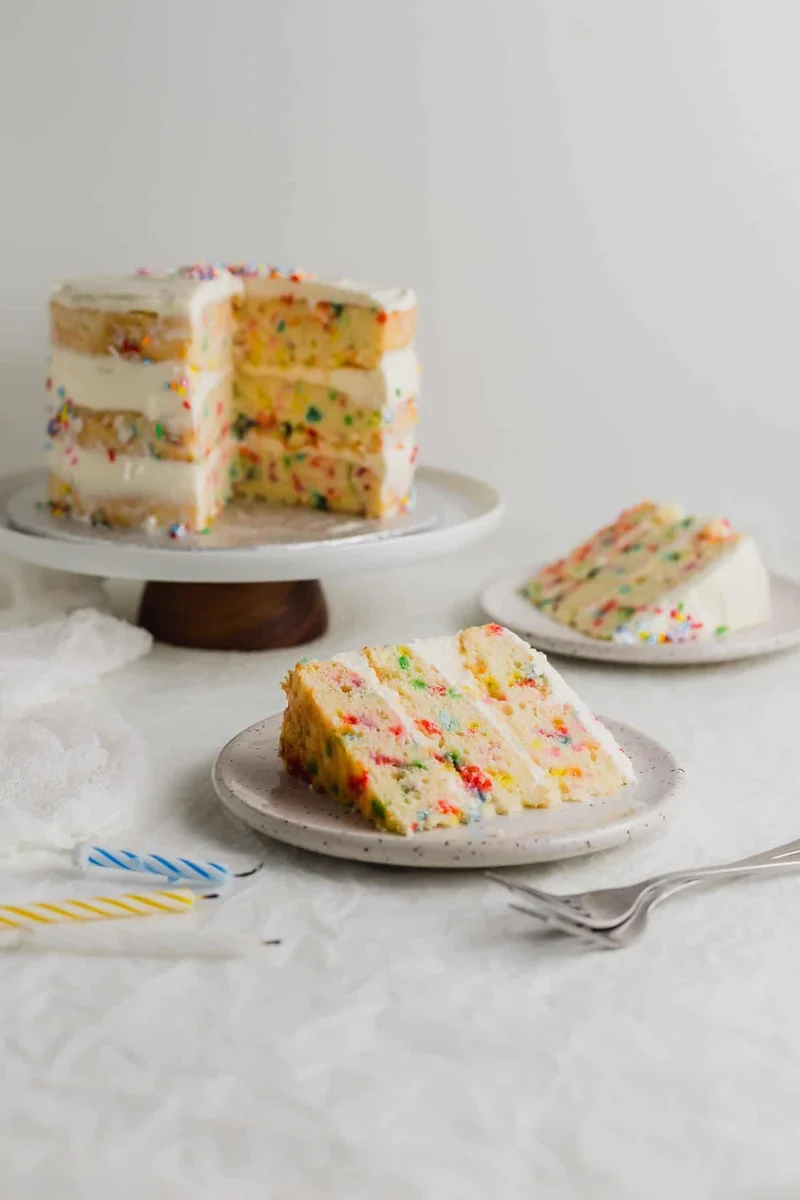
This Funfetti Cake contains 3 layers of soft and tender confetti sprinkle-filled cake layered with a fluffy, tangy cream cheese frosting. It's always a hit with kids and adults alike!
Ingredients
- 180 g cake flour (sifted)
- 1 1/4 tsp baking powder
- 100 g salted butter
- 125 g granulated sugar
- 1 Tbsp vanilla extract
- 1 large egg
- 1 egg yolk
- 125 ml whole milk
- 3 Tbsp confetti sprinkles (choose long cylindrical ones, not non-pareils)
- 125 ml heavy whipping cream, 36% milkfat (MF) (cold)
- 1 Tbsp vanilla extract
- 1 pkg (250g) cream cheese (room temperature)
- 130 g powdered sugar
Instructions
- 1
--- Make the funfetti cake: ---
- 2
Prepare 3 x 6" round cake pans by lining the bottom with parchment paper.
- 3
Lightly grease the pans and parchment and set aside.
- 4
Preheat oven to 350°F/177°C.
- 5
In a large bowl, sift together the cake flour and baking powder. Set aside.
- 6
In a stand mixer bowl fitted with a paddle attachment, cream the butter until lightened.
- 7
Add in the granulated sugar and continue to beat, until fluffy.
- 8
Combine the vanilla extract, egg + egg yolk in a small bowl.
- 9
Lower the mixer speed and while continuing to beat, add in the vanilla and egg in additions, until all of it is absorbed into the butter mixture.
- 10
Stop the mixer and give it a scrape with a spatula.
- 11
With the mixer on low speed, alternate adding in the cake flour and milk, starting and ending with the cake flour.
- 12
Stop the mixer and fold in the confetti sprinkles with a spatula.
- 13
Divide the cake batter equally into the prepared cake pans.
- 14
Even out the surface with an offset spatula.
- 15
Give the pans a tap to release any trapped air bubbles.
- 16
Bake the cakes at 350°F/177°C for 20-24 minutes, until a toothpick inserted comes out clean or with the slightest crumbs clinging to it.
- 17
Let the cakes cool on a wire rack.
- 18
--- Make the cream cheese frosting: ---
- 19
Pour the chilled heavy whipping cream into a stand mixer bowl fitted with a whisk attachment.
- 20
Whip until the cream reaches soft peaks.
- 21
Add in the vanilla extract.
- 22
Continue to whip until it reaches stiff peaks.
- 23
Transfer the whipped cream into a large bowl and set aside in the fridge.
- 24
Using the same mixer bowl, add in the cream cheese.
- 25
Change to a paddle attachment and beat on medium-high speed until softened.
- 26
Lower the mixer speed and add in the powdered sugar.
- 27
Once all the powdered sugar has been added, add in the vanilla extract and increase the speed and beat until the cream cheese mixture is light and fluffy.
- 28
With a spatula, gently fold the whipped cream into the cream cheese mixture to lighten.
- 29
Use the fluffy cream cheese mixture on the cake right away or transfer to a container, cover and place into the fridge until ready to use.
- 30
--- Decorate: ---
- 31
To reveal the confetti edges on the cake, you can trim the perimeter of the cake or use a microplane to gently "shave" the cakes once cooled.
- 32
Place a small dollop of cream cheese frosting to a cake board.
- 33
Add one cake layer to the cake board.
- 34
Place about 1/2 C of cream cheese frosting on the cake and use an offset spatula to spread it evenly.
- 35
Repeat with the remaining cake and frosting.
- 36
For a naked cake effect, add the cream cheese frosting on the outer edges and use an offset spatula to scrape it against the cake, while moving the cake turntable.
- 37
Decorate with additional confetti sprinkles.
- 38
Chill in the fridge for 2-3 hours, until set.
Cook it from the original
This recipe comes from siftandsimmer.com. Their page has the author’s own photos, notes and tips — the best place to cook it from.
Open the recipe on siftandsimmer.com