
Easy Egg Fried Rice (5 Ingredients)
Nutrition per Serving
421
Calories
11g
Protein
48g
Carbs
21g
Fat
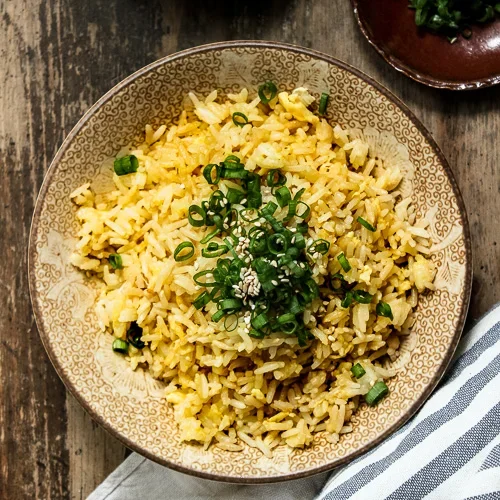
Quick and easy Chinese egg fried rice recipe with fluffy scrambled eggs that coat each grain of rice! Ready from start to finish in 15 minutes!
📝 Ingredients
- 3 cups rice ((preferably cold, day old rice, see notes))
- 3 tablespoons oil
- 2-3 tablespoons soy sauce
- 3 eggs
- 1 1/2 teaspoon oil ((for the eggs))
- 1/2 teaspoon salt
- 1-2 stalks green onions ((finely chopped, added at the end))
- toasted sesame seeds ((optional, added at the end))
👨🍳 Instructions
- 1--- Preparation ---
- 2Gently break up the day-old rice in a bowl into smaller chunks with your hands and set aside. Approximately 3 cups rice.
- 3Finely chop up the 1-2 stalks green onions and set aside
- 4In a small bowl, add in the 3 eggs, 1 1/2 teaspoon oil, and 1/2 teaspoon salt, and beat it until it is fluffy and set aside.
- 5--- Putting it Together ---
- 6Heat a large frying pan with a bit of oil over medium heat.
- 7When the oil is hot, add in the rice and cook it for a few minutes. Use your utensil to break up the rice while it is hot. Cook for about 4-6 minutes
- 8Reduce the heat to low heat
- 9Push the rice aside in the pan and add in the scrambled egg mix to the pan. Let it sit for about 1-2 seconds and then use your utensil to give it a gentle mix a few times.
- 10Push the rice on top of the scrambled eggs and gently mix it until each grain is coated (Don't worry goopy, the egg will cook and dry out in the next steps)
- 11Set the stove back to medium heat
- 12Continue to toss and mix the rice until the egg is cooked and evenly distributed with the rice. The fried rice should look dry and not goopy and mushy. Cook for approximately 5 minutes. If the rice still looks mushy, continue to cook it until the heat dries out the eggs.
- 13Add in 2-3 tablespoons soy sauce and mix well until all the rice has been seasoned with it.
- 14Turn off the heat and add in the green onions and mix it for 1 minute so that the residual heat cooks it.
- 15Serve it as a side dish and enjoy!
About the Chef & Original Recipe
This recipe was published by pupswithchopsticks.com. Visit the original source for step-by-step photos, chef notes and additional details.
Source: pupswithchopsticks.com