
Miso Butter
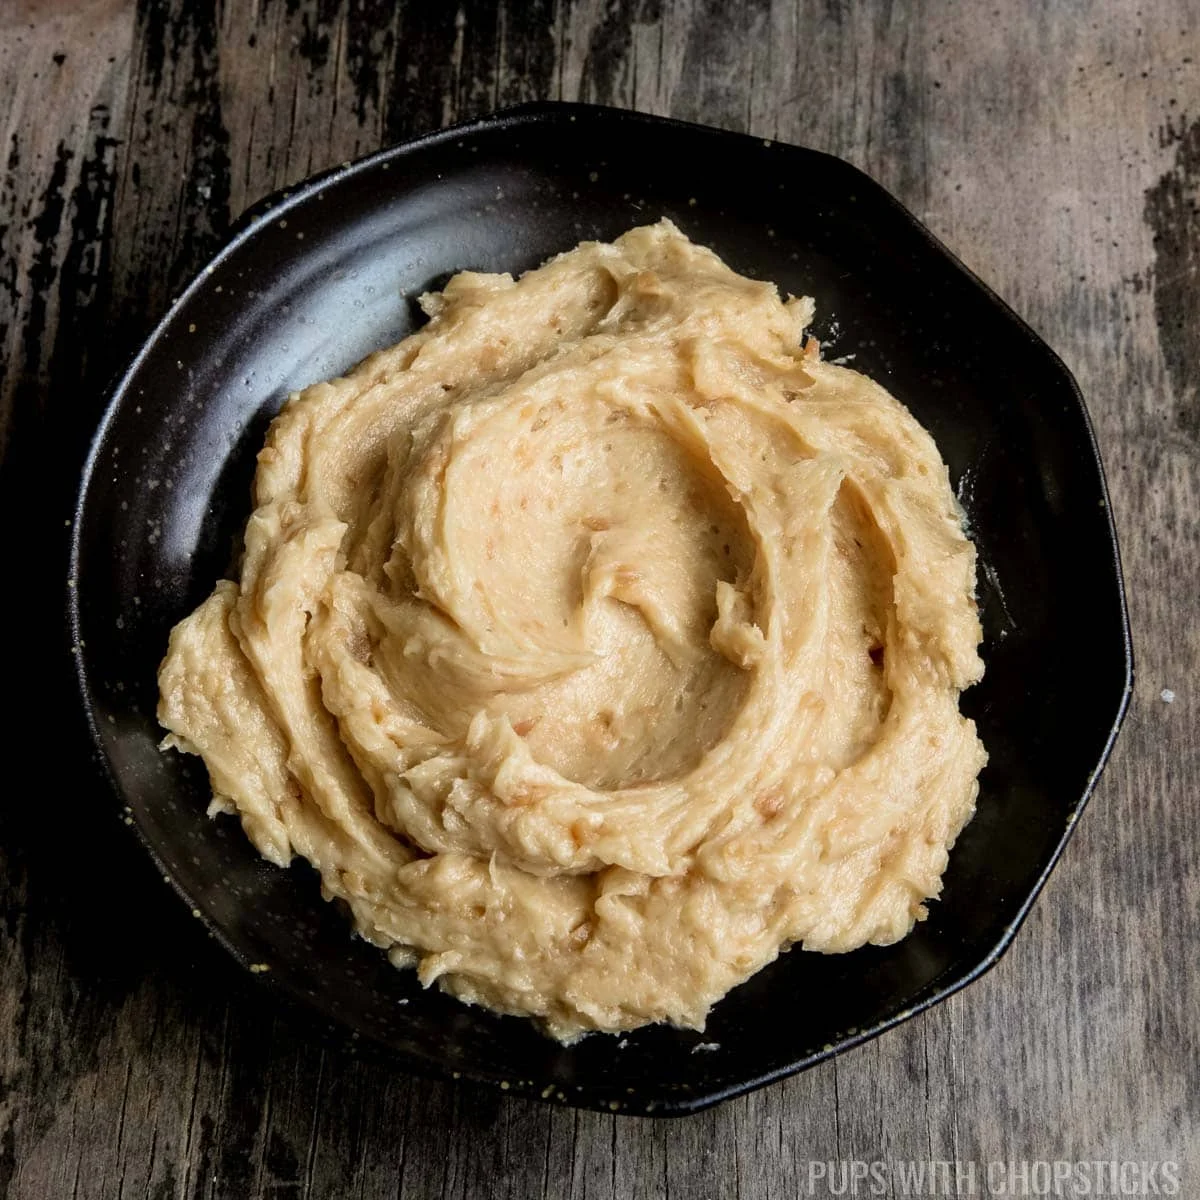
A simple and easy miso butter recipe made of miso, and unsalted butter that can be used for stir-fries, braising, noodles, or spread on toast.
Ingredients
- 1 cup unsalted butter ((softened at room temperature))
- 1/2 cup miso paste ((white, yellow or red miso))
- 1 bulb roasted garlic
Instructions
- 1
--- Preparation ---
- 2
Softened unsalted butter and miso at room temperature for 4 hours.If you don't have time to wait for the butter to soften, you can soften it in the microwave for 15 seconds (do it in 2-3 second intervals). Do not melt the butter, you want to just soften it.
- 3
--- Making the Miso Butter ---
- 4
Once the butter is soft enough to cut through with a butter knife, add it to a large mixing bowl and cut it up into small pieces.
- 5
Add the miso to the bowl on top of the butter.
- 6
Using a hand mixer, mix it until everything is evenly blended.
- 7
If you don't have a hand mixer, you can use the back of a spoon and mash the miso into the butter until everything is evenly mixed together. **Make sure you use a strong and sturdy spoon and not one that is soft and bendable.
- 8
You can use it right away or store it in the fridge for later.
- 9
--- How to Roll Miso Butter into a Tube for Storage ---
- 10
Take a large piece of plastic wrap and place it on top of a cutting board.
- 11
Using a spoon, add the miso butter on to the plastic wrap. I like to place enough to make it about 1½ inches thick but you can make it thinner if you want to make thinner logs.
- 12
Bring the bottom of the plastic wrap to the top
- 13
Start rolling the log upwards gently.
- 14
Using your finger, try to remove any large bubbles or gaps in the roll by pressing down on it.
- 15
Start to roll up one side of the roll, and then roll the other side as well.
- 16
Once both sides have been rolled you can tighten the roll by rolling it some more until it becomes a firm tube.I like to roll them in opposite directions, so I will roll my right side upwards, and roll my left side downwards.
- 17
Place the rolls on a plate and let them set in the fridge overnight.
Cook it from the original
This recipe comes from pupswithchopsticks.com. Their page has the author’s own photos, notes and tips — the best place to cook it from.
Open the recipe on pupswithchopsticks.com