
Mac & Cheese Sandwich
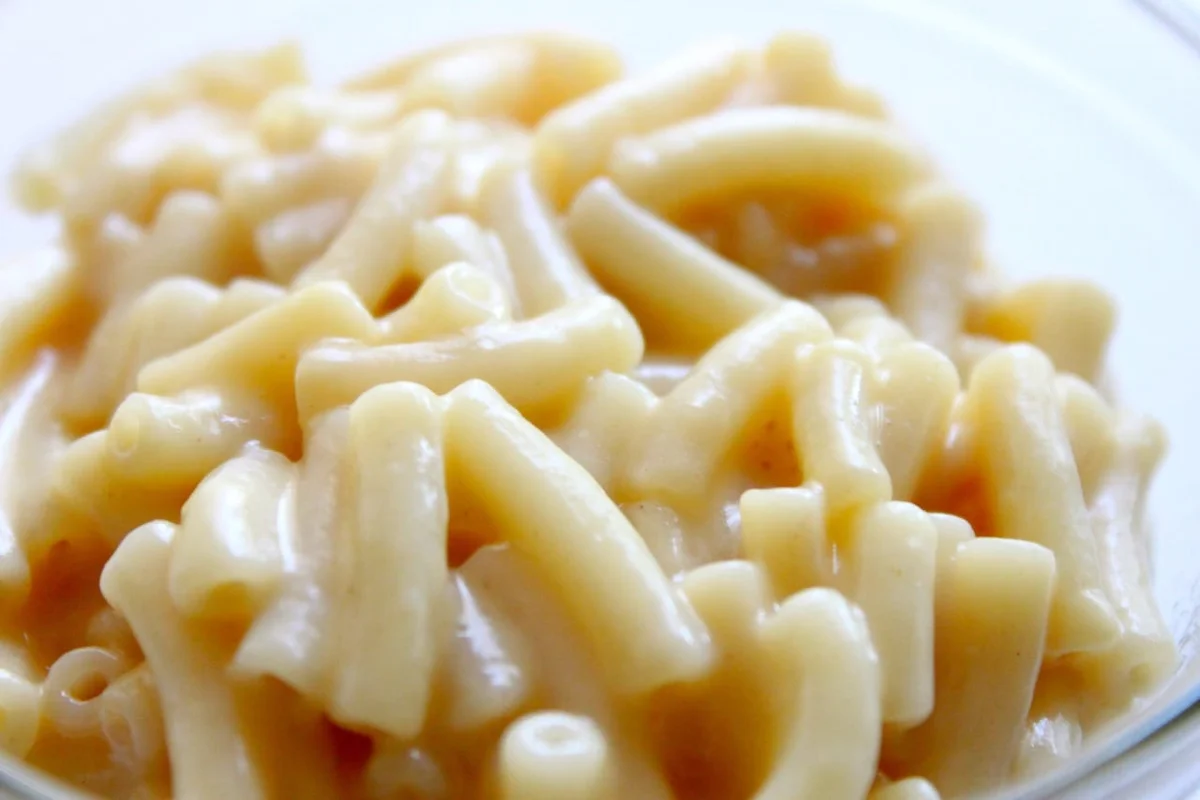
A toasted sandwich filled with creamy peppery macaroni and cheese. It turns a simple pasta-and-cheese mixture into a hot, crisp-edged lunch or snack.
Ingredients
- 450 g (3 cups)elbow pasta
- 60 ml (¼ cup)milk
- 16 g (2 tablespoons)plain flour
- 7 g (1 tablespoon)ground black pepper
- 100 g (1 cup)cheese, such as Parmesan
- 10 slicesbread, such as plain white bread
- 2 spoonfuls for the sauce, plus more as neededbutter
- as neededsalt
Instructions
- 1
Cook the pasta
Boil the pasta in plenty of water, seasoning the water well with salt.
- 2
Make the roux
Heat a pan, then add 2 spoonfuls of butter, the pepper and the flour. Mix well.
- 3
Thicken the sauce
Add the milk and stir continuously until the mixture thickens slightly, then turn off the heat.
- 4
Mix the filling
Add the boiled pasta and cheese to the sauce and mix thoroughly.
- 5
Fill the bread
Butter both sides of the bread and add a generous portion of the macaroni and cheese.
- 6
Grill the sandwiches
Grill the filled bread in a sandwich maker or similar appliance, then serve piping hot.
What is a mac and cheese sandwich?
This is a toasted sandwich with macaroni and cheese tucked between slices of bread. It brings together the familiar comfort of a pasta dish and the crisp, buttery finish of grilled bread.
Macaroni and cheese has roots in European pasta-and-cheese cooking and became a much-loved comfort food in the United States. This sandwich version keeps the filling straightforward, using a quick milk-and-flour sauce and cheese before grilling it inside bread.
Nutrition and macros by portion
The nutrition label shows one serving as written: 515 calories, 19g protein, 73g carbs, 16g fat.
| Portion | Adjustment | kcal | Protein | Carbs | Fat |
|---|---|---|---|---|---|
| Lighter | Use less butter | 361 kcal | 13g | 51g | 11g |
| This serving | As written | 515 kcal | 19g | 73g | 16g |
| Hungry | Serve two sandwiches | 773 kcal | 29g | 110g | 24g |
Most of the carbohydrates come from the pasta and bread, while butter contributes much of the fat and the cheese supplies protein as well as fat. Serve a sandwich with salad or vegetables to add freshness and make the plate more balanced.
Getting the filling right
Pasta: Cook the elbows in salted water until just tender, then drain them well. Extra water can loosen the filling and make the bread soggy.
Cheese: Parmesan gives the mixture a savoury, salty flavour. Grated cheese is easiest to mix into the warm pasta and sauce.
A smooth, thick sauce
Flour and butter: Stir them together in the hot pan so the flour is coated before the milk goes in. This helps the sauce thicken evenly.
Milk: Add it while stirring, and keep stirring until the sauce is only slightly thickened. It will also cling to the pasta once mixed.
Pepper and seasoning
Pepper: The recipe uses a generous tablespoon of ground pepper, which makes the filling notably peppery. If you prefer a milder sandwich, start with less and adjust to taste.
Salt: Season the pasta water well, but remember Parmesan can be salty, so taste the finished filling before adding extra.
Grilling without a mess
Butter: Spread it across both outer faces of each sandwich for browning and crispness. Keep the layer even so the bread grills consistently.
Filling: Use a generous portion, but leave a little space around the edges so the macaroni and cheese is less likely to squeeze out as the sandwich closes.
How to tell when they are ready
The sandwiches are ready when the bread is crisp and golden and the filling is hot throughout. A sandwich maker will usually press and toast both sides at once; follow its instructions for closing and cooking.
What to serve alongside
A crisp green salad or sliced tomatoes provide a fresh contrast to the rich, cheesy filling. For a more substantial meal, add vegetable soup or a simple portion of steamed vegetables.
Recipe notes & tips
- Drain the pasta thoroughly before adding it to the sauce.
- Grate the cheese finely so it mixes through the warm filling more easily.
- Stir the milk into the flour mixture continuously to keep the sauce smooth.
- Taste the filling before adding more salt, especially when using Parmesan.
- Avoid filling right to the edges so the sandwich maker can close cleanly.
Variations
- Use cheddar: Swap in grated cheddar for a familiar, mellow cheese flavour.
- Add mustard: Stir a little mustard into the sauce for extra savouriness.
- Add spring onions: Mix chopped spring onions into the filling for a fresh bite.
- Use wholemeal bread: Choose wholemeal slices for a nuttier sandwich.
- Add sliced tomato: Layer in a few thin slices for a juicy contrast.
Common mistakes to avoid
- Watery pasta: Drain it well before mixing so the filling does not loosen.
- Lumpy sauce: Add the milk while stirring continuously and smooth out the flour mixture.
- Too much pepper: Start with less if you are unsure, then season the filling to taste.
- Overfilled bread: Leave a narrow border so the filling stays inside while grilling.
- Cold filling: Heat the sandwich until the centre is piping hot before serving.
How to store
Store leftover macaroni and cheese filling in a covered container in the fridge for up to 3 days. Assemble and grill sandwiches just before eating for the crispest bread; reheat the filling until piping hot before using.
Frequently asked questions
Can I make the macaroni and cheese filling ahead?
Yes. Refrigerate it in a covered container for up to 3 days, then reheat it until piping hot before filling the bread.
Can I cook these without a sandwich maker?
Yes. Toast them in a frying pan over a moderate heat, turning once, until the bread is golden and the filling is hot.
Can I use another type of cheese?
Yes. Grated cheddar or another good-melting cheese can replace the Parmesan. Adjust the salt to suit the cheese you choose.
How much pepper should I use?
The recipe calls for 1 tablespoon, which gives a pronounced pepper flavour. Use less if you prefer a milder filling.
How do I stop the sandwich from becoming soggy?
Drain the pasta thoroughly and avoid making the sauce too loose. Grill the sandwiches soon after filling them.
Cook it from the original
This recipe comes from playfulcooking.com. Their page has the author’s own photos, notes and tips — the best place to cook it from.
Open the recipe on playfulcooking.com