
Lemon Coconut Cake
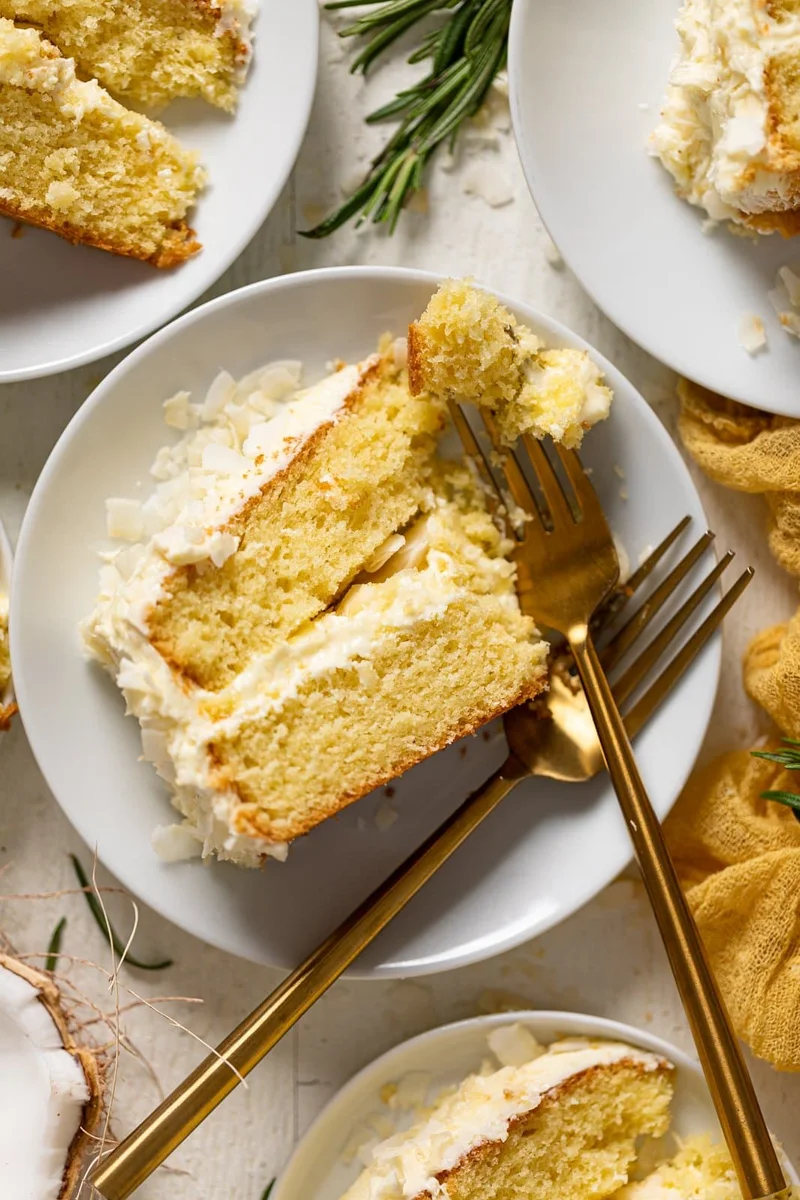
You're in for a real treat with this homemade Lemon Coconut Cake recipe! It's dense, moist, and oh-so-fluffy, with a perfect blend of zesty lemon and sweet coconut buttercream frosting. Whether it's a special occasion or just a sunny day, this cake is a crowd-pleaser that will make your taste buds sing. Embrace the flavors of Spring + Summer with this dreamy delight—it's simply irresistible. Gluten-free + Vegan Option.
Ingredients
- 4 cups organic all-purpose flour
- 1 1/2 cups organic cane sugar
- 1 cup unsalted butter, softened at room temp.
- 2 1/2 tsps baking powder
- 1 Tbsp lemon zest
- Pinch of sea salt
- 4 large organic eggs, at room temp.
- 2 tsps freshly-squeezed lemon juice ((You can also use lemon extract, if preferred))
- 1/3 cup vegetable oil ((You can also use coconut oil))
- 1 1/2 cups dairy-free "buttermilk: milk + 1 Tbsp lemon juice ((You can also use full dairy if desired!))
- 5 cups organic powdered sugar, sifted
- 1 cup unsalted butter, softened at room temp.
- 3-4 Tbsps full-fat coconut milk, room temp. ((The canned version))
- 1 tsp coconut extract
- Coconut flakes
- Lemon slices, roasted ((Optional, See Notes!))
Instructions
- 1
--- MAKE THE CAKE: ---
- 2
Begin by preheating your oven to 350 degrees Fahrenheit. Lightly grease (with butter) AND line with parchment paper the bottoms of TWO 8 or 9-inch cake pans (for thicker layers) or THREE 6-inch cake pans.
- 3
In a bowl, whisk together the milk and lemon juice and set aside for 5-10 minutes until everything "activates" to create the dairy-free "buttermilk".
- 4
In a large bowl, whisk together both the flours, baking powder, lemon zest, and salt until combined.
- 5
In a bowl, add the butter and sugar, beating them together using a hand-mixer (on high-speed), until pale and fluffy, about 2-3 minutes.
- 6
Add the eggs (one at a time) followed by the freshly-squeezed lemon juice and oil, mixing until combined. On low-speed, add in the dry ingredients followed by the buttermilk and continue to mix until combined and the batter is smooth, about 3-4 minutes. NOTE: The batter should be thick, yet slowly run off the whisk once lifted.
- 7
Divide the batter evenly into each of the cake pans and bake for 30-35 minutes, or until a toothpick or butter knife comes out clean when tested in the centers.
- 8
Remove cakes from the oven and let them rest in the pan for 10 minutes or so before removing the cakes and placing them onto a cooling rack to fully cool. NOTE: Let them cool for at least 1-2 hours in a cool place.
- 9
--- MAKE THE BUTTERCREAM FROSTING: ---
- 10
Simply beat the butter in the bowl of an electric mixer (or using a hand-mixer) on medium-high speed, until smooth and pale. Add in the powdered sugar, coconut extract, and coconut milk, continuing to mix on medium-speed until you reach the desired consistency—-smooth and fluffy. NOTE: Add more milk (1 Tbsp at a time if too thick) or powdered sugar (for more thickness).
- 11
--- ASSEMBLY: ---
- 12
Place the first cake layer on your cake stand and evenly cover the top with buttercream and a handful of coconut flakes. Now, top with 2nd layer and add more buttercream atop that layer, spreading it over the tops and sides of cake, evenly and thinly. NOTE: If making a 3-layer, be sure to repeat step 1 of assembly once again before getting to the final layer.
- 13
Once fully frosted, add small little designs of the buttercream using a piping bag + tip around the sides and top of cake. Top with coconut flakes, as desired. Chill for 5 minutes to ensure that buttercream sets. NOTE: For a fancy moment or occasion, add roasted lemon slices for a nice look!
- 14
When ready to serve, remove from the refrigerator. Slice and enjoy!
- 15
Bon Appetit!
Cook it from the original
This recipe comes from orchidsandsweettea.com. Their page has the author’s own photos, notes and tips — the best place to cook it from.
Open the recipe on orchidsandsweettea.com