
Fajita Style Grilled Cheese
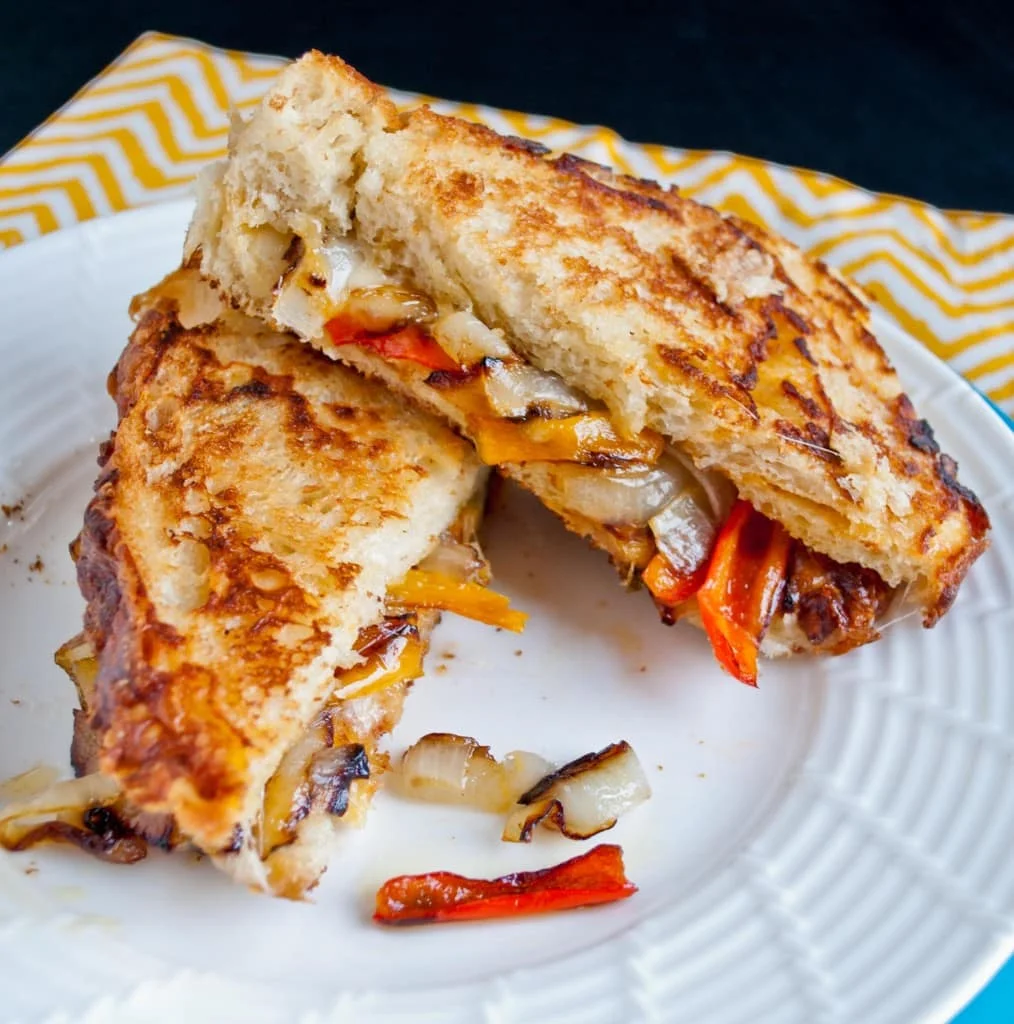
This American-style grilled cheese pairs crisp, buttery bread with melted Monterey Jack or pepper Jack and quickly charred peppers and onion. It makes a fast, hearty lunch with fajita-inspired flavours.
Ingredients
- 4 slicesbread
- 2 slicesMonterey Jack or pepper Jack cheese
- 6mini sweet peppers, or ½ sweet bell pepper, seeded and sliced
- ½sweet onion, sliced
- 10 ml (2 teaspoons)olive oil
- 28 g (2 tablespoons)softened butter
Instructions
- 1
Butter the bread
Spread softened butter evenly over one side of each of the four bread slices, reaching right to the edges.
- 2
Cook the vegetables
Heat a skillet over medium-high heat and add the olive oil. Once hot, add the sliced onion and peppers; leave them undisturbed for 1–2 minutes to develop some char. Stir and cook for another 3–5 minutes, or until just soft.
- 3
Toast the bread
Meanwhile, heat a second skillet over medium heat. Put all four slices of bread in buttered-side down, then place a slice of cheese on two of them. Cook for about 6–7 minutes, until the bread is golden brown and the cheese has melted.
- 4
Assemble sandwiches
Transfer the bread to a plate. Spoon the cooked peppers and onion over the melted cheese, then top each with a plain grilled slice of bread. Serve straight away.
What is fajita-style grilled cheese?
This is an American grilled cheese sandwich given a fajita-inspired filling of sweet peppers and onion. It brings together the familiar crisp, buttery toast and melted cheese with vegetables cooked until tender and lightly charred.
The method keeps the filling and bread in separate pans, so the vegetables can brown while the bread toasts. Pepper Jack adds a little heat; Monterey Jack makes the sandwich milder.
Nutrition and macros by portion
The nutrition label shows one serving as written: 442 calories, 14g protein, 38g carbs, 27g fat.
| Portion | Adjustment | kcal | Protein | Carbs | Fat |
|---|---|---|---|---|---|
| Lighter | Use less butter | 309 kcal | 10g | 27g | 19g |
| This serving | As written | 442 kcal | 14g | 38g | 27g |
| Hungry | Add another sandwich | 663 kcal | 21g | 57g | 41g |
The bread supplies most of the carbohydrates, while butter, olive oil and cheese contribute much of the fat; the cheese also provides the protein. Balance the plate with a green salad or extra fresh vegetables alongside the sandwich.
Choosing the cheese and vegetables
Cheese: Monterey Jack melts smoothly for a gentle, creamy filling. Pepper Jack gives the sandwich a spicier edge, so choose according to how much heat you like.
Peppers: Mini sweet peppers or half a sweet bell pepper both work. Slice them and the onion evenly so they cook at a similar pace.
Getting a little char
Hot pan: Let the oil heat before adding the vegetables. Leave them alone for the first 1–2 minutes rather than stirring immediately; contact with the pan helps them take on some colour.
Tenderness: After stirring, cook for a further 3–5 minutes, stopping when the vegetables are just soft. Cooking them too long can make the filling limp.
Toasting the sandwiches
Butter: Spread it evenly across each slice and all the way to the edges for a consistent golden crust. Keep the buttered sides against the pan.
Melting: Use medium heat for the bread and cheese, allowing about 6–7 minutes. The bread should be golden and the cheese melted before you add the vegetables.
Serving and timing
The recipe takes about 15 minutes in total, with the vegetables cooking while the bread is prepared in a second pan. Have the filling ready to spoon onto the cheesy slices as soon as they leave the skillet.
Serve hot while the bread is crisp and the cheese is soft. A simple green salad or sliced fresh vegetables make a bright side alongside the rich toast.
Recipe notes & tips
- Slice the onion and peppers evenly so they soften at roughly the same rate.
- Keep the vegetables in a single layer where possible to encourage browning.
- Use medium heat for the bread so it can turn golden as the cheese melts.
- Spread butter right to the edges for an evenly crisp crust.
- Assemble just before serving to keep the toast crunchy.
Variations
- Make it milder: Choose Monterey Jack instead of pepper Jack.
- Turn up the heat: Use pepper Jack for a spicier cheese layer.
- Add extra peppers: Use more sliced sweet pepper for a fuller vegetable filling.
- Change the bread: Use your preferred sandwich bread, keeping the slices similar in thickness.
- Serve with salsa: Add a spoonful on the side for a tangy accompaniment.
Common mistakes to avoid
- Stirring too soon: Leave the vegetables untouched for 1–2 minutes first to help them char.
- Overcooking the vegetables: Stop once they are just soft so the filling keeps some texture.
- Uneven butter: Spread it across the whole slice, including the edges, for consistent browning.
- Heat too high: Keep the bread skillet at medium so the toast does not brown before the cheese melts.
- Waiting to assemble: Add the filling while the cheese is melted and the bread is hot.
How to store
These sandwiches are best eaten freshly made, while the bread is crisp. If needed, refrigerate leftovers in a covered container for up to 2 days and reheat in a skillet over medium-low heat until warmed through; the bread may be less crisp.
Frequently asked questions
Can I use Monterey Jack instead of pepper Jack?
Yes. Monterey Jack gives a mild, creamy result, while pepper Jack adds more heat.
Can I cook the vegetables and bread in one skillet?
The recipe uses two skillets so the vegetables and bread can cook at the same time. With one skillet, cook the vegetables first, set them aside, then toast the bread.
How do I know when the peppers and onion are ready?
They should have some browned or charred spots and be just soft after the additional 3–5 minutes of cooking.
Why is the cheese not melting?
Keep the bread skillet over medium heat and give the cheese the full 6–7 minutes. If the bread browns before the cheese melts, lower the heat.
Can I prepare the vegetables ahead?
You can cook them ahead and refrigerate them, then warm them before assembly. For the crispest bread, toast and assemble the sandwiches just before serving.
Cook it from the original
This recipe comes from neighborfoodblog.com. Their page has the author’s own photos, notes and tips — the best place to cook it from.
Open the recipe on neighborfoodblog.com