
3 Ingredient Lemon Ice Cream (No Churn)
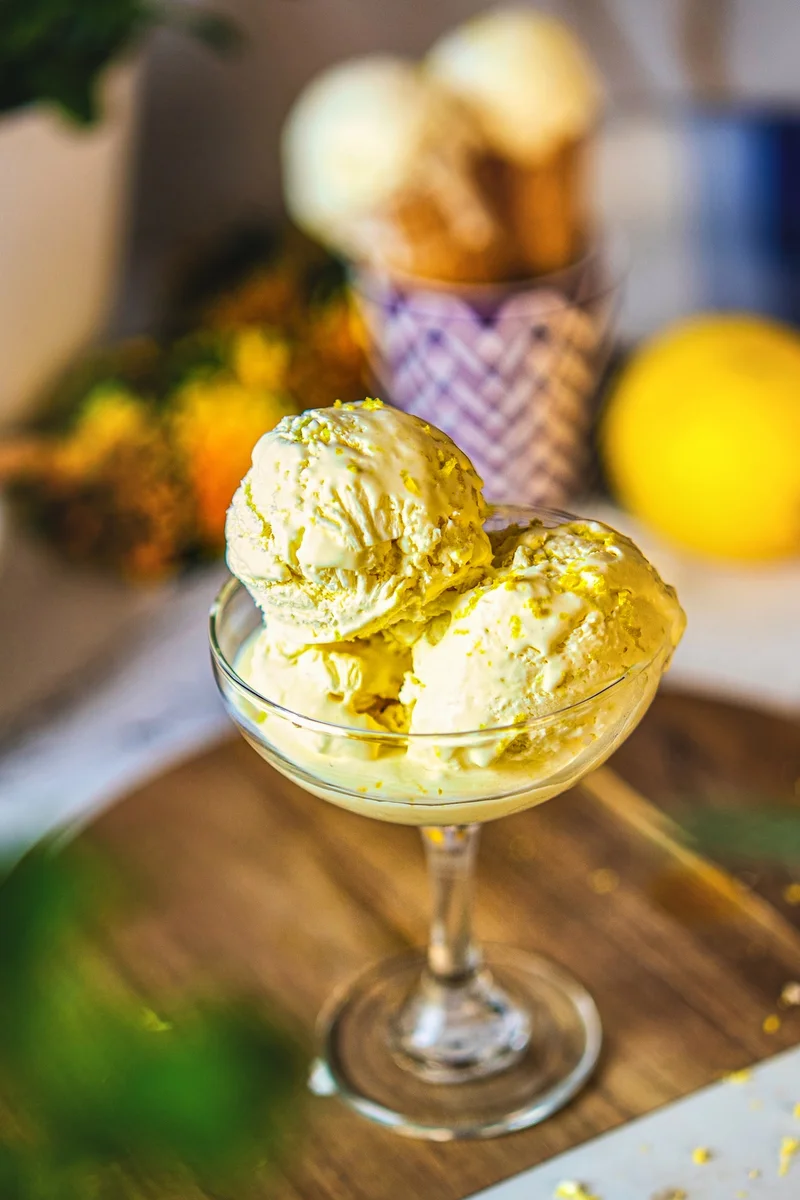
This no-churn lemon ice cream combines whipped cream, sweetened condensed milk and fresh lemon for a bright, creamy frozen dessert. It needs no ice cream maker, making it an easy make-ahead option for a warm day or a dinner party.
Ingredients
- 480 ml (2 cups)cold whipping cream (at least 35% fat)
- 1 can (397 g; 14 oz)sweetened condensed milk
- Juice of 2lemons
- Zest of 1lemon
- 2–4 drops or ½ teaspoonfood-grade lemon oil or lemon extract (optional)
Instructions
- 1
Prepare the lemons
Juice 2 lemons and zest 1 lemon, then set both aside.
- 2
Whip the cream
Pour the cold whipping cream into a chilled mixing bowl and beat until it forms stiff peaks.
- 3
Combine the mixture
Add the sweetened condensed milk, lemon juice, lemon zest and lemon oil or extract, if using. Whisk only until combined so the mixture stays light and airy.
- 4
Freeze until firm
Transfer the mixture to an 8 × 4-inch loaf pan or another freezer-safe container and smooth the top with a spatula. Cover tightly with a lid or plastic wrap and freeze for 6–8 hours, or overnight, until firm.
- 5
Soften and serve
Leave the ice cream at room temperature for 5–10 minutes before scooping. Serve in bowls or cones, with extra lemon zest if desired.
What is no-churn lemon ice cream?
No-churn ice cream is a homemade frozen dessert made without an ice cream machine. This American-style version uses whipped cream for an airy base and sweetened condensed milk for sweetness and a smooth texture.
Fresh lemon juice and zest give it a lively citrus flavour. The short ingredient list and straightforward method make it a practical recipe to prepare ahead.
Nutrition and macros by portion
The nutrition label shows one serving as written: 292 calories, 0g protein, 0g carbs, 0g fat.
| Portion | Adjustment | kcal | Protein | Carbs | Fat |
|---|---|---|---|---|---|
| Lighter | Smaller scoop with berries | 204 kcal | 0g | 0g | 0g |
| This serving | As written | 292 kcal | 0g | 0g | 0g |
| Hungry | Larger scoop | 438 kcal | 0g | 0g | 0g |
The main energy and fat come from the whipping cream, while the sweetened condensed milk contributes much of the carbohydrate and some fat. Serve a scoop alongside fresh berries or fruit to add a fresh contrast to the rich, creamy dessert.
Why use condensed milk?
Sweetened condensed milk brings both sweetness and a thick, creamy quality to the mixture. Its consistency helps make a scoopable dessert without the usual churning process.
Whip the cream well
Cold cream and a chilled bowl help the cream whip effectively. Stop when the peaks stand upright; under-whipped cream may leave the finished ice cream less airy.
Keep the lemon flavour fresh
Lemon juice provides the main tart note, while zest adds fragrant citrus oils. Zest the lemon before juicing it, and avoid grating the bitter white pith.
Lemon oil or extract is optional, but can reinforce the flavour. Measure carefully, as a few drops of lemon oil can be potent.
Fold in without losing air
Once the cream is whipped, whisk in the remaining ingredients just until no streaks remain. Prolonged or vigorous mixing can deflate the cream and make the texture denser.
Freeze and check the texture
A covered loaf pan or freezer-safe container protects the mixture while it firms. Freeze for 6–8 hours or overnight; the ice cream should be firm enough to scoop.
Rest it at room temperature for 5–10 minutes before serving. This brief pause makes scooping easier without needing to thaw the whole container.
What to serve it with
Serve scoops in bowls or cones, finished with a little extra lemon zest if you like. Plain shortbread or crisp biscuits make a simple accompaniment to the creamy, tangy ice cream.
Recipe notes & tips
- Chill the mixing bowl before whipping the cream.
- Use cold cream with at least 35% fat for the recipe’s intended texture.
- Zest the lemon before juicing it.
- Whisk the condensed milk and flavourings in only until combined.
- Cover the container tightly before freezing to protect the surface.
- Let the ice cream stand for 5–10 minutes before scooping.
Variations
- Extra zest: Stir in a little more finely grated lemon zest for a stronger citrus aroma.
- Lemon extract: Use ½ teaspoon lemon extract instead of the optional lemon oil.
- Berry ripple: Swirl a little berry sauce through the mixture before freezing.
- Biscuit pieces: Fold in chopped crisp biscuits just before transferring the mixture to the pan.
- Vegan-style: Try vegan counterparts for the cream and condensed milk, bearing in mind that the texture may differ.
Common mistakes to avoid
- Warm cream: It may not whip properly; chill the cream and bowl first.
- Soft peaks: The ice cream can turn out less airy; beat until stiff peaks form.
- Overmixing: The mixture can lose air; whisk only until the ingredients are combined.
- Pith in the zest: It can add bitterness; grate only the coloured outer peel.
- Loose covering: Ice crystals can form on the surface; seal the container tightly.
- Scooping straight from the freezer: The ice cream may be difficult to serve; leave it out for 5–10 minutes.
How to store
Keep the ice cream covered in a freezer-safe container and serve it from frozen. For the best texture, avoid leaving the container uncovered in the freezer; soften only the amount you plan to scoop.
Frequently asked questions
Do I need an ice cream maker?
No. The whipped cream and condensed milk create the base without churning, so a mixing bowl and freezer-safe container are enough.
How long does it need to freeze?
Freeze it for 6–8 hours or overnight, until firm enough to scoop.
Can I use lemon extract instead of lemon oil?
Yes. The recipe gives ½ teaspoon lemon extract as an alternative to 2–4 drops of food-grade lemon oil. Both are optional.
Why should the cream be cold?
Cold cream whips more readily into stiff peaks, which helps give the ice cream a light texture.
Why is my ice cream hard to scoop?
It may be very firm straight from the freezer. Let it stand at room temperature for 5–10 minutes before serving.
Can I make it without dairy?
The recipe notes that some ingredients can be replaced with vegan counterparts. The finished texture may vary depending on the products used.
Cook it from the original
This recipe comes from mygingergarlickitchen.com. Their page has the author’s own photos, notes and tips — the best place to cook it from.
Open the recipe on mygingergarlickitchen.com