
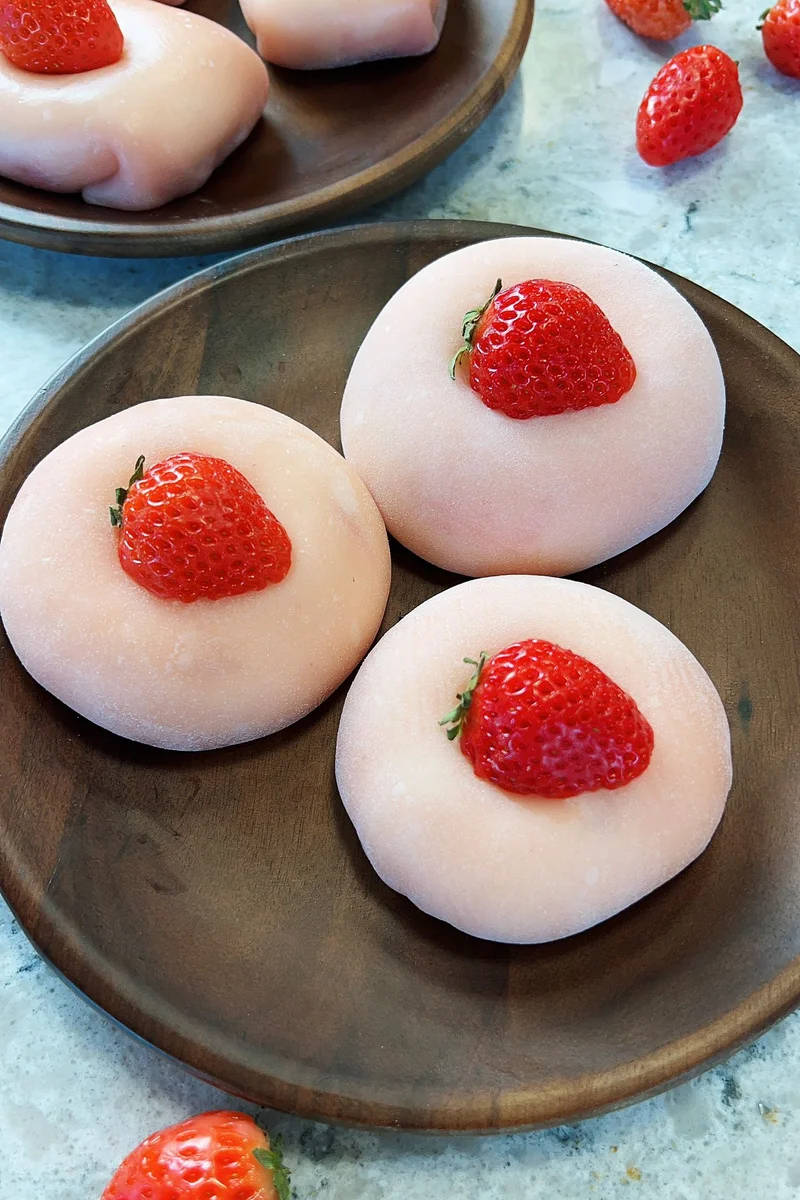
Strawberry mochi
Nutrition per Serving
202
Calories
—
Protein
—
Carbs
—
Fat
Top 3 things people have been asking me to make: 1. something pink; 2. something with strawberries; 3. mochi! This recipe teaches you how to make pink strawberry mochi with the BEST look and taste!
📝 Ingredients
- 90 g strawberries ((rinsed, stems removed; About 1/2 cup of diced strawberries.))
- 90 g milk ((or plant milk, I used oat milk; About 1/3 cup + 2/3 tbsp))
- 40 g sugar ((About 3 tbsps))
- 100 g glutinous rice flour ((About 14 tbsps))
- 30 g cornstarch ((4 tbsps))
- 20 g unsalted butter ((About 1 1/2 tbsp))
- 150 g heavy whipping cream ((About 1/2 cup + 2 tbsps))
- 15 g sugar ((About 1 1/5 tbsp))
- 4 tbsp strawberry jam ((or you can use fresh fruit that's cut into small pieces instead))
- 50 g glutinous rice flour ((About 1/2 cup; to prevent from getting sticky))
👨🍳 Instructions
- 1--- Preparation ---
- 2Cook 50g glutinous rice flour over medium heat for about 5 minutes, whisking constantly, until it smells like popcorn. Set aside to cool down. (We will use this cooked flour to prevent from getting sticky later.)
- 3Add 15g sugar to 150g heavy whipping cream, beat until stiff peaks form. Keep in the freezer. (Ideally follow this recipe to make gelatin stabilized whipped cream that won't melt.)
- 4--- Make mochi ---
- 5In a microwave-safe container, weigh 100g glutinous rice flour and 30g cornstarch. Set aside.
- 6Add 90g strawberries, 90g milk (or plant milk, I used oat milk), and 40g sugar into a blender. Blend until thoroughly smooth.
- 7Pour the strawberry milk to the microwave-safe container with glutinous rice flour and cornstarch, stir until the mixture has reached a yogurt thick texture.
- 8Cover the container with a microwave-safe food wrap. Use a toothpick to poke about 16 holes on the wrap.
- 9Microwave for 3 minutes. Take out to check the texture. Poke a toothpick into the mochi, if the toothpick tip is dry, the mochi is fully cooked. If the toothpick tip is wet, cover the food wrap back, and microwave for 30 more seconds. (Or you can steam it over high heat for 30 minutes. )
- 10Take the mochi out from the microwave, put 20g butter* (see note1) on the top. The mochi is very hot now, the butter will be melted quickly.
- 11Put on non-stick food handling gloves, or rub some melted butter on your hands to prevent from getting sticky. When the mochi dough is not too hot to touch, knead the dough until all the butter has been absorbed.
- 12Once there's no butter left in the container, keep kneading the dough for about 5 minutes, until you can pull it as long as your forearm (about 10 inches). * (see note2)
- 13Transfer the mochi dough on a nonstick silicone mat, or a working surface floured with cooked glutinous rice flour. Apply some cooked glutinous rice flour on the surface of the mochi dough to prevent from getting sticky.
- 14Cut the mochi dough into 8 equal portions (about 32g per portion).
- 15With your hands or a rolling pin (covered with food wrap to prevent from sticky), flatten the mochi doughs into 4-inch diameter circles.
- 16Put a mochi skin on a soup ladle, or on a small round-shape bowl.
- 17Take out the whipped cream from the freezer. Put about 2 tbsps. of whipped cream and about 1 tbsp. of strawberry jam in the middle of the mochi wrap. For the filling, you can also use ice cream balls, fresh fruits cut into small pieces, or red bean paste.
- 18Pull the edges of the wrap together to cover the filling, press together the edges to seal well.
- 19Keep in the freezer for 20 minutes for the best texture and taste, serve.
- 20--- To store ---
- 21Keep the leftovers in the freezer for up to 7 days. Thaw at room temperate for 20 minutes before serving.
About the Chef & Original Recipe
This recipe was published by Ms Shi and Mr He on msshiandmrhe.com. Visit the original source for step-by-step photos, chef notes and additional details.
Source: msshiandmrhe.com