
Refried Bean And Cheese Tacos
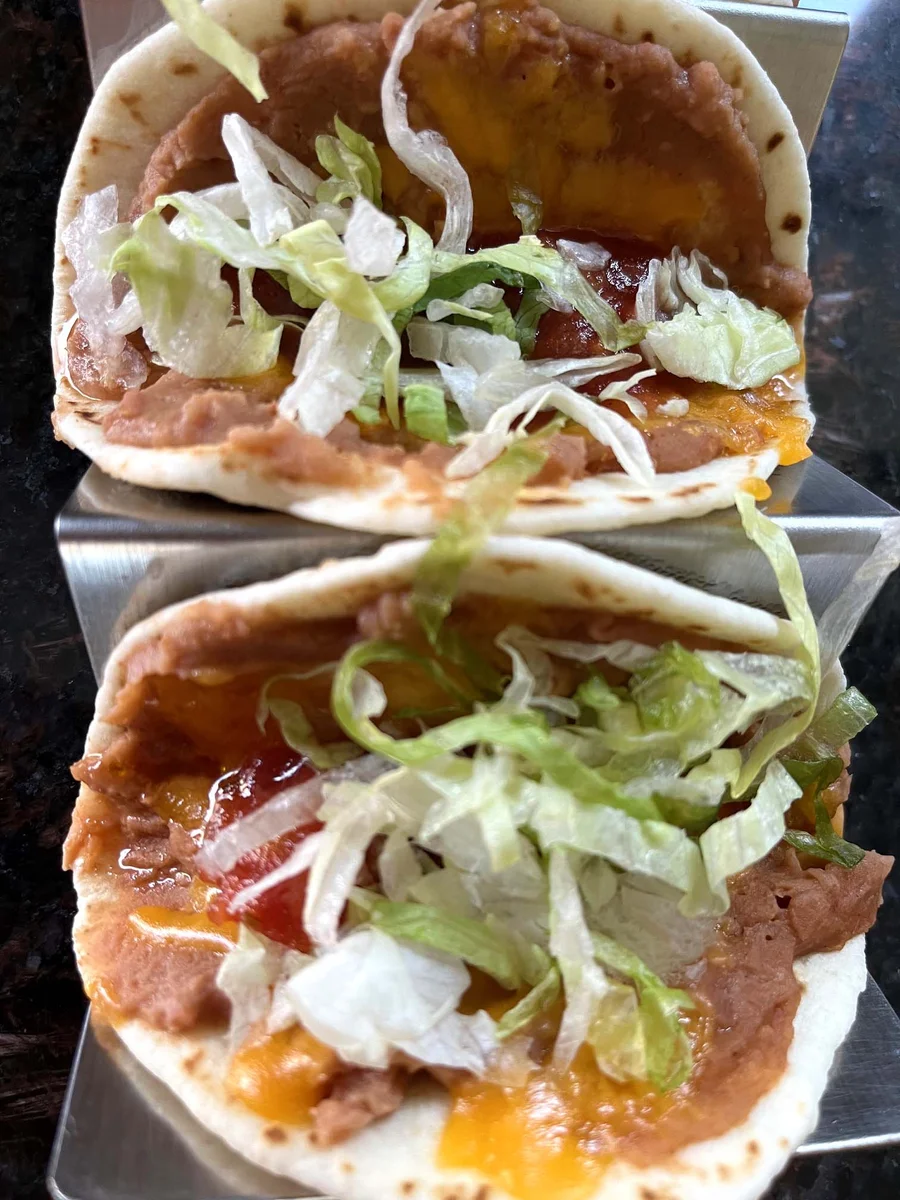
These quick tacos pair warm refried beans and melted cheese with cool salsa and shredded lettuce in soft tortillas. They are an easy option for a speedy weeknight meal or a casual taco spread.
Ingredients
- 6mini flour tortillas (or corn tortillas)
- 1 canrefried beans
- 110 g (1 cup)shredded cheese (cheddar or Mexican blend)
- 120 ml (½ cup)salsa
- 30 g (1 cup)shredded lettuce
Instructions
- 1
Arrange tortillas
Place the tortillas on a microwave-safe plate.
- 2
Spread beans
Spread a generous layer of refried beans over each tortilla.
- 3
Add cheese
Sprinkle the shredded cheese over the beans.
- 4
Heat until melted
Microwave the tortillas for 1 minute, until the beans are heated through and the cheese has melted. If needed, microwave in additional 15-second intervals.
- 5
Finish with toppings
Remove the plate from the microwave and top each taco with salsa and shredded lettuce.
- 6
Serve straight away
Serve immediately.
What are refried bean and cheese tacos?
These are simple tacos filled with seasoned refried beans and cheese, then finished with fresh toppings. Refried beans are a familiar staple in Mexican cooking, and this quick version draws on that combination for an easy meal.
The warm, creamy filling and melted cheese contrast with cool lettuce and bright salsa. Using mini tortillas makes the tacos easy to serve as a quick lunch or part of a casual spread.
Nutrition and macros by portion
The nutrition label shows one serving as written: 142 calories, 10g protein, 11g carbs, 6g fat.
| Portion | Adjustment | kcal | Protein | Carbs | Fat |
|---|---|---|---|---|---|
| Lighter | Use less cheese | 99 kcal | 7g | 8g | 4g |
| This serving | As written | 142 kcal | 10g | 11g | 6g |
| Hungry | Add another taco | 213 kcal | 15g | 17g | 9g |
The refried beans and tortillas provide most of the carbohydrates, while the cheese contributes much of the fat and some protein; the beans also add protein. Pair a serving with extra lettuce or another vegetable for a more varied plate.
Choosing the tortillas
Flour tortillas: These give the tacos a soft, pliable base and suit the quick microwave method.
Corn tortillas: Use them if you prefer their distinct flavour; warm them until flexible so they are less likely to split when topped.
Layering the filling
Beans first: Spread the refried beans across each tortilla so the cheese has an even base. A generous layer gives each bite a creamy centre.
Cheese next: Scatter the cheese over the beans before heating. It melts into the filling and helps bring the toppings together.
Getting the texture right
Melted cheese: Heat just until the cheese has melted and the beans are hot. Microwave power varies, so check after the first minute and use short extra bursts if needed.
Fresh finish: Add salsa and lettuce after heating. This keeps the lettuce crisp and prevents the salsa from making the tortillas soggy.
A quick microwave method
The method is designed to be fast: assemble the bean and cheese layer on a microwave-safe plate, then heat it all at once. If your plate is small, work in batches rather than stacking the tortillas.
Serve the tacos as soon as they are topped. The tortillas are at their softest and the contrast between the warm filling and cool toppings is best straight away.
What to serve alongside
Serve these tacos with extra salsa for a simple meal, or add a side of rice or beans if you want a more substantial plate. Sliced avocado or lime wedges can also be offered at the table as optional accompaniments.
For a shared meal, put the lettuce and salsa out separately so everyone can add the amount they prefer.
Recipe notes & tips
- Spread the beans in an even layer so each tortilla heats consistently.
- Use a microwave-safe plate large enough to hold the tortillas without overlapping.
- Check the cheese after 1 minute, as microwave power can vary.
- Add the salsa and lettuce only after heating to keep the lettuce crisp.
- Serve immediately while the tortillas are warm and soft.
Variations
- Try corn tortillas: Use them instead of flour tortillas for a different flavour and texture.
- Change the cheese: Choose cheddar or a Mexican cheese blend, as listed in the ingredients.
- Adjust the salsa: Use a mild or hotter salsa to suit your preference.
- Add avocado: Top the finished tacos with sliced avocado for a creamy contrast.
- Offer extra toppings: Set out additional shredded lettuce and salsa for serving.
Common mistakes to avoid
- Heating for too long: The tortillas can dry out; check after 1 minute and use 15-second intervals if needed.
- Adding lettuce before microwaving: It wilts under heat; add it after the beans and cheese are warmed.
- Topping before heating: Salsa can make the tortillas soggy; add it once the tacos come out of the microwave.
- Overlapping tortillas: They may heat unevenly; arrange them in a single layer or work in batches.
- Using a plate that is not microwave-safe: Transfer the tortillas to a microwave-safe plate before heating.
How to store
These tacos are best eaten immediately, as the lettuce softens and the tortillas can become soggy after storage. If you have leftovers, refrigerate them in a covered container and reheat the bean-and-cheese tortillas separately before adding fresh salsa and lettuce.
Frequently asked questions
Can I use corn tortillas instead of flour tortillas?
Yes. The recipe allows either type; warm corn tortillas carefully so they remain flexible.
How long should I microwave the tacos?
Start with 1 minute, then check that the beans are heated through and the cheese has melted. If needed, continue in 15-second intervals.
Can I make these without a microwave?
The provided method uses a microwave. For another method, you would need to adapt the heating step; the recipe does not specify an alternative.
When should I add the salsa and lettuce?
Add both after microwaving so the lettuce stays crisp and the salsa does not heat with the filling.
Can I prepare the tacos ahead?
They are best assembled and served straight away. You can portion the toppings in advance, then add them after heating the bean-and-cheese tortillas.
Cook it from the original
This recipe comes from melaniecooks.com. Their page has the author’s own photos, notes and tips — the best place to cook it from.
Open the recipe on melaniecooks.com