
Greek Yogurt Tuna Salad
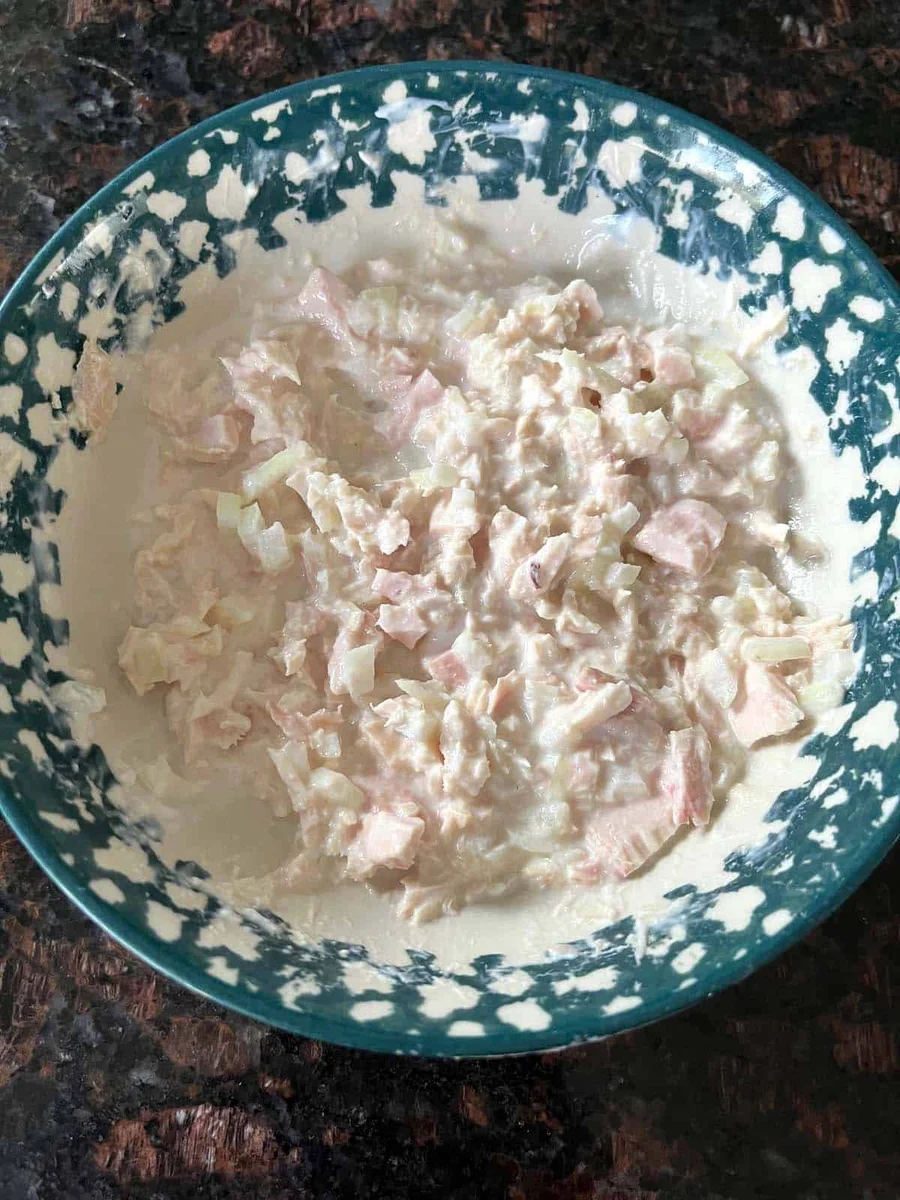
Greek yoghurt tuna salad combines flaked tuna, finely chopped onion, lemon juice and creamy yoghurt for a quick lunch or easy dinner. It takes just a few minutes to mix together and works well in a sandwich, wrap or salad bowl.
Ingredients
- 142 g (5 oz; 1 can), drainedtuna
- ¼onion, chopped
- 3 tbspGreek yoghurt
- 1 tbsp (squeezed from 1 lemon slice)lemon juice
Instructions
- 1
Drain the tuna
Open and drain the can of tuna, then put the tuna in a bowl for one serving. Use a fork to break up any large pieces.
- 2
Chop the onion
Peel and slice ¼ of an onion, then chop the slices into very small pieces. Add the onion to the bowl with the tuna.
- 3
Add yoghurt and lemon
Add 3 tablespoons of Greek yoghurt to the bowl and squeeze in the juice from a lemon wedge.
- 4
Mix the salad
Mix everything together with a fork. Add salt and pepper to taste if you like.
What is Greek yoghurt tuna salad?
Tuna salad is a simple dish of flaked tuna mixed with a creamy dressing and other flavourings. This version uses Greek yoghurt in place of a mayonnaise-based dressing, with onion and lemon for savoury bite and freshness.
It is a quick, practical take on a familiar lunch staple rather than a traditional Greek dish. Finely chopping the onion helps it blend through the tuna, while the yoghurt brings the ingredients together.
Nutrition and macros by portion
The nutrition label shows one serving as written: 169 calories, 32g protein, 5g carbs, 2g fat.
| Portion | Adjustment | kcal | Protein | Carbs | Fat |
|---|---|---|---|---|---|
| Lighter | Serve with extra salad | 118 kcal | 22g | 4g | 1g |
| This serving | As written | 169 kcal | 32g | 5g | 2g |
| Hungry | Make a double portion | 254 kcal | 48g | 8g | 3g |
The tuna supplies most of the protein, while the yoghurt adds some protein and fat; the onion and lemon contribute a small amount of carbohydrate. Serve it with vegetables and a slice of wholemeal bread or a wrap for a more balanced plate.
Why these ingredients work
Tuna: Drain it well so the mixture stays creamy rather than watery. Breaking up large flakes with a fork makes each bite easier to scoop or spread.
Greek yoghurt: Its thick texture coats the tuna, while its mild tang complements the lemon. Stir it in gradually if you prefer a firmer salad.
Onion and lemon: Very small pieces of onion distribute more evenly than large chunks. A little lemon juice brightens the tuna and yoghurt.
Getting the texture right
Flake the tuna to the consistency you like before adding the dressing. Smaller flakes make a more cohesive spread, while larger pieces give the salad a chunkier texture.
Mix with a fork just until combined. If the salad seems too loose, add a little more tuna; if it feels too dry, stir in a small spoonful of yoghurt.
A quick, no-cook method
The recipe takes about 3 minutes and needs no cooking. Drain the tuna first, then chop the onion while it is in the bowl to keep the preparation straightforward.
Add the yoghurt and lemon after the tuna and onion, then taste and season if desired. The method is flexible, so you can adjust the texture and seasoning before serving.
How to serve it
For a simple lunch, spoon the salad into a sandwich or wrap, or serve it over lettuce and other salad vegetables. It can also be piled onto toast or crackers.
Add a side of fruit, vegetables or a grain-based accompaniment to make a more substantial plate. Choose a serving option that suits whether you want a light lunch or a fuller meal.
Seasoning and balance
The tuna, onion and yoghurt provide the main savoury and creamy flavours; lemon gives the mixture a fresh edge. Salt and pepper are optional, so taste before adding them.
If the onion tastes too sharp, use a little less or chop it especially finely. A small extra squeeze of lemon can lift the flavour without changing the basic method.
Recipe notes & tips
- Drain the tuna thoroughly before mixing to avoid a watery salad.
- Chop the onion finely so it blends into the tuna rather than dominating each bite.
- Use a fork to break up the tuna and mix the salad in the same bowl.
- Taste the mixture before adding salt and pepper.
- Add the lemon juice a little at a time if you prefer a milder citrus flavour.
Variations
- Add celery: Finely chop it for a crisp, fresh crunch.
- Use red onion: Chop it finely for a milder onion flavour and a touch of colour.
- Add herbs: Stir in chopped parsley or dill for a fresh, savoury note.
- Make it spicy: Add a pinch of chilli flakes and mix well.
- Serve in lettuce leaves: Spoon the tuna salad into leaves for a crisp, bread-free serving.
Common mistakes to avoid
- Leaving excess liquid in the tuna: Drain the can well before adding the yoghurt.
- Chopping the onion too coarsely: Cut it into small pieces so it mixes evenly.
- Overmixing the tuna: Stir just until combined if you want to keep some larger flakes.
- Adding too much lemon at once: Squeeze in a little, taste, and adjust.
- Seasoning without tasting: Check the mixture first, then add salt and pepper to taste.
How to store
Keep the tuna salad in an airtight container in the fridge and eat within 2 days. It is best served cold, so stir it briefly after chilling and do not leave it at room temperature for an extended period.
Frequently asked questions
Can I make this tuna salad ahead?
Yes. Mix it ahead and keep it covered in the fridge, then stir before serving. For the freshest texture, chop the onion shortly before mixing.
Can I use tuna in oil?
Yes, but drain it thoroughly first. The finished salad may taste richer than when made with tuna in water or brine.
Can I use plain yoghurt instead of Greek yoghurt?
You can, although regular plain yoghurt is usually thinner. Add it gradually so the tuna salad does not become too loose.
What can I serve with tuna salad?
Serve it in a sandwich or wrap, over salad leaves, or with toast and crackers. Vegetables or fruit make easy sides.
How can I make the salad less sharp?
Use a little less onion or lemon juice, and taste as you mix. Chopping the onion very finely also helps it blend more gently into the salad.
Cook it from the original
This recipe comes from melaniecooks.com. Their page has the author’s own photos, notes and tips — the best place to cook it from.
Open the recipe on melaniecooks.com