
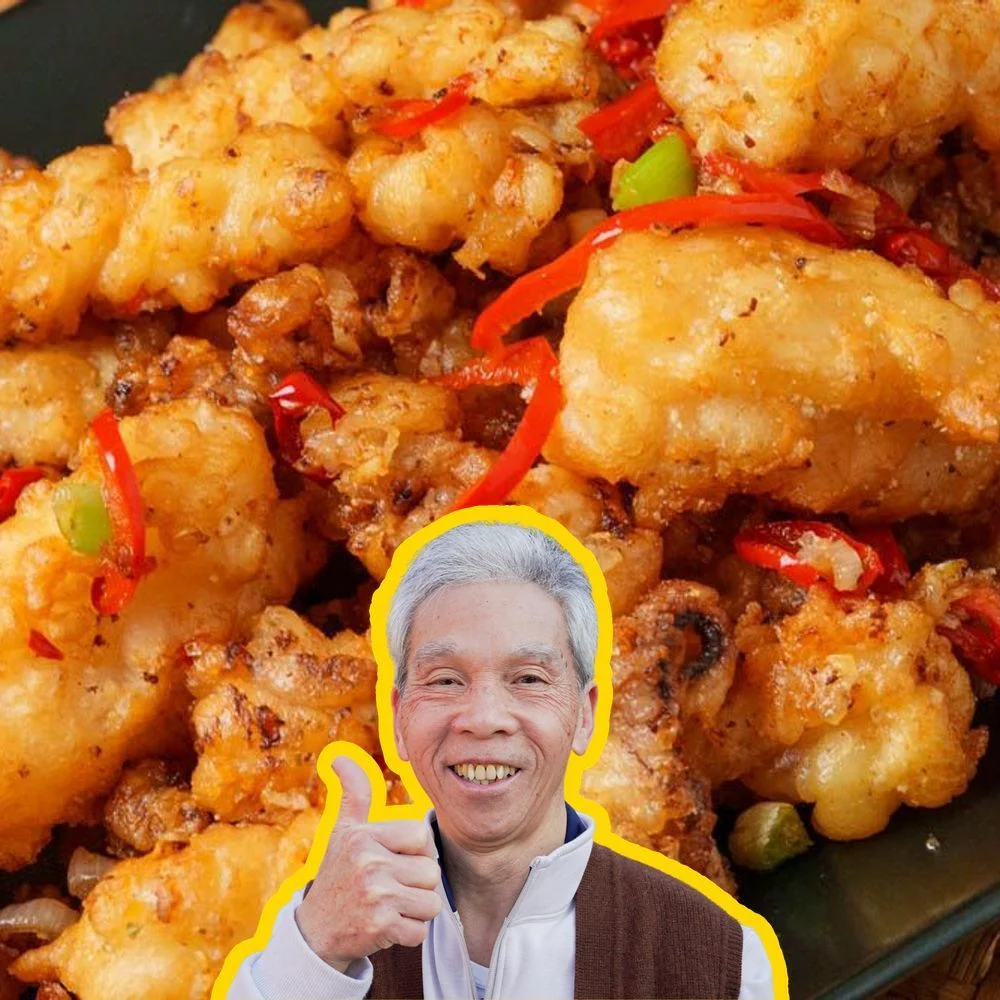
The Salt and Pepper Squid My Dad's Made 100,000 Times
Nutrition per Serving
—
Calories
—
Protein
—
Carbs
—
Fat
Learn how to make Salt and Pepper Squid from a 2x James Beard Award Winning Chinese Chef with 60+ years of experience
📝 Ingredients
- 1 lb squid
- 0.25 red bell pepper
- 2 small Thai bird's eye chili
- 3 clove garlic
- 3 piece green onion
- 2 cups oil
- 1 teaspoon cooking wine
- 0.25 teaspoon white pepper
- 1 tablespoon cooking wine
- 1 large egg yolk
- 1 tablespoon potato starch
- 4 tablespoon all-purpose flour
- 2 tablespoon potato starch
- 4 tablespoon water
- 1 teaspoon baking powder
- 0.5 teaspoon salt
- 1 teaspoon oil
- 2 teaspoon garlic salt
- 0.25 teaspoon white pepper
👨🍳 Instructions
- 1Clean squid: Pull the head of the squid out, separating it along with the tentacles from the body. Cut open body lengthwise and remove the innards, cleaning out the inside as much as possible. Remove the interior “bone.” Place the body in a bowl of cold water and rinse. Pull out any stringy tendons that remain.
- 2Cut squid: Set the cleaned body and fin onto a cutting board. With a cleaver or knife, scrape any remaining debris off both sides.
- 3Marinate squid: Pat the squid pieces dry using paper towels. My dad's preferred method is to place them between two sheets, which he then rolls so as much of the moisture can be absorbed as possible. Once dried, place in a large bowl.
- 4Prep aromatics & vegetables: Cut the red bell pepper in 1/4-inch thick strips. Dice the Thai bird's eye chili.
- 5Prep frying batter: In a bowl, combine the all-purpose flour and potato starch.
- 6Prep seasoning: In a small bowl, combine the garlic salt and white pepper and thoroughly mix.
- 7Fry squid: Heat the oil in a wok to 350°F over high heat. Once the heat reaches temperature, lower the heat.
- 8Stir-fry dish: Heat a new wok on high. You can also use the same one as before as long as it's been cleaned.
About the Chef & Original Recipe
This recipe was published by Daddy Lau on madewithlau.com. Visit the original source for step-by-step photos, chef notes and additional details.
Source: madewithlau.com