
Canned Tomato Soup
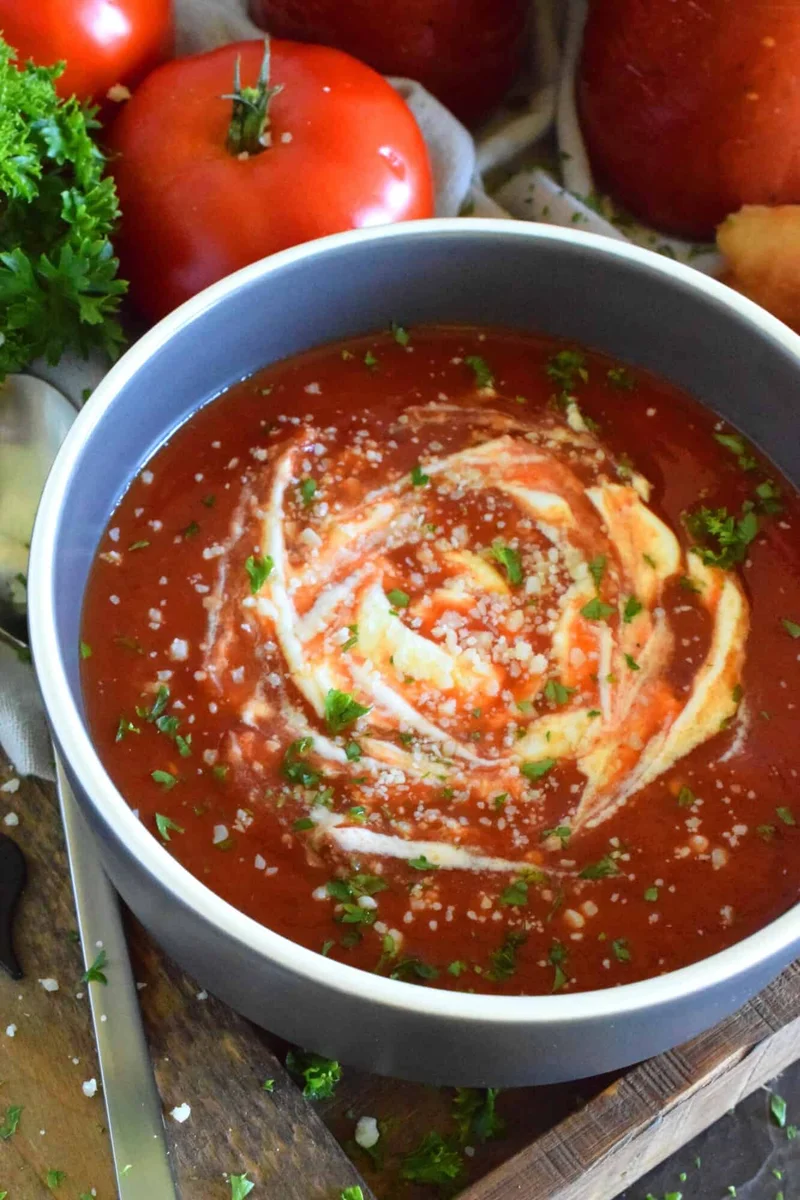
Canned Tomato Soup is a comfort food for many. A homemade version is better; made with summer fresh tomatoes and canned for winter-long freshness. Grilled cheese anyone? Keep your pantry stocked with this soup and enjoy fresh-tasting, homemade tomato soup all winter long!
Ingredients
- 21 pounds plum (roma) tomatoes (cored and sliced in half lengthwise)
- 3 large white onions, (peeled and quartered)
- 2 cloves garlic, (minced)
- 1/2 cup tomato paste
- 1/2 cup sugar
- 2 tablespoons bottled lemon juice
- 2 tablespoons paprika
- 1 tablespoon dried oregano
- 1 tablespoon dried basil
- 2 teaspoons salt
- 1 teaspoon ground black pepper
Instructions
- 1
Preheat oven to broil.
- 2
Wash tomatoes well. Remove core and half each tomato lengthwise. Place tomatoes cut side down onto a rimmed baking sheet. Pack the tomatoes tightly, but do not overlap. Broil until skin has charred and blackened. Remove from oven and allow to cool for 3-5 minutes. Use metal tongs to pull off the charred skins and discard. Transfer tomatoes to large soup pot. You will need to do these in batches until all tomatoes have been peeled.
- 3
Repeat step one with the onions - broil until charred. Add to pot with tomatoes.
- 4
Add all other ingredients to the pot and stir well to combine. Cook over medium heat for 30 minutes.
- 5
While the soup is cooking, wash the mason jars and screw lids in soapy water and rinse soap off well under running hot water. Place clean jars on a baking sheet and place in oven preheated to 200 degrees. Set screw bands aside. Next, boil a kettle of water and pour into a clean glass bowl. Carefully submerge the sealing discs in the bowl of hot water. Set aside.
- 6
Once the soup is cooked, use a hand-held immersion blender to puree until smooth. Alternatively, you can puree in batches using a counter-top blender.
- 7
Remove the sterilized jars from the oven. Ladle the soup into prepared mason jars using a funnel to prevent the mixture from touching the rim of the jars. Leave 1 inch head space.
- 8
Wipe down the rim of each jar with a damp paper towel to ensure none of the soup has come in contact with the rim.
- 9
Carefully remove the sealing discs from the hot water with a magnetic lid lifter. Position the sealing disc directly onto the lid of the jars. Do not touch the underside of the lid.
- 10
Screw on the screw bands until firm - do not apply pressure! Just use your fingertips to tighten the screw bands.
- 11
Next, prepare your pressure canner according to the instructions for your particular brand, make, or model.
- 12
Using the jar lifter, place the jars into the canner and place the lid on securely.
- 13
Process for 20 minutes using a 10 pound (69 kPa) weighted gauge. Be sure to adjust pressure for your altitude if over 1000 feet. Time the processing from the time the canner has reached full pressure. Once done, turn off the heat and allow canner to de-compress naturally.
- 14
Carefully remove each jar from the canner using the jar lifter. Do not tilt the jars or try to wipe them dry. Place jars onto a wire cooling rack that has been covered with a clean kitchen towel.
- 15
Leave the jars to cool for a minimum of 12 hours. Once cooled, wipe the jars of any residue that might have been transferred to the outside of the jar during the boiling process. Label the jars and store in a dark, cool cabinet.
Cook it from the original
This recipe comes from lordbyronskitchen.com. Their page has the author’s own photos, notes and tips — the best place to cook it from.
Open the recipe on lordbyronskitchen.com