
Biscoff Cookie Butter Cheesecake
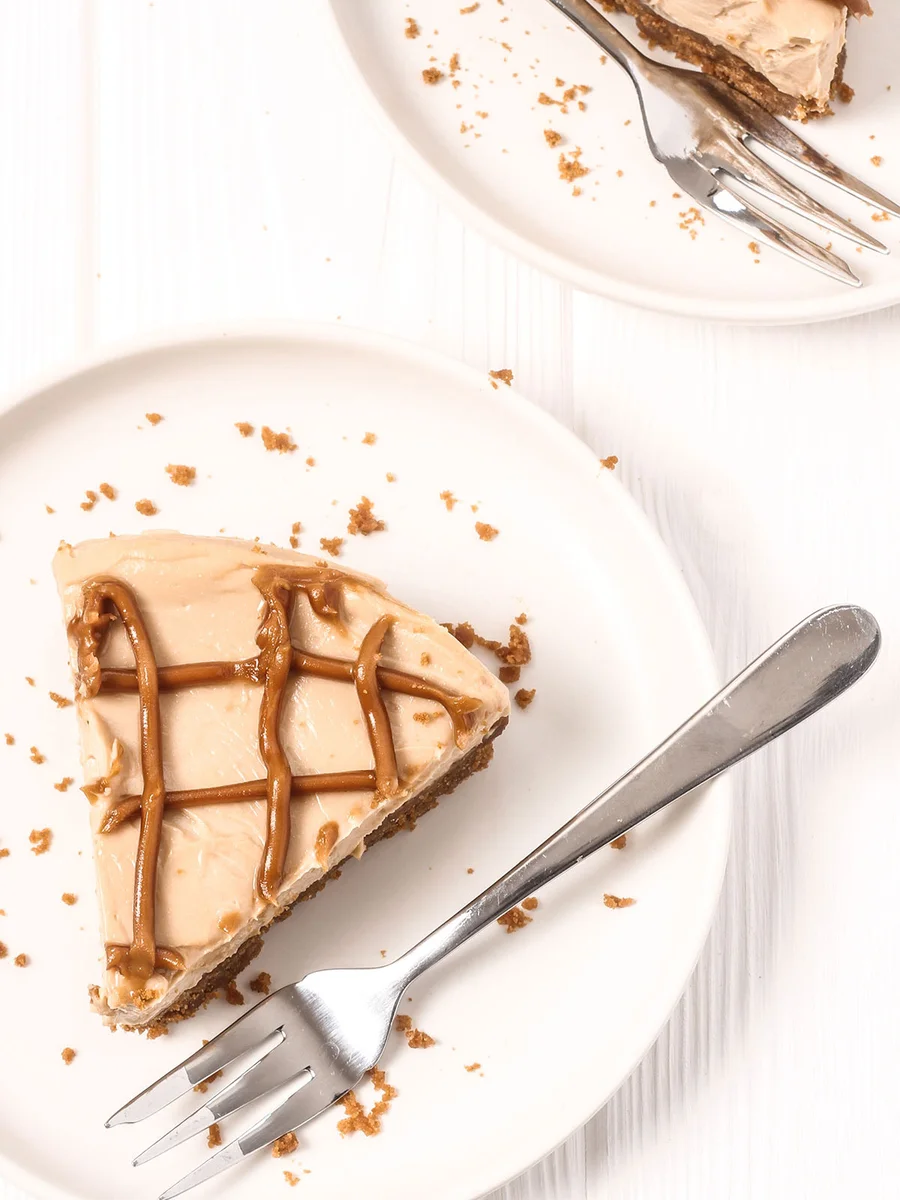
This no-bake Biscoff cheesecake pairs a buttery biscuit base with a smooth filling of ricotta, cream cheese and cookie spread. It is a handy make-ahead dessert for when you want cheesecake without turning on the oven.
Ingredients
- 150 gBiscoff biscuits
- 85 g, plus extra for greasingunsalted butter
- 180 gricotta cheese
- 85 gfull-fat cream cheese
- 25 gcaster sugar
- 100 g, plus extra for the toppingsmooth Biscoff spread
Instructions
- 1
Prepare the tin
Grease a 15 cm (6-inch) springform tin and line it with greaseproof or parchment paper.
- 2
Crush the biscuits
Blitz the Biscoff biscuits into fine crumbs in a food processor, or put them in a plastic bag and crush them with a rolling pin.
- 3
Mix the base
Melt the butter gently on the hob or in the microwave, then stir in the biscuit crumbs.
- 4
Press into tin
Tip the crumb mixture into the prepared tin and press it firmly into an even layer with the back of a large spoon.
- 5
Whip the cheeses
Whisk the ricotta and cream cheese together with an electric whisk, food processor or stand mixer until smooth.
- 6
Add the flavouring
Add the sugar and Biscoff spread, then mix until they are incorporated.
- 7
Fill the base
Spoon the filling over the biscuit base and smooth any uneven areas with the back of a spoon.
- 8
Add the topping
If you like, gently warm a couple of tablespoons of Biscoff spread on the hob or in the microwave and drizzle it over the cheesecake. A piping bag can also be used.
- 9
Chill overnight
Refrigerate the cheesecake overnight, or for at least 6 hours, before serving.
What is Biscoff cheesecake?
Biscoff cheesecake is a no-bake dessert built around spiced caramelised biscuits and their spreadable counterpart. This version pairs a crushed-biscuit base with a creamy ricotta and cream cheese filling.
Its American-style cheesecake format is adapted for the fridge rather than the oven. The biscuit base and Biscoff spread bring plenty of flavour, while the two cheeses make a soft, smooth centre.
Nutrition and macros by portion
The nutrition label shows one serving as written: 448 calories, 7g protein, 31g carbs, 33g fat.
| Portion | Adjustment | kcal | Protein | Carbs | Fat |
|---|---|---|---|---|---|
| Lighter | Skip the spread topping | 314 kcal | 5g | 22g | 23g |
| This serving | As written | 448 kcal | 7g | 31g | 33g |
| Hungry | Serve a larger slice | 672 kcal | 11g | 47g | 50g |
The biscuits, sugar and Biscoff spread provide most of the carbohydrates, while the butter, cream cheese and spread contribute much of the fat. Ricotta and cream cheese supply some of the protein. Serve a slice with fresh fruit to add a lighter, refreshing contrast.
A firm biscuit base
Fine crumbs: crush the biscuits thoroughly so the melted butter can coat them evenly and the base presses together well.
Firm pressing: use the back of a large spoon to compact the crumbs across the tin, including the edges. This helps the base hold together when the cheesecake is sliced.
Getting the filling smooth
Cheese mixture: whisk the ricotta and cream cheese until there are no obvious lumps before adding the sugar and spread.
Biscoff spread: mix it in until evenly incorporated, scraping down the sides of the bowl if needed. Avoid stopping while streaks of spread remain.
Chilling and setting
Full chill: give the cheesecake at least 6 hours in the fridge, with an overnight rest recommended in the method. The filling should feel set enough to slice once properly chilled.
Clean slices: use a sharp knife and wipe it between cuts for neater portions. Keep the cheesecake cold while serving.
The optional topping
Gentle warmth: warm a couple of tablespoons of extra Biscoff spread just until it is loose enough to drizzle. Heat it gradually so it does not become too hot.
Finishing touch: drizzle it over the chilled or nearly set cheesecake, or pipe it on for more control. The topping is optional, so the cheesecake can also be served plain.
Serving ideas
Fresh fruit: serve a slice with strawberries or raspberries for a bright contrast to the sweet, spiced filling.
Coffee or tea: a hot drink makes a simple accompaniment and suits this rich, chilled dessert. Cut modest slices if serving after a large meal.
Recipe notes & tips
- Line the base of the tin with parchment so the cheesecake is easier to remove.
- Crush the biscuits finely for a base that presses together evenly.
- Let the melted butter cool briefly before mixing it with the crumbs.
- Scrape down the bowl while mixing to catch any unmixed cheese or spread.
- Chill the cheesecake overnight when you have time for the firmest set.
- Warm the optional topping in short bursts and stir it before drizzling.
Variations
- Berry contrast: serve each slice with fresh raspberries or strawberries.
- Plain finish: leave off the extra Biscoff drizzle for a simpler top.
- Extra drizzle: warm more Biscoff spread until pourable and add it just before serving.
- Individual portions: divide the crumb base and filling between small serving glasses.
- Coffee pairing: serve with espresso or strong coffee to balance the sweet biscuit flavour.
Common mistakes to avoid
- Coarse crumbs: they can leave the base loose; crush the biscuits until fine.
- Loose base: press the crumbs firmly into the tin before adding the filling.
- Lumpy filling: whisk the cheeses smooth before mixing in the sugar and Biscoff spread.
- Insufficient chilling: the cheesecake may not slice cleanly; chill for at least 6 hours.
- Overheated topping: it can become too runny; warm the spread gently and briefly.
How to store
Cover and store the cheesecake in the fridge, where it should keep for up to 3 days. Serve chilled; reheating is not needed.
Frequently asked questions
Can I make this cheesecake ahead?
Yes. It needs at least 6 hours to chill, and the method recommends leaving it overnight, so it works well as a make-ahead dessert.
Do I need a food processor?
No. Put the biscuits in a plastic bag and crush them with a rolling pin instead.
Can I leave off the Biscoff topping?
Yes. The topping is optional, and the cheesecake can be served without it.
How do I know when it is set?
After chilling for at least 6 hours, the filling should feel firm enough to slice. If it is still soft, return it to the fridge for longer.
How should I get neat slices?
Use a sharp knife and wipe the blade between cuts. Keep the cheesecake chilled until you are ready to serve.
Cook it from the original
This recipe comes from knifeandsoul.com. Their page has the author’s own photos, notes and tips — the best place to cook it from.
Open the recipe on knifeandsoul.com