
Kimchi Bokkeumbap Recipe
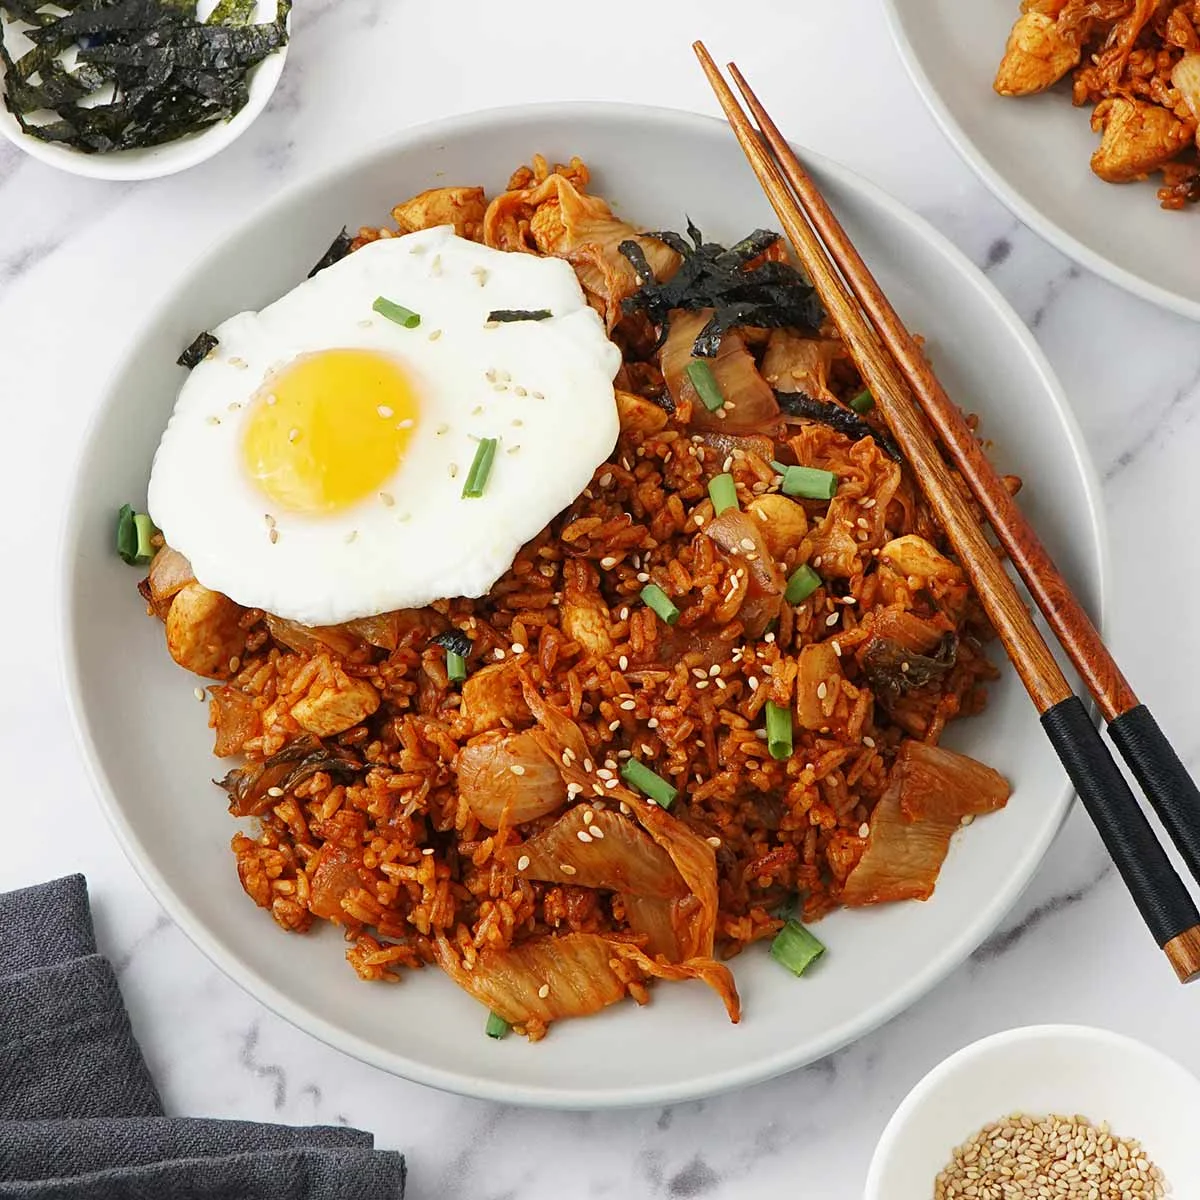
Quick and easy Korean Bokkeumbap recipe made with kimchi, leftover jasmine rice, and chicken . Seasoned with kimchi juice, gochujang and gochugaru chilli powder. Topped with fried egg, crispy seaweed, and sesame seeds.
Ingredients
- 3 cup Cooked Rice (About 200g or 2 servings ( see details in note ))
- 160 g Kimchi (Add more or less to preference ( see details in note ))
- 150 g Chicken breast (Or thigh, cut into small dices)
- 1/2 Onion (Cut small dices)
- 1 tbsp Gochujang (Korean chilli paste)
- 1 tbsp Gchugaru (Korean chilli powder/chilli powder/paprika)
- 2-3 Spring onion (Cut thin slices)
- 1 tbsp Sugar
- 1 tsp Salt (Or salt to taste ( see details in note ))
- 1 tsp Sesame oil
- 1 tbsp Kimchi Juice (Water from squeezing out kimchi)
- 2 tbsp Vegetable oil (Or neutral flavour oil)
- 2 Fried Egg (Sunny-side up)
- Toasted sesame seeds
- Spring onion
- Seaweed strips (Crispy nori ( seaweed ) cut into thin strips)
Instructions
- 1
--- Prepare Kimchi and Gather Ingredients ---
- 2
First, squeeze out the water from the kimchi and keep 1-2 tablespoons of juice for later use in the fried rice. Cut the kimchi into medium bite-size pieces and gather the seasonings, vegetables, and chicken.
- 3
--- Make Bokkeumbap ---
- 4
Heat the large wok/pan into medium-high heat, drizzle oil, and stir fry the onion for a few seconds. Next, add the chicken and stir fry for 1-2 minutes until cooked through.
- 5
Then add the kimchi and stir fry for a few seconds and follow with the chilli powder and gochujang chilli paste. Cook for a few seconds until the chilli paste is combine well with chicken and kimchi.
- 6
Bring up the heat to high and place the rice in the wok. Add kimchi juice, sesame oil, sugar, and salt.
- 7
Mix everything well and continue stir fry for another 1-2 minutes. Turn off the heat, sprinkle spring onions and toasted sesame seeds.
- 8
Transfer to a serving plate. Garnish each plate with toasted sesame seeds, nori strips, and spring onions. Add a fried egg with runny yolk on top.
Cook it from the original
This recipe comes from khinskitchen.com. Their page has the author’s own photos, notes and tips — the best place to cook it from.
Open the recipe on khinskitchen.com