
Chocolate-Cashew nut layer bars(easy, 30 minutes)
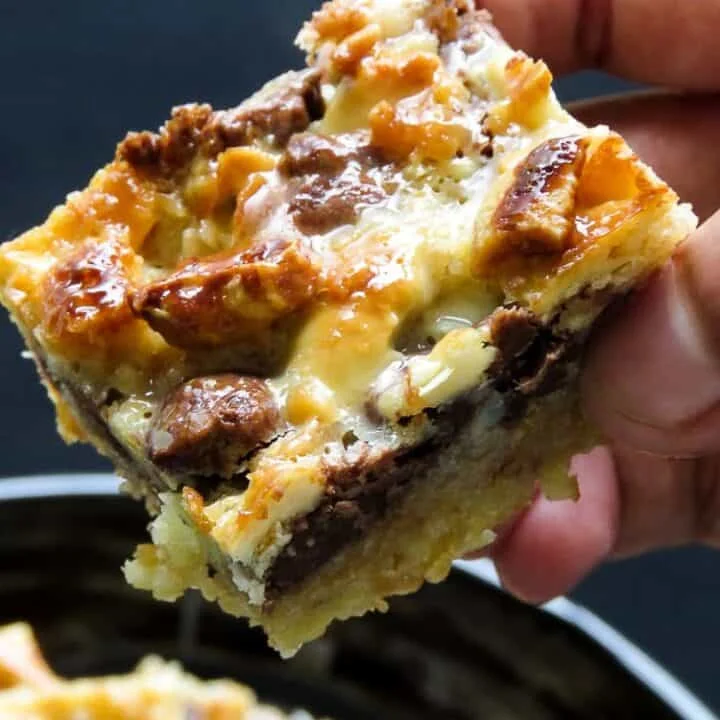
Chocolate-Cashew nut layer bars, it’s the easiest, five ingredient dessert bar you can make. a luscious, sweet and crunchy bar you’ll want to have in your favorite recipe list. Layers of crackers , chocolate, your favorite nuts and thick condensed milk poured over then baked,cooled and cut into thick bars of extra sweet decadence.
Ingredients
- Aluminium Foil
- 1 tablespoon of Butter or cooking spray
- 1 stick of unsalted Butter
- 2 cups of cracker crumbs( any of the available crackers would do), set aside 1/4 cup to layer
- 3 tablespoons of Sugar
- 1-2 cups of semi-sweet milk chocolate or roughly chopped cooking chocolate
- 1 cup of coarsely chopped Cashews, Almond, Peanuts
- 1 can of small condensed milk can(390g)
Instructions
- 1
Preheat oven to 350 degrees F(170C) .
- 2
Use a 8 or 9 inch square baking pan, line the dish with the Aluminium foil and butter it.
- 3
Microwave the butter for 20 seconds to melt it.
- 4
Pulse the graham crackers until they are crumbly, make sure not to pulse until they become too fine.
- 5
Transfer the cracker crumbs into a bowl, pour in the oil and sugar, mix well.
- 6
Spread the crumbs evenly on the baking dish and press the mixture firmly into the pan.
- 7
Bake for 8 minutes over 170C. once done, let it cool for a few minutes.
- 8
Sprinkle the coarsely chopped chocolates over the pressed crumbs.
- 9
Layer a thin layer of crumbs over the Chocolate.
- 10
Sprinkle the Cashew nuts over the previous layer.
- 11
Gently pour in the Condensed milk evenly and let it settle into the layers. 1-2 minutes.
- 12
Don’t mix in the ingredients together at any point of the process but let the layers be as they are.
- 13
Place the pan in the preheated oven and bake for 20 minutes over 170C.
- 14
Once baked, remove from oven and leave it to completely cool. place it in the refrigerator for 1 hour for this purpose.
- 15
Remove from the baking pan and cut into desired size.
- 16
Store in refrigerator.
Cook it from the original
This recipe comes from islandsmile.org. Their page has the author’s own photos, notes and tips — the best place to cook it from.
Open the recipe on islandsmile.org