
Japanese Milk Bread Recipe (Hokkaido Milk Bread Rolls)
Nutrition per Serving
254
Calories
7g
Protein
40g
Carbs
7g
Fat
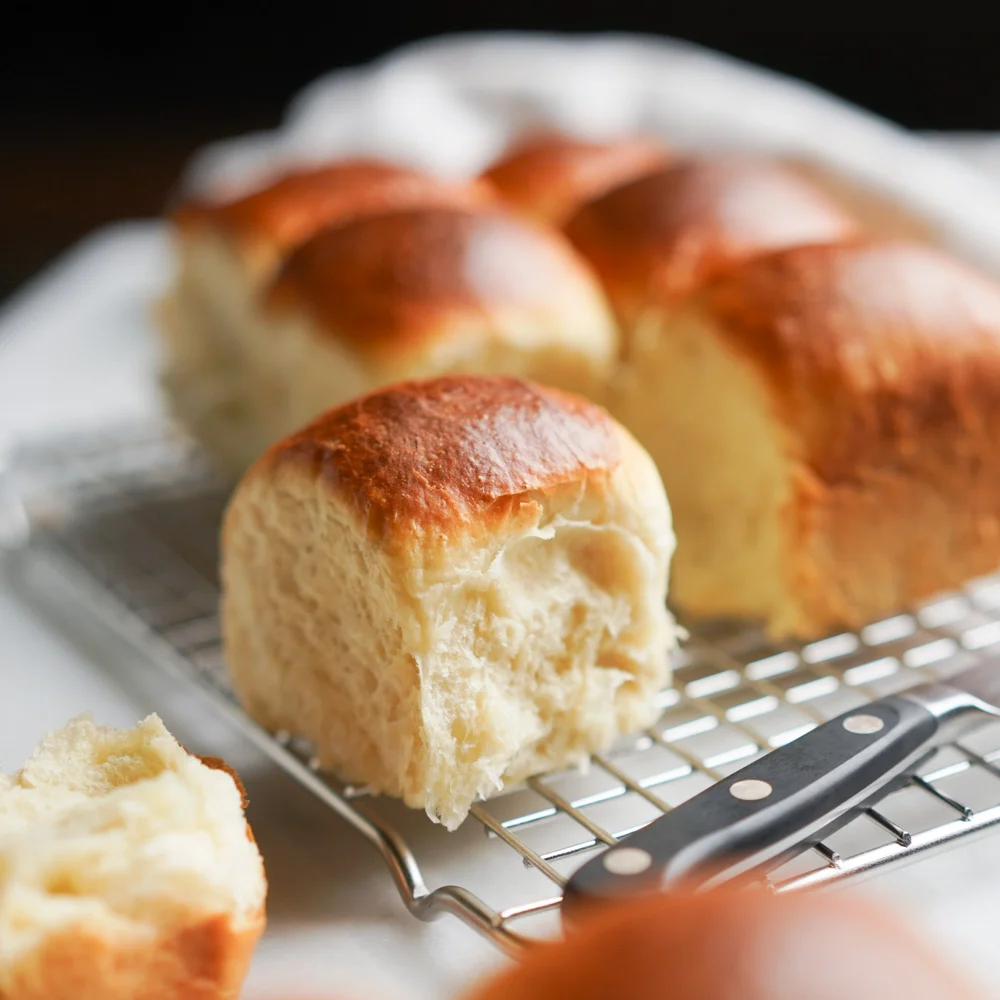
These ultra–fluffy and soft Hokkaido milk bread rolls are just sweet enough to soothe any carb craving.
📝 Ingredients
- 24 g bread flour
- 2 fl oz water
- 2 fl oz whole milk
- 1 egg (room temperature)
- 2 fl oz whole milk (room temperature)
- 350 g bread flour
- 7.3 g instant yeast
- 16 g milk powder
- 75 g white granulated sugar
- 4.5 g salt
- 57 g unsalted butter (cubed and softened)
- vegetable oil
👨🍳 Instructions
- 1--- Tangzhong starter ---
- 2In a small sauce pan, whisk together the water, milk, and flour until the flour is dissolved. Turn on the heat to medium-high and whisk consistently until the liquid begins to boil.
- 3Reduce the heat to medium and continue to whisk until the liquid begins to thicken to the same consistency as pudding.
- 4Remove from the heat and transfer to a heat safe container. Let it cool on the counter for about 10-15 minutes.
- 5--- Dough ---
- 6Whisk together the egg and whole milk until combined.
- 7In a stand mixer with the dough hook attachment (or bowl), stir together the bread flour, yeast, milk powder, sugar, and salt. Pour the egg and milk liquid and move the medium level (or level 5 on my Kitchen Aid). Add the tangzhong. Continue to mix for about 2 minutes or until the dough forms into a ball.
- 8Add butter into the stand mixer and continue to mix at the medium level for 5 to 7 minutes. The dough should fully incorporate the butter and become smooth and elastic.
- 9Windowpane test: Test the dough for sufficient gluten formation with the windowpane test. Pinch off about 1 teaspoon of dough and slowly stretch it between your pointer fingers, index fingers, and thumbs. Stretch it thin and hold it up to a source of light. If its thin enough to let light through like a “windowpane," you've developed enough gluten and can proceed. If the dough breaks or can’t be stretched, continue to knead for another 2 minutes and retry the test. Note: this dough has a stickier consistency, so be careful when stretching.
- 10Remove the dough and transfer it onto a clean surface. Form the dough into a smooth ball by encasing the dough in the middle of your hands. Make a heart with your pointer fingers and thumbs, then move your hands and the dough in a circular fashion until it forms a ball.
- 11Brush on a small amount of vegetable oil in a mixing bowl to coat the inside of the bowl. Transfer the ball of dough into this bowl and cover with a dish towel. Leave it in a warm place (or in an oven that’s turned off) for 1-2 hours or until the dough doubles in size. Note: some newer ovens have a “proofing” setting so this might also work.
- 12Check every 30 minutes or so to see if the dough has doubled in size. Here's what it should look like.
- 13Once it has, remove it from the oven, remove the towel, and punch the dough down once to remove excess gas.
- 14Transfer onto a clean surface. Roll into a large log and cut into 9 equal pieces. If you scaled this recipe, it will be easier to weigh out each ball instead to 80 grams each, but in general weighing will ensure your rolls are all the exact same size.
- 15Quickly reroll each ball of dough to smooth out the entire surface. Using a claw shape with your hand lets you move it around and control it better without too much sticking. Any creases or texture left on the dough at this point will be seen in the final baked result so make sure it's smooth!
- 16Butter your pan to prevent the bread from sticking. Place all the pieces of dough into the pan.
- 17Cover the pan with the dish towel and let it proof once again for one hour or until it doubles in size.
- 18Here's what it should look like once the dough has doubled in size. Then, preheat the oven to 350 °F to prepare for baking.
- 19Brush some milk over the tops of each roll and place it in the oven for 15-20 minutes or until the rolls are golden and shiny on top.
- 20Remove the pan from the oven and let it cool on a rack for about 5-10 minutes. I like to remove the bread from the pan to prevent further baking from residual heat and rest it on the cooling rack.
- 21Serve immediately or place in an airtight container for up to one week on the counter.
About the Chef & Original Recipe
This recipe was published by hungryhuy.com. Visit the original source for step-by-step photos, chef notes and additional details.
Source: hungryhuy.com