
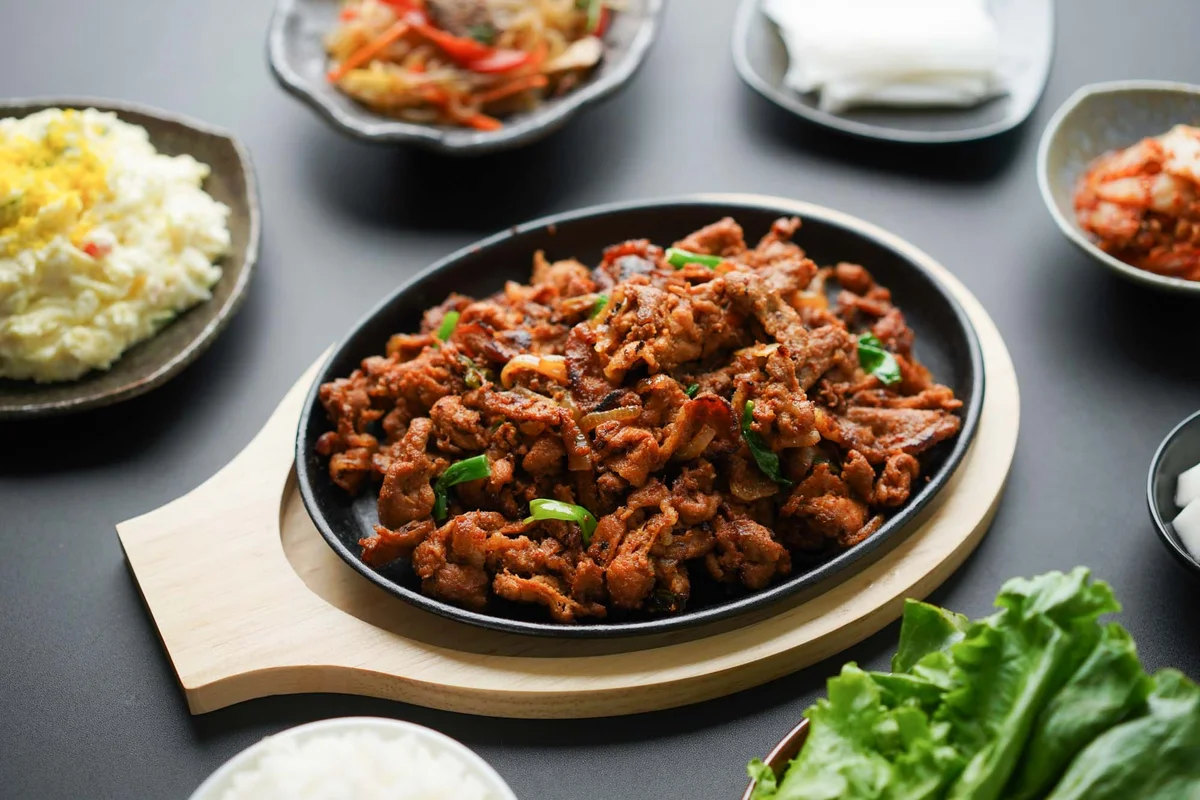
Pork Bulgogi (Spicy Korean Pork)
Nutrition per Serving
489
Calories
55g
Protein
34g
Carbs
15g
Fat
Spicy and sweet tender pieces of pan fried pork, this spicy pork bulgogi recipe will teach you how to make one of the most popular Korean BBQ dishes at home in under 1 ½ hours.
📝 Ingredients
- 52 g all-purpose soy sauce
- 90 g gochujang
- 8 g gochugaru
- 25 g rice syrup (or honey)
- 13 g mirin
- 5 g sesame oil
- .4 g black pepper
- 280 g Korean pear
- 40 g garlic
- 14 g ginger
- 907 g pork shoulder and/or belly
- 200 g yellow onion (julienned)
- 52 g green onions (cut into 3-inch pieces)
- 23 g vegetable oil
👨🍳 Instructions
- 1In a bowl, combine the soy sauce, gochujang, gochugaru, rice syrup, mirin, sesame oil, and black pepper. Whisk until everything is dissolved and fully combined.
- 2In a food processor, add the whisked liquid marinade ingredients from the bowl and the pear, garlic, and ginger.
- 3Pulse the food processor 10-15 times or until all the ingredients turn into a liquid. Taste test the marinade and adjust if necessary. NOTE: This recipe is a mild spice level you can adjust it after tasting. To add more spice, add more gochugaru and/or gochujang. To add more sweetness, add more rice syrup. To add more saltiness, add more soy sauce.
- 4In a large mixing bowl, add the pork slices, yellow onion, and green onion. Pour the marinade over and use your hands (or tongs) to completely coat every piece of meat.
- 5Transfer the marinated meat into an airtight container and fridge for at least 1 hour or overnight. Remove the meat from the fridge and place onto the counter to get to room temperature at least 20 minutes before cooking.
- 6In a cast iron over medium heat, add the vegetable oil. Add the meat and continue to stir and cook for about 5-7 minutes or until the meat becomes firm and measures to 145 °F.
- 7In my 12” cast iron skillet, I only cooked ⅔ lb of meat at a time so it wasn’t too crowded, allowing the meat to brown a bit towards the end. You may have to scrape down or clean the pan of burned bits before cooking each following batch.
- 8Remove from the pan and serve immediately.
About the Chef & Original Recipe
This recipe was published by hungryhuy.com. Visit the original source for step-by-step photos, chef notes and additional details.
Source: hungryhuy.com