
Cherry Pie
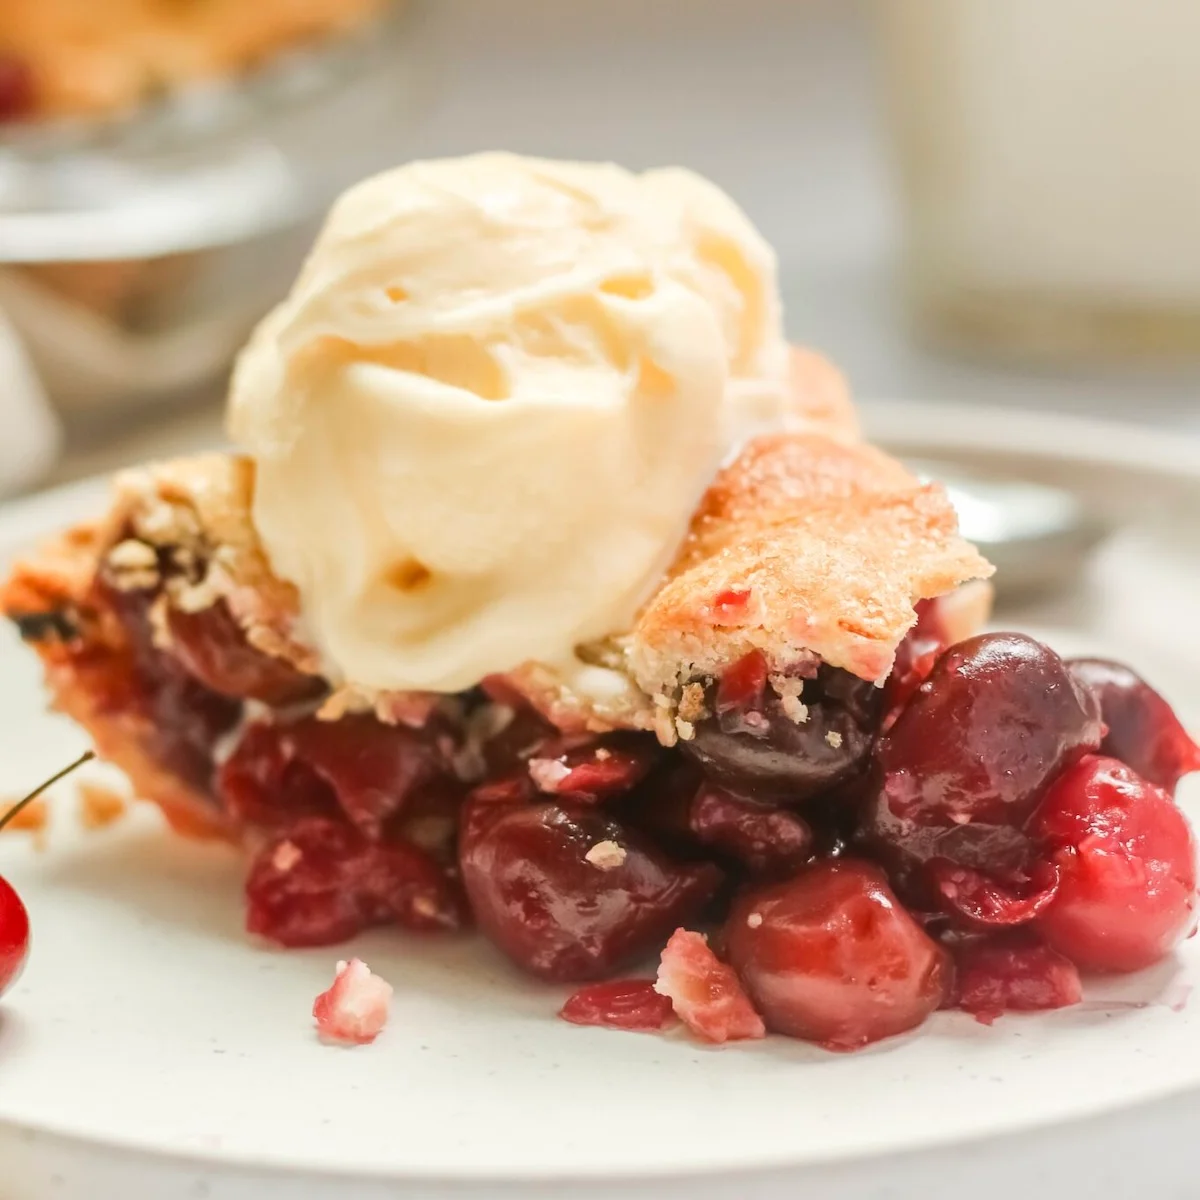
This homemade cherry pie features flaky buttery pie crusts and a sweet juicy cherry filling! It is the perfect dessert for summertime or the holidays. The cherries add a sweet, tart and strong flavor!
Ingredients
- 2 pie crusts (store bought or my easy pie crust recipe)
- 5 cups cherries (fresh, pitted)
- 1 cup granulated sugar
- 1/4 cup cornstarch
- 1 tablespoon lemon juice
- 1/2 teaspoon almond extract
- 1 tablespoon unsalted butter (cut into small pieces)
- 1 egg (beaten (for egg wash))
Instructions
- 1
Preheat your oven to 375°F (190°C). In a large bowl, combine the pitted cherries, granulated sugar, cornstarch, lemon juice, and almond extract. Mix well until the cherries are coated evenly. Let the mixture sit for about 10 minutes to allow the cherries to release some juice.
- 2
Unroll one of the pie crusts and gently press it into a 9-inch pie dish, ensuring it covers the bottom and sides of the dish.
- 3
Pour the cherry filling into the prepared pie crust, spreading it out evenly. Dot the top of the filling with small pieces of unsalted butter.
- 4
Unroll the second pie crust and place it over the cherry filling. You can leave it whole or create a lattice pattern by cutting the crust into strips and weaving them together.
- 5
Trim any excess crust from the edges and pinch the top and bottom crusts together to seal them. You can crimp the edges using a fork or create a decorative edge if desired.
- 6
Brush the top crust with beaten egg wash. This will give the pie a shiny, golden-brown finish.
- 7
Using a sharp knife, make a few small slits on the top crust to allow steam to escape during baking.
- 8
Place the pie on a baking sheet (to catch any potential drips) and bake in the preheated oven for 45 to 55 minutes, or until the crust is golden brown and the filling is bubbly.
- 9
Once baked, remove the cherry pie from the oven and let it cool on a wire rack for at least 2 hours to allow the filling to set.
- 10
Serve the cherry pie at room temperature or slightly warm. Top with vanilla ice cream!
Cook it from the original
This recipe comes from girlversusdough.com. Their page has the author’s own photos, notes and tips — the best place to cook it from.
Open the recipe on girlversusdough.com