
Coconut Rice Recipe (Thengai Sadam)
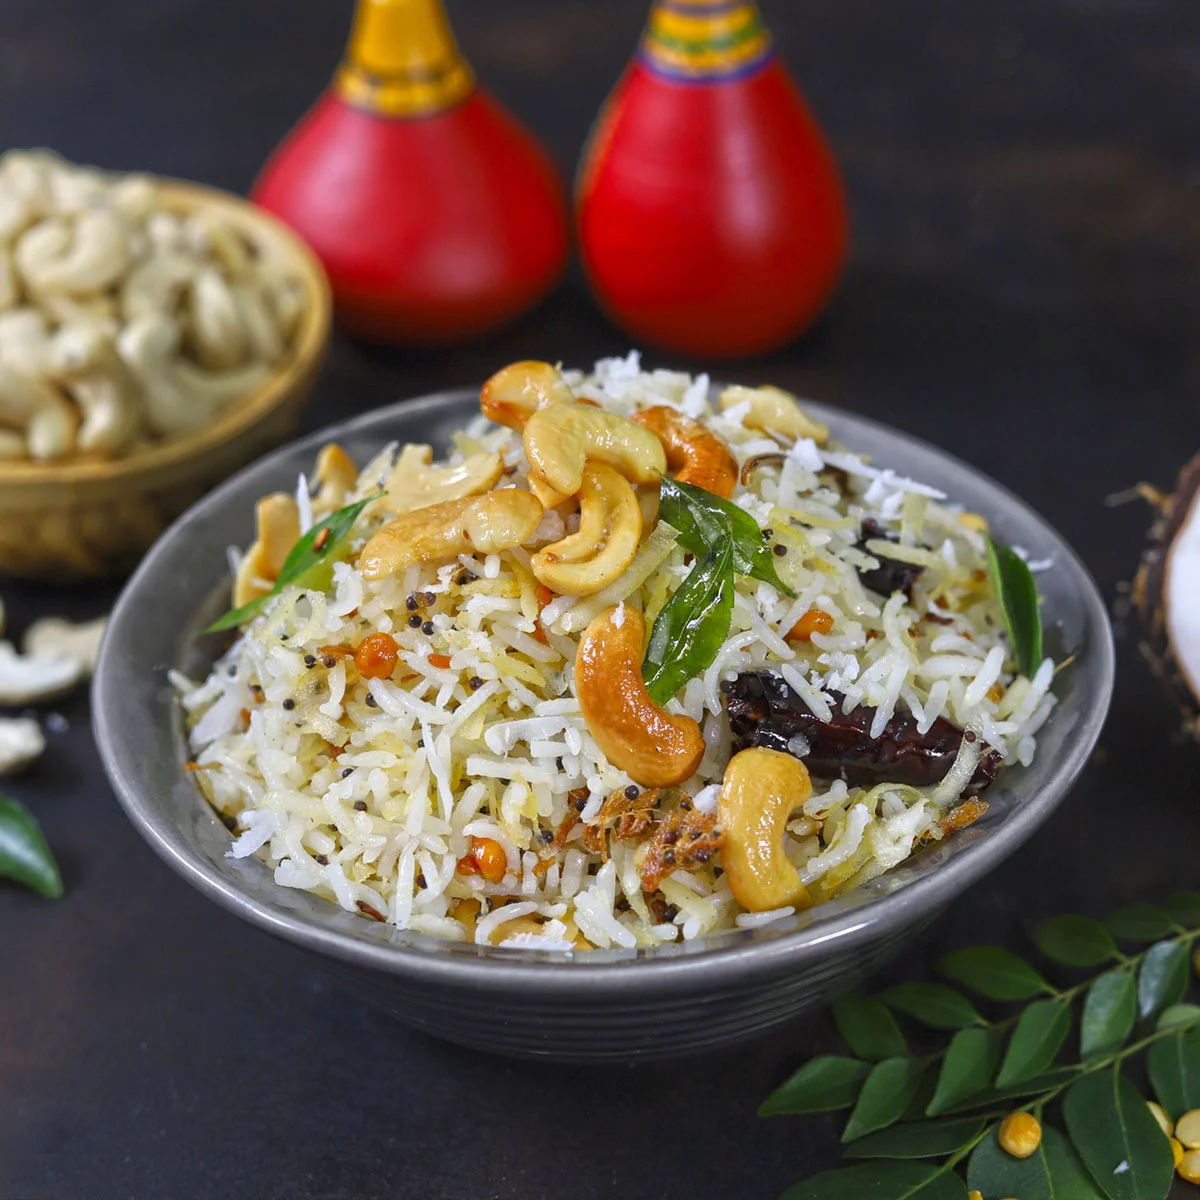
Thengai sadam is South Indian rice tossed with freshly grated coconut, toasted nuts and a fragrant tempering of spices. It comes together in about 30 minutes and makes a flavourful meal or side dish.
Ingredients
- 60 ml (4 tablespoons)coconut oil
- 10 ml (2 teaspoons)black mustard seeds (rai)
- 5 ml (1 teaspoon)chana dal (Bengal gram)
- 5 ml (1 teaspoon)white urad dal
- 2dried red chillies
- 30 ml (2 tablespoons)curry leaves
- 15 ml (1 tablespoon)grated ginger
- 35 g (¼ cup)cashews
- 40 g (½ cup)grated coconut
- 320 g (2 cups)cooked rice
- 6.25 ml (1¼ teaspoons), or to tastesalt
Instructions
- 1
Heat the oil
Warm the coconut oil in a wok or stir-frying pan.
- 2
Fry the tempering
When the oil is hot, add the mustard seeds, chana dal, urad dal, dried red chillies, curry leaves and ginger. Sauté for less than 1 minute, until the urad dal turns light golden.
- 3
Toast nuts and coconut
Add the cashews and sauté until lightly golden, then stir in the grated coconut. Avoid frying the coconut for too long, as it can burn and turn bitter.
- 4
Stir-fry the rice
Add the cooked rice and salt, mix well and stir-fry for a further 2 minutes. Turn off the heat and serve.
What is thengai sadam?
Thengai sadam is a South Indian rice dish whose name refers to coconut rice. It combines cooked rice with grated coconut and a tempering of spices, lentils and curry leaves.
This version builds flavour in coconut oil, then adds cashews for a toasted contrast. The brief cooking keeps the coconut fragrant rather than browned and bitter.
Nutrition and macros by portion
The nutrition label shows one serving as written: 667 calories, 11g protein, 64g carbs, 44g fat.
| Portion | Adjustment | kcal | Protein | Carbs | Fat |
|---|---|---|---|---|---|
| Lighter | Use less coconut oil | 467 kcal | 8g | 45g | 31g |
| This serving | As written | 667 kcal | 11g | 64g | 44g |
| Hungry | Serve a larger portion | 1001 kcal | 17g | 96g | 66g |
The rice supplies most of the carbohydrates, while coconut oil and cashews contribute much of the fat; the dals, cashews and rice provide some protein. Pair a serving with vegetables or a fresh salad to add variety and balance the plate.
The tempering sets the flavour
Mustard seeds: add them to hot oil with the dals, chillies, curry leaves and ginger so their flavours infuse the oil. Keep the pan moving and watch for the urad dal to turn light golden.
Curry leaves and ginger: these bring a fresh, aromatic note to the rice. Grated ginger distributes readily through the tempering.
Choose rice that stays separate
Cooked rice: separate grains mix more evenly with the coconut and tempering. If the rice has clumped, gently loosen it before adding it to the pan.
Rice temperature: freshly cooked or chilled rice can both be used, provided it is cooked and ready before you start frying the tempering.
Toast the coconut gently
Cashews: sauté them until just lightly golden for a crisp, nutty bite. Keep stirring so they colour evenly.
Grated coconut: add it after the cashews and cook only briefly. It can scorch quickly, which makes its flavour bitter.
Finish without overcooking
Once the rice and salt are in the pan, stir-fry for 2 minutes, just long enough to combine them with the coconut mixture. Turn off the heat after that, rather than leaving the rice to cook on in the hot pan.
Taste before serving and adjust the salt if needed. The recipe gives a quantity but allows it to be tailored to taste.
Serve it as a meal or side
Serve the rice warm on its own or alongside a curry, dal or vegetables. A simple vegetable side can add colour and variety to the plate.
Because the dish is rich in coconut oil and cashews, a fresh, lightly dressed salad or plain vegetables make a useful contrast.
Recipe notes & tips
- Have the cooked rice and measured ingredients ready before heating the oil.
- Use a wide pan so the rice can be stirred without spilling.
- Stir the tempering as it cooks to help the dals colour evenly.
- Take care not to brown the grated coconut for long.
- Taste the finished rice before adding extra salt.
Variations
- More heat: Add another dried red chilli to the tempering.
- Nut-free: Leave out the cashews for a version without nuts.
- Extra coconut: Increase the grated coconut for a stronger coconut flavour.
- Milder tempering: Use fewer dried red chillies.
- Fresh finish: Serve with a squeeze of lime for a bright contrast.
Common mistakes to avoid
- Overcooking the coconut: It can become bitter; add it after the cashews and fry it briefly.
- Burning the dals: Stir them in the hot oil and stop when the urad dal is light golden.
- Adding rice too early: Cook it before starting the tempering so the brief stir-fry is enough to heat and combine everything.
- Leaving rice clumped: Loosen the cooked grains gently before adding them to the pan.
- Oversalting: Start with the listed amount cautiously, then taste and adjust.
How to store
Cool leftovers promptly and store them in an airtight container in the fridge for up to 2 days. Reheat in a pan over a low heat, stirring until hot throughout; add a small splash of water if the rice seems dry.
Frequently asked questions
Can I use leftover rice?
Yes. Use cooked rice that has been stored safely and separate any clumps before adding it to the pan.
Can I use frozen grated coconut?
Yes. Thaw it first and drain away any excess liquid so it does not make the tempering watery.
How do I know when the tempering is ready?
The method specifies cooking it for less than 1 minute, until the urad dal is light golden. Keep stirring and move on promptly once it reaches that colour.
Why does the coconut taste bitter?
It may have been fried for too long or scorched. Add it after the cashews and cook it only briefly.
Can I reduce the coconut oil?
Yes, you can use less, though the recipe uses the oil to carry the flavour of the tempering. Stir carefully so the ingredients do not catch.
What can I serve with coconut rice?
Serve it with a curry, dal, vegetables or a fresh salad. It can also be eaten on its own.
Cook it from the original
This recipe comes from funfoodfrolic.com. Their page has the author’s own photos, notes and tips — the best place to cook it from.
Open the recipe on funfoodfrolic.com