
Korean Braised Tofu Recipe
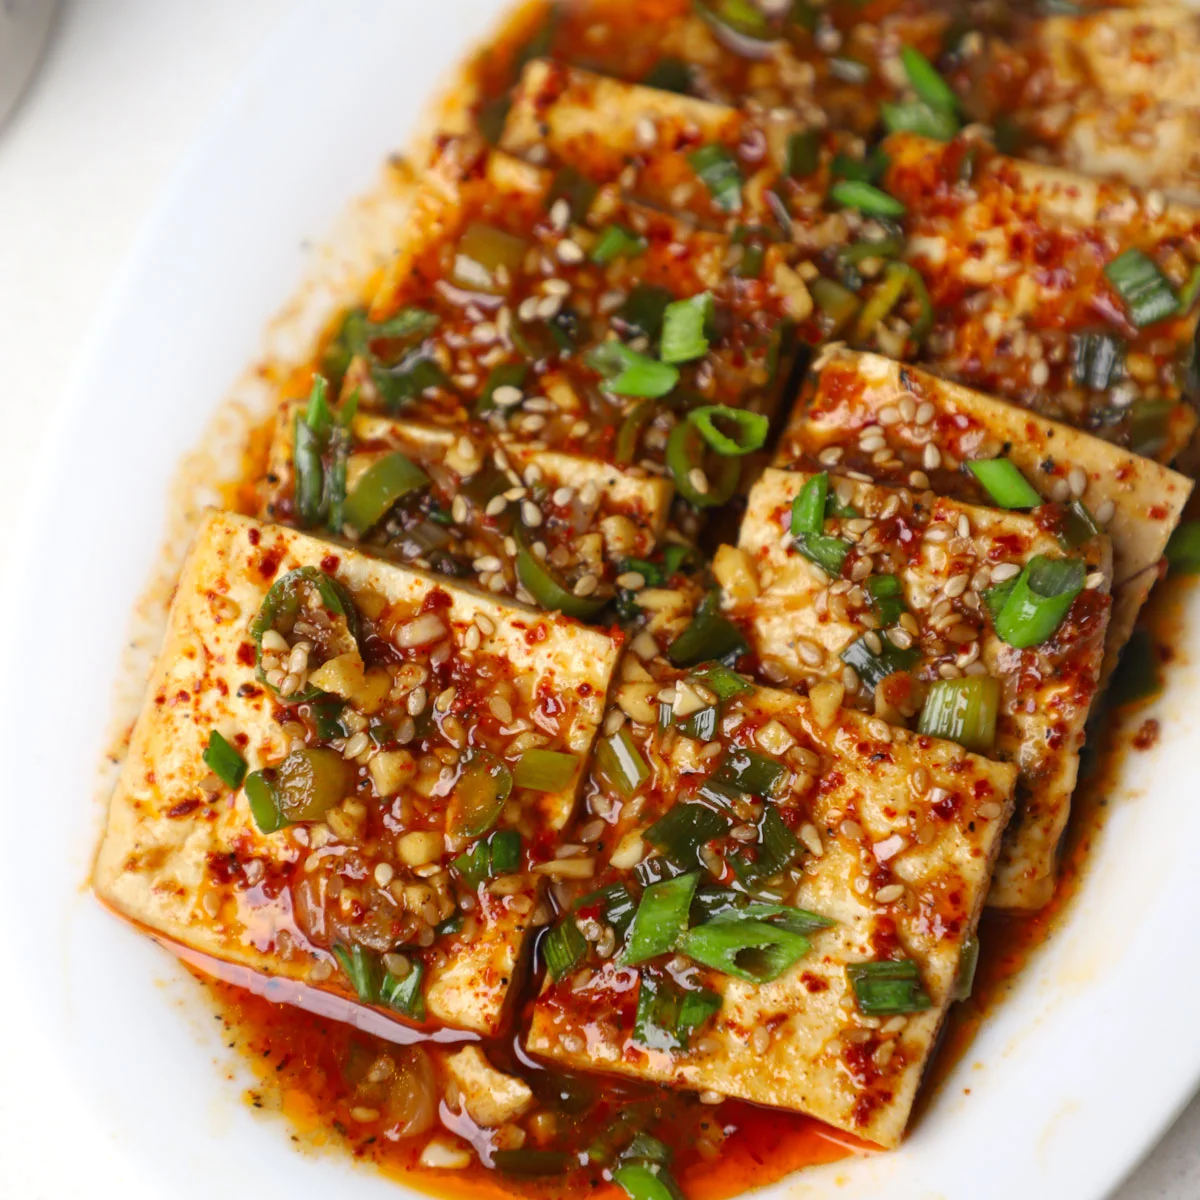
If you’ve ever fallen into the trap of thinking tofu is bland, and boring, this Korean braised tofu recipe is here to change your mind.
Ingredients
- 200 gram firm tofu
- 1 tablespoon corn starch or potato starch
- 4 tablespoon sesame oil (divided)
- 1 tablespoon light soy sauce
- 1/2 tablespoon minced garlic
- 1 tablespoon Korean red chilli flakes (gochugaru)
- 1/4 Cup vegetable stock or broth ((get recipe))
- 1 teaspoon sugar or plum sauce
- salt to tastes
- 2 sprig green onion, finely chopped
- 1 tablespoon white sesame seeds
Instructions
- 1
Slice the block lengthwise down the middle, then cut crosswise into half-inch thick rectangular slabs. Line a plate with paper towels, lay the slices down, and gently pat the tops dry.
- 2
Sprinkle little potato or corn starch, salt, and pepper over the tofu cubes. Not too much, just a light dusting.
- 3
Heat oil in a wide, skillet over medium-high heat. Carefully arrange the tofu slabs in a single layer. Fry for 2 to 3 minutes per side until they develop a beautiful, pale golden-brown crust.
- 4
In a small bowl, combine the soy sauce, water, gochugaru, minced garlic, sugar, green onion, pepper, chilli, and toasted sesame oil. Stir well until the sugar completely dissolves. Taste and adjust the seasoning accordingly.
- 5
Turn the heat down to medium-low. Pour the prepared sauce evenly over the tofu pieces. Use a spoon to ladle the sauce and green onions back over the top of the slabs.
- 6
Cover the skillet with a lid and let it simmer for about 2 to 3 minutes, allowing the tofu to absorb the liquid. Remove the lid for the final minute to let the sauce reduce into a glossy glaze.
- 7
Sprinkle remaining green onion and sesame seeds.
- 8
Serve Korean Braised Tofu with rice or as a side dish.
Cook it from the original
This recipe comes from funfoodfrolic.com. Their page has the author’s own photos, notes and tips — the best place to cook it from.
Open the recipe on funfoodfrolic.com